Epson 755c Product Information Guide - Page 17
access point mode only or connecting over different routers - powerlite projector manual
 |
UPC - 010343855366
View all Epson 755c manuals
Add to My Manuals
Save this manual to your list of manuals |
Page 17 highlights
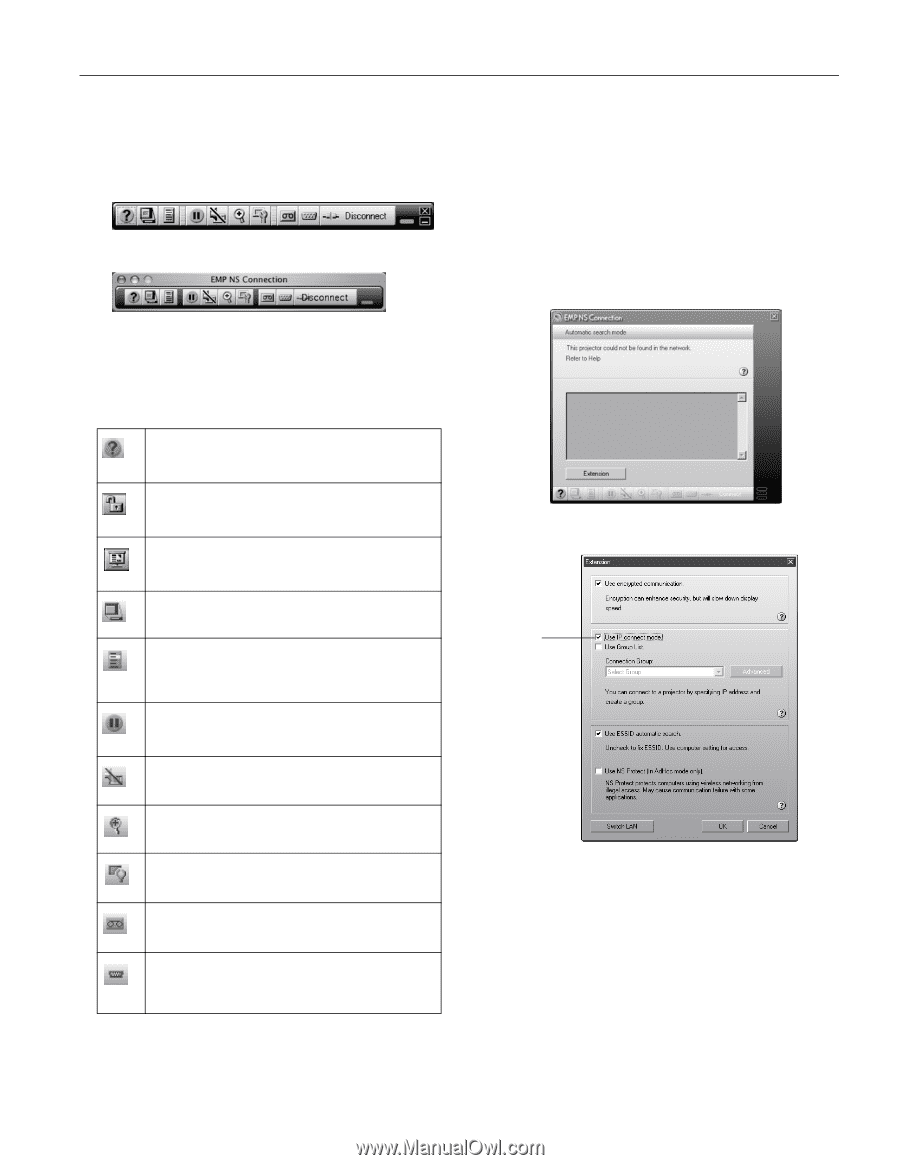
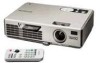
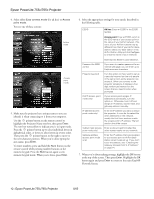
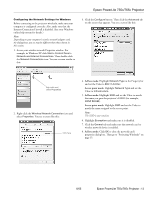
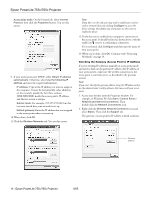
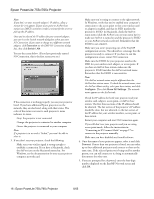
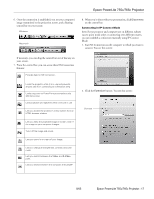
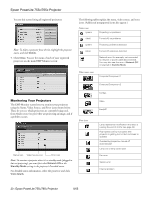
Epson PowerLite 755c/765c Projector 6. Once the connection is established, you see your computer's image transmitted to the projection screen, and a floating control bar on your screen: Windows Macintosh 8. When you're done with your presentation, click Disconnect on the control bar. Connecting in IP Connect Mode Even if your projector and computer are on different subnets (access point mode only) or connecting over different routers, you can establish a connection manually using IP Connect Mode. 1. Start NS Connection on the computer to which you want to connect. You see this screen: If necessary, you can drag the control bar out of the way on your screen. 7. From the control bar, you can access these NS Connection features: Provides help for NS Connection. Locks the projector while it is in use and prevents anyone else from connecting to it (Windows only) Limits projection to PowerPoint presentations only (Windows only) Lists projectors and specifies which ones are in use. Lets you access the projector's menu system from an HTML browser window. Lets you keep the projected image on screen, even if the image on your computer changes. Turns off the image and sound. Lets you zoom in on a part of your image. Lets you change the brightness, contrast, and color mode. Lets you switch between the Video, and S-Video ports. Lets you switch between the computer and EasyMP. 2. Click the Extension button. You see this screen: Click here 8/05 Epson PowerLite 755c/765c Projector - 17
-
 1
1 -
2
-
3
-
4
-
5
-
6
-
7
-
8
-
9
-
10
-
11
-
 12
12 -
 13
13 -
 14
14 -
 15
15 -
 16
16 -
 17
17 -
 18
18 -
 19
19 -
 20
20 -
 21
21 -
 22
22 -
23
-
24
-
25
 |
 |