Epson Artisan 837 Quick Guide - Page 18
Sending a Fax From the Touch Panel - manual
 |
View all Epson Artisan 837 manuals
Add to My Manuals
Save this manual to your list of manuals |
Page 18 highlights
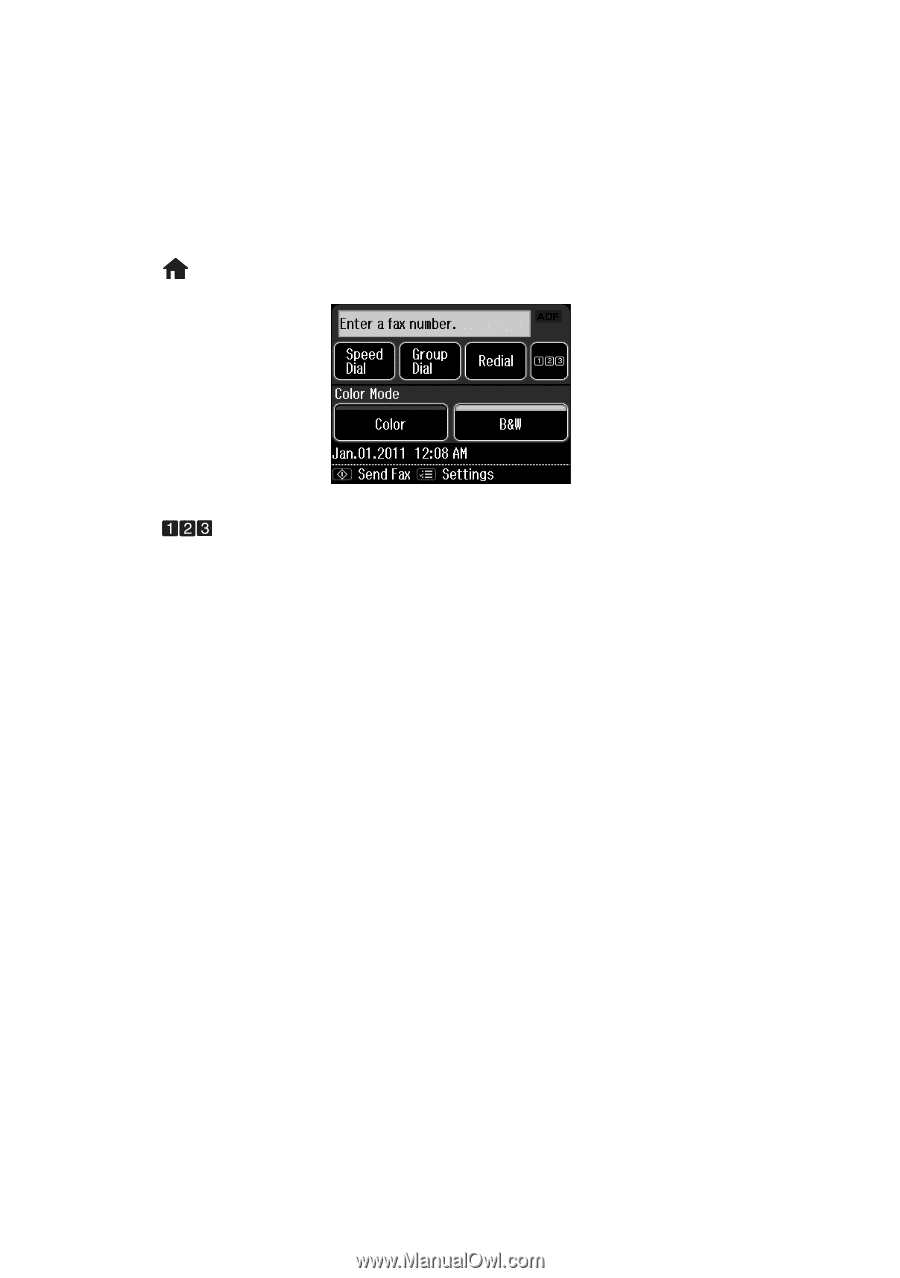
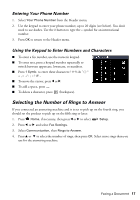
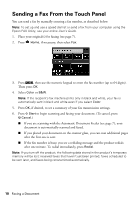
Sending a Fax From the Touch Panel You can send a fax by manually entering a fax number, as described below. Note: To set up and use a speed dial list or send a fax from your computer using the Epson FAX Utility, see your online User's Guide. 1. Place your original(s) for faxing (see page 7). 2. Press Home, if necessary, then select Fax. 3. Press , then use the numeric keypad to enter the fax number (up to 64 digits). Then press OK. 4. Select Color or B&W. Note: If the recipient's fax machine prints only in black and white, your fax is automatically sent in black and white even if you select Color. 5. Press OK, if desired, to see a summary of your fax transmission settings. 6. Press x Start to begin scanning and faxing your document. (To cancel, press y Cancel.) ■ If you are scanning with the Automatic Document Feeder (see page 7), your document is automatically scanned and faxed. ■ If you placed your document on the scanner glass, you can scan additional pages after the first one is sent. ■ If the fax number is busy, you see a redialing message and the product redials after one minute. To redial immediately, press Redial. Note: If you turn off the product, the following data stored in the product's temporary memory will be lost: received faxes that haven't yet been printed, faxes scheduled to be sent later, and faxes being retransmitted automatically. 18 Faxing a Document
-
 1
1 -
2
-
3
-
4
-
5
-
6
-
7
-
8
-
9
-
10
-
11
-
12
-
 13
13 -
 14
14 -
 15
15 -
 16
16 -
 17
17 -
 18
18 -
 19
19 -
 20
20 -
 21
21 -
 22
22 -
 23
23 -
24
-
25
-
26
-
27
-
28
-
29
-
30
-
31
-
32
-
33
-
34
-
35
-
36
-
37
-
38
-
39
-
40
-
41
-
42
-
43
-
44
 |
 |