Epson CX5400 Quick Reference Guide - Page 12
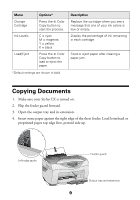
Loading Paper and Placing Your Photo, Insert up to 20 sheets of EPSON Photo Paper, Glossy Photo Paper - ink for
 |
UPC - 010343848412
View all Epson CX5400 manuals
Add to My Manuals
Save this manual to your list of manuals |
Page 12 highlights
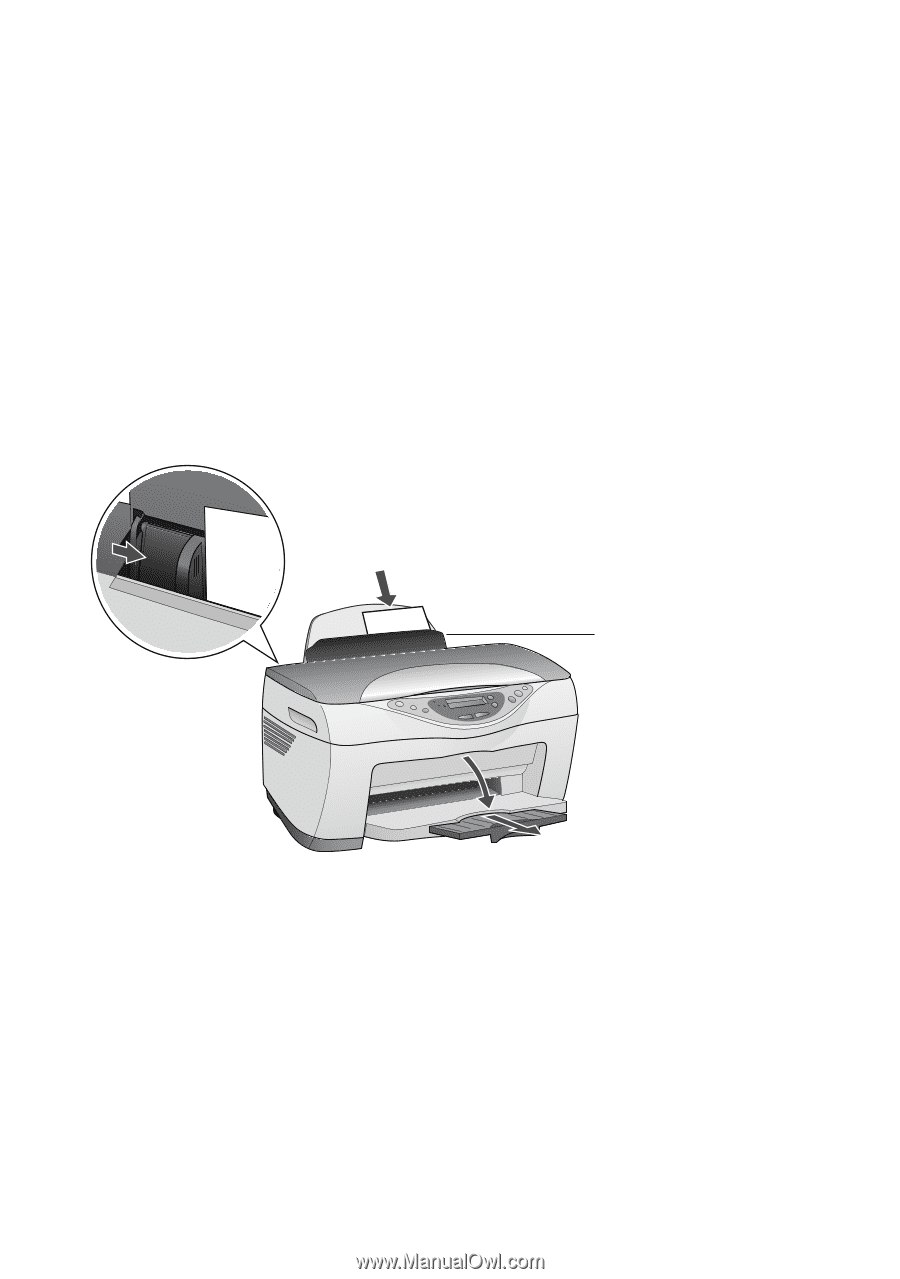
Loading Paper and Placing Your Photo 1. Flip the feeder guard forward. 2. Open the output tray and its extension. 3. Insert up to 20 sheets of EPSON Photo Paper, Glossy Photo Paper, or DURABrite Ink Glossy Photo Paper against the right edge of the sheet feeder. Load the paper with the shiny side face-up, short edge first (even for landscape-oriented photos). 4. Slide the left edge guide against the paper (but not too tightly). 5. Flip the feeder guard back over the paper. (Make sure you didn't insert the paper in front of the feeder guard.) Left edge guide Feeder guard Output tray and extension 12
-
 1
1 -
2
-
3
-
4
-
5
-
6
-
 7
7 -
 8
8 -
 9
9 -
 10
10 -
 11
11 -
 12
12 -
 13
13 -
 14
14 -
 15
15 -
 16
16 -
 17
17 -
18
-
19
-
20
-
21
-
22
-
23
-
24
-
25
-
26
-
27
-
28
-
29
-
30
-
31
-
32
-
33
-
34
-
35
-
36
-
37
-
38
-
39
-
40
 |
 |
12
Loading Paper and Placing Your Photo
1.
Flip the feeder guard forward.
2.
Open the output tray and its extension.
3.
Insert up to 20 sheets of EPSON Photo Paper, Glossy Photo Paper, or
DURABrite Ink Glossy Photo Paper against the right edge of the sheet feeder.
Load the paper with the shiny side face-up, short edge first (even for
landscape-oriented photos).
4.
Slide the left edge guide against the paper (but not too tightly).
5.
Flip the feeder guard back over the paper. (Make sure you didn’t insert the
paper in front of the feeder guard.)
Left edge guide
Output tray and extension
Feeder guard