Epson Ensemble HD 6500 Installation Guide - Page 13
Planning the Installation, installation. Be sure to read the following s before starting.
 |
View all Epson Ensemble HD 6500 manuals
Add to My Manuals
Save this manual to your list of manuals |
Page 13 highlights
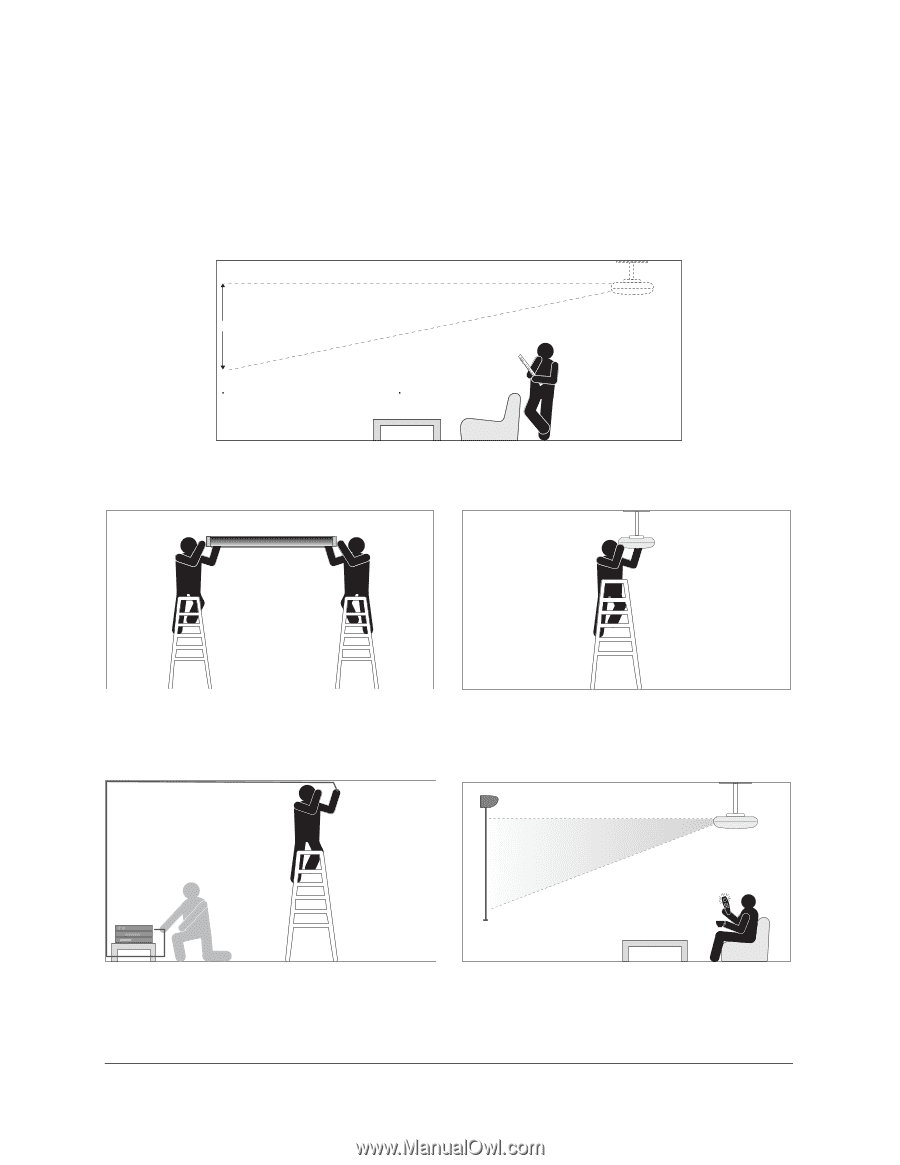
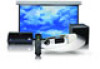
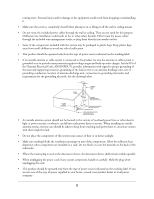
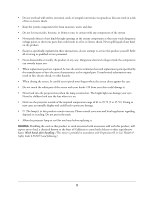
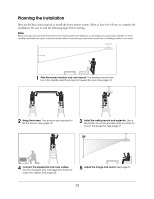
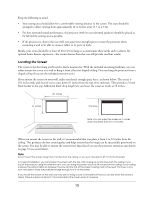
Planning the Installation Here are the basic steps required to install the home theater system. Allow at least 4 to 6 hours to complete the installation. Be sure to read the following pages before starting. Note Epson strongly recommends that the home theater system be installed by a professional audio/video installer or other qualified professional. Epson cannot provide advice concerning construction practices or building codes in your area. Screen image 1 Plan the screen location and room layout. The seating area should be in the middle and the projector toward the rear. See page 14. 2 Hang the screen. Two persons are required to lift the screen. See page 19. 3 Install the ceiling mount and projector. Use a stud finder to locate wooden joists on which to mount the projector. See page 31. 4 Connect the equipment and route cables. Use the included wire management tracks to route the cables. See page 43. 5 Adjust the image and sound. See page 51. 13
-
 1
1 -
2
-
3
-
4
-
5
-
6
-
7
-
 8
8 -
 9
9 -
 10
10 -
 11
11 -
 12
12 -
 13
13 -
 14
14 -
 15
15 -
 16
16 -
 17
17 -
 18
18 -
19
-
20
-
21
-
22
-
23
-
24
-
25
-
26
-
27
-
28
-
29
-
30
-
31
-
32
-
33
-
34
-
35
-
36
-
37
-
38
-
39
-
40
-
41
-
42
-
43
-
44
-
45
-
46
-
47
-
48
-
49
-
50
-
51
-
52
-
53
-
54
-
55
-
56
-
57
-
58
-
59
-
60
-
61
-
62
-
63
-
64
-
65
-
66
-
67
-
68
-
69
-
70
-
71
 |
 |