Epson Ensemble HD 720 Installation Guide - Page 58
Adjusting the Sound, Set the Boundary Control Switch
 |
View all Epson Ensemble HD 720 manuals
Add to My Manuals
Save this manual to your list of manuals |
Page 58 highlights
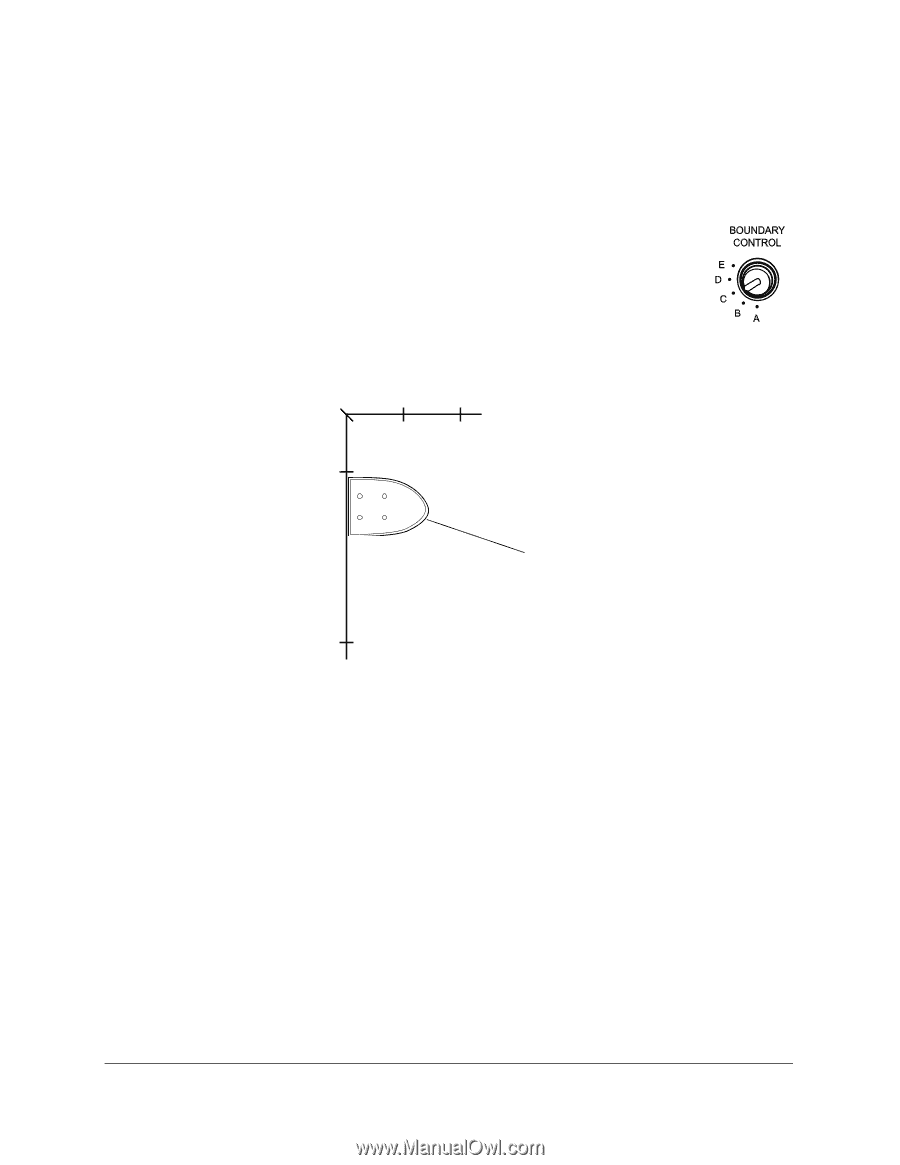
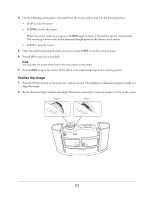
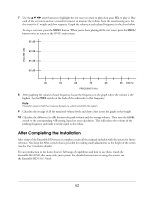
Adjusting the Sound Follow the steps in this section to optimize sound for your home theater. Set the Boundary Control Switch Set the BOUNDARY CONTROL switch on the back of the subwoofer to the setting that most closely matches the screen's location on the wall or ceiling. This setting optimizes the bass sound for your installation. Refer to the chart below, which shows the correct setting (A, B, C, D, or E) for various mounting locations. Example: The screen is mounted on the wall approximately 6 inches from the ceiling. Therefore, you would select setting C. Distance from wall (B) 6"(E) 12"(A) Distance from ceiling 6" (C) Screen (viewed from side) Select the setting that most closely matches the location of the screen 24" on the wall or ceiling. (D) Note If you have a drop ceiling made of porous tiles, select setting D, no matter where the screen is located. 58
-
 1
1 -
2
-
3
-
4
-
5
-
6
-
7
-
8
-
9
-
10
-
11
-
12
-
13
-
14
-
15
-
16
-
17
-
18
-
19
-
20
-
21
-
22
-
23
-
24
-
25
-
26
-
27
-
28
-
29
-
30
-
31
-
32
-
33
-
34
-
35
-
36
-
37
-
38
-
39
-
40
-
41
-
42
-
43
-
44
-
45
-
46
-
47
-
48
-
49
-
50
-
51
-
52
-
 53
53 -
 54
54 -
 55
55 -
 56
56 -
 57
57 -
 58
58 -
 59
59 -
 60
60 -
 61
61 -
 62
62 -
 63
63 -
64
-
65
-
66
-
67
-
68
-
69
-
70
-
71
 |
 |