Epson Ensemble HD 720 Installation Guide - Page 62
After Completing the Installation, the Ensemble HD
 |
View all Epson Ensemble HD 720 manuals
Add to My Manuals
Save this manual to your list of manuals |
Page 62 highlights
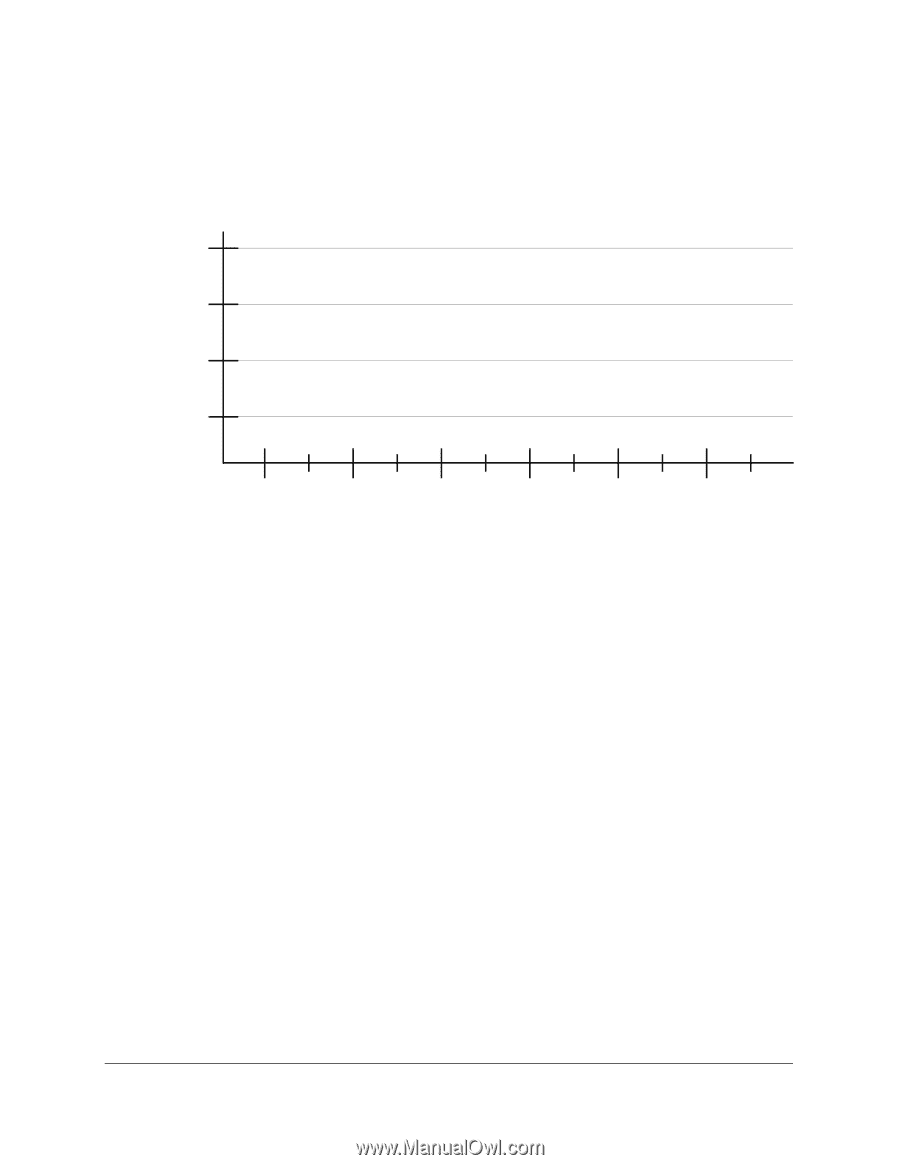
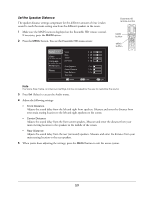
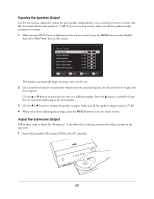
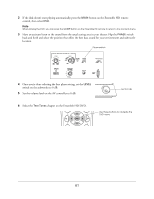
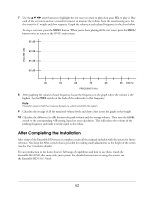
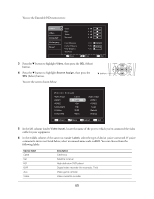
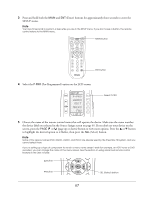
7 Use the u d l r arrow buttons to highlight the test tone you want to play, then press SEL to play it. Play each of the test tones and use a sound-level meter to measure the volume from the usual seating area. Set the meter for C weight and slow response. Graph the volume at each played frequency in the chart below. To stop a test tone, press the MENU button. When you're done playing all the test tones, press the MENU button twice to return to the DVD's main menu. 95 dB 90 dB 85 dB 80 dB VOLUME (dB) 45 55 65 75 85 95 100 Hz FREQUENCY (Hz) 8 After graphing the volume of each frequency, locate the frequency on the graph where the volume is the highest. Set the FREQ switch on the back of the subwoofer to that frequency. Note This switch does not set the crossover frequency, which is built into the system. 9 Calculate the average of all the measured volume levels and draw a line across the graph at that height. 10 Calculate the difference (in dB) between the peak volume and the average volume. Then turn the LEVEL switch to the corresponding -dB setting, based on your calculation. This will reduce the volume of the peaking frequency and make it nearly equal to the others. After Completing the Installation After setup of the Ensemble HD system is complete, retain all the manuals included with the system for future reference. Also keep the Allen wrench that is provided for making small adjustments to the height of the screen (see the User's Guide for details). For an introduction to the home theater's full range of capabilities and how to use them, watch the Ensemble HD DVD that came with your system. For detailed instructions on using the system, see the Ensemble HD User's Guide. 62
-
 1
1 -
2
-
3
-
4
-
5
-
6
-
7
-
8
-
9
-
10
-
11
-
12
-
13
-
14
-
15
-
16
-
17
-
18
-
19
-
20
-
21
-
22
-
23
-
24
-
25
-
26
-
27
-
28
-
29
-
30
-
31
-
32
-
33
-
34
-
35
-
36
-
37
-
38
-
39
-
40
-
41
-
42
-
43
-
44
-
45
-
46
-
47
-
48
-
49
-
50
-
51
-
52
-
53
-
54
-
55
-
56
-
 57
57 -
 58
58 -
 59
59 -
 60
60 -
 61
61 -
 62
62 -
 63
63 -
 64
64 -
 65
65 -
 66
66 -
 67
67 -
68
-
69
-
70
-
71
 |
 |