Epson RX595 Quick Reference Guide - Page 16
Inserting the Card, Selecting Photos From the Screen
 |
UPC - 010343866157
View all Epson RX595 manuals
Add to My Manuals
Save this manual to your list of manuals |
Page 16 highlights
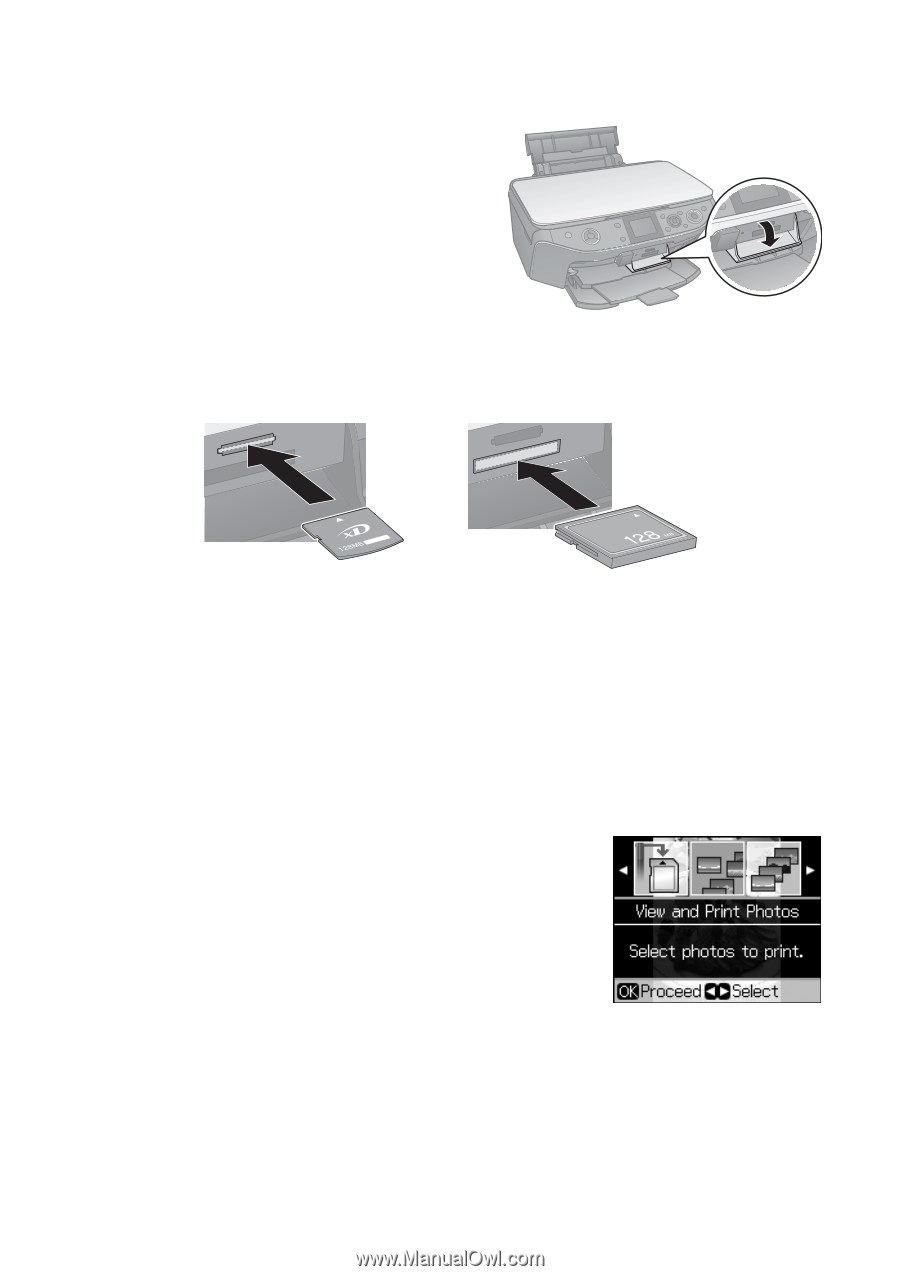
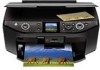
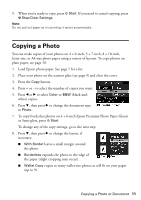
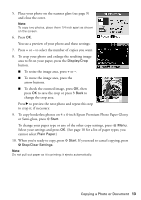
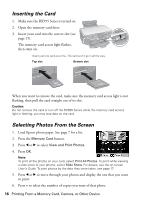
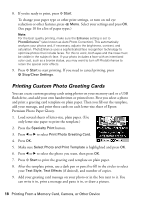
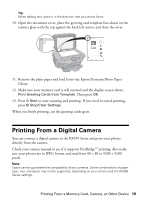
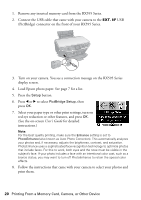
Inserting the Card 1. Make sure the RX595 Series is turned on. 2. Open the memory card door. 3. Insert your card into the correct slot (see page 15). The memory card access light flashes, then stays on. Insert just one card at a time. The card won't go in all the way. Top slot Bottom slot When you want to remove the card, make sure the memory card access light is not flashing, then pull the card straight out of its slot. Caution: Do not remove the card or turn off the RX595 Series while the memory card access light is flashing; you may lose data on the card. Selecting Photos From the Screen 1. Load Epson photo paper. See page 7 for a list. 2. Press the Memory Card button. 3. Press l or r to select View and Print Photos. 4. Press OK. Note: To print all the photos on your card, select Print All Photos. To print while viewing a slide show of your photos, select Slide Show. For details, see the on-screen User's Guide. To print photos by the date they were taken, see page 17. 5. Press l or r to move through your photos and display the one that you want to print. 6. Press + to select the number of copies you want of that photo. 16 Printing From a Memory Card, Camera, or Other Device
-
 1
1 -
2
-
3
-
4
-
5
-
6
-
7
-
8
-
9
-
10
-
 11
11 -
 12
12 -
 13
13 -
 14
14 -
 15
15 -
 16
16 -
 17
17 -
 18
18 -
 19
19 -
 20
20 -
 21
21 -
22
-
23
-
24
-
25
-
26
-
27
-
28
-
29
-
30
-
31
-
32
-
33
-
34
-
35
-
36
-
37
-
38
-
39
-
40
-
41
-
42
-
43
-
44
-
45
-
46
-
47
-
48
 |
 |