Epson RX595 Quick Reference Guide - Page 18
Printing Custom Photo Greeting Cards, Premium Photo Paper Glossy.
 |
UPC - 010343866157
View all Epson RX595 manuals
Add to My Manuals
Save this manual to your list of manuals |
Page 18 highlights
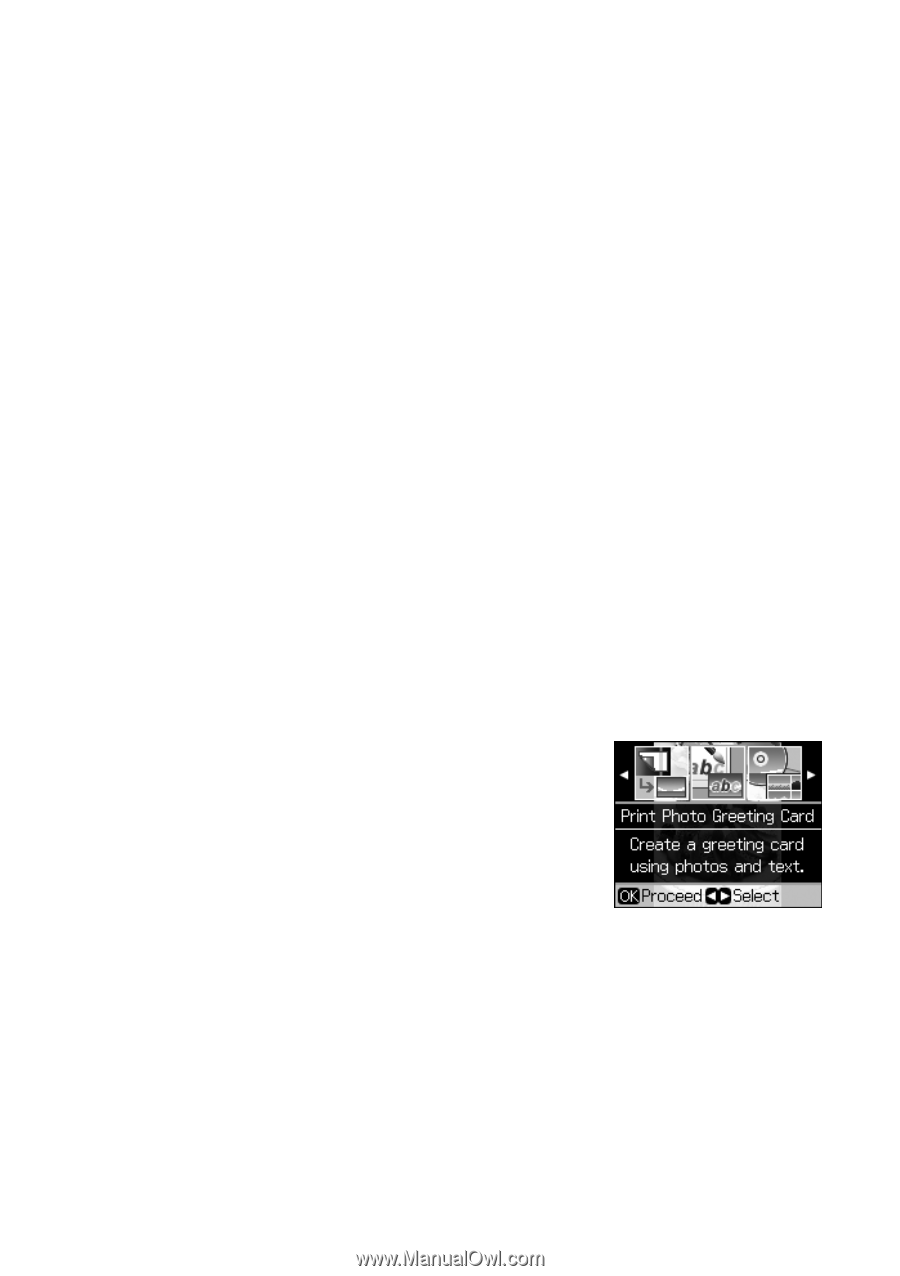
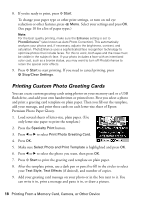
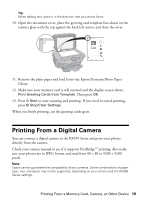
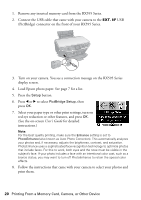
8. If you're ready to print, press x Start. To change your paper type or other print settings, or turn on red eye reduction or other features, press x Menu. Select your settings and press OK. (See page 10 for a list of paper types.) Note: For the best quality printing, make sure the Enhance setting is set to PhotoEnhance™ (also known as Auto Photo Correction). This automatically analyzes your photos and, if necessary, adjusts the brightness, contrast, and saturation. PhotoEnhance uses a sophisticated face recognition technology to optimize photos that include faces. For this to work, both eyes and the nose must be visible in the subject's face. If your photo includes a face with an intentional color cast, such as a bronze statue, you may want to turn off PhotoEnhance to retain the special color effects. 9. Press x Start to start printing. If you need to cancel printing, press y Stop/Clear Settings. Printing Custom Photo Greeting Cards You can create custom greeting cards using photos on your memory card or a USB flash drive, and add your own handwritten or printed text. First you select a photo and print a greeting card template on plain paper. Then you fill out the template, add your message, and print three cards on each letter-size sheet of Epson Premium Photo Paper Glossy. 1. Load several sheets of letter-size, plain paper. (Use only letter-size paper to print the template.) 2. Press the Specialty Print button. 3. Press l or r to select Print Photo Greeting Card. 4. Press OK. 5. Make sure Select Photo and Print Template is highlighted and press OK. 6. Press l or r to select the photo you want, then press OK. 7. Press x Start to print the greeting card template on plain paper. 8. After the template prints, use a dark pen or pencil to fill in the circles to select your Text Style, Text Effects (if desired), and number of copies. 9. Add your greeting card message on your photo or in the box next to it. You can write it in, print a message and paste it in, or draw a picture. 18 Printing From a Memory Card, Camera, or Other Device
-
 1
1 -
2
-
3
-
4
-
5
-
6
-
7
-
8
-
9
-
10
-
11
-
12
-
 13
13 -
 14
14 -
 15
15 -
 16
16 -
 17
17 -
 18
18 -
 19
19 -
 20
20 -
 21
21 -
 22
22 -
 23
23 -
24
-
25
-
26
-
27
-
28
-
29
-
30
-
31
-
32
-
33
-
34
-
35
-
36
-
37
-
38
-
39
-
40
-
41
-
42
-
43
-
44
-
45
-
46
-
47
-
48
 |
 |