HP 2500c HP 2500C/C+/CM Professional Series Color Printer - (English) User's G - Page 28
the LCD panel., To verify installation of the PostScript 3 Module, select the PostScript
 |
View all HP 2500c manuals
Add to My Manuals
Save this manual to your list of manuals |
Page 28 highlights
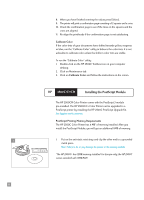
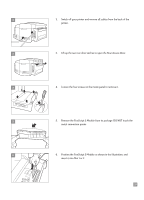
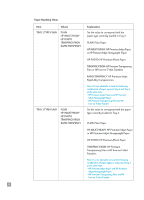
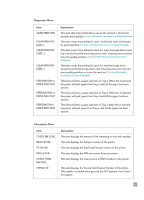
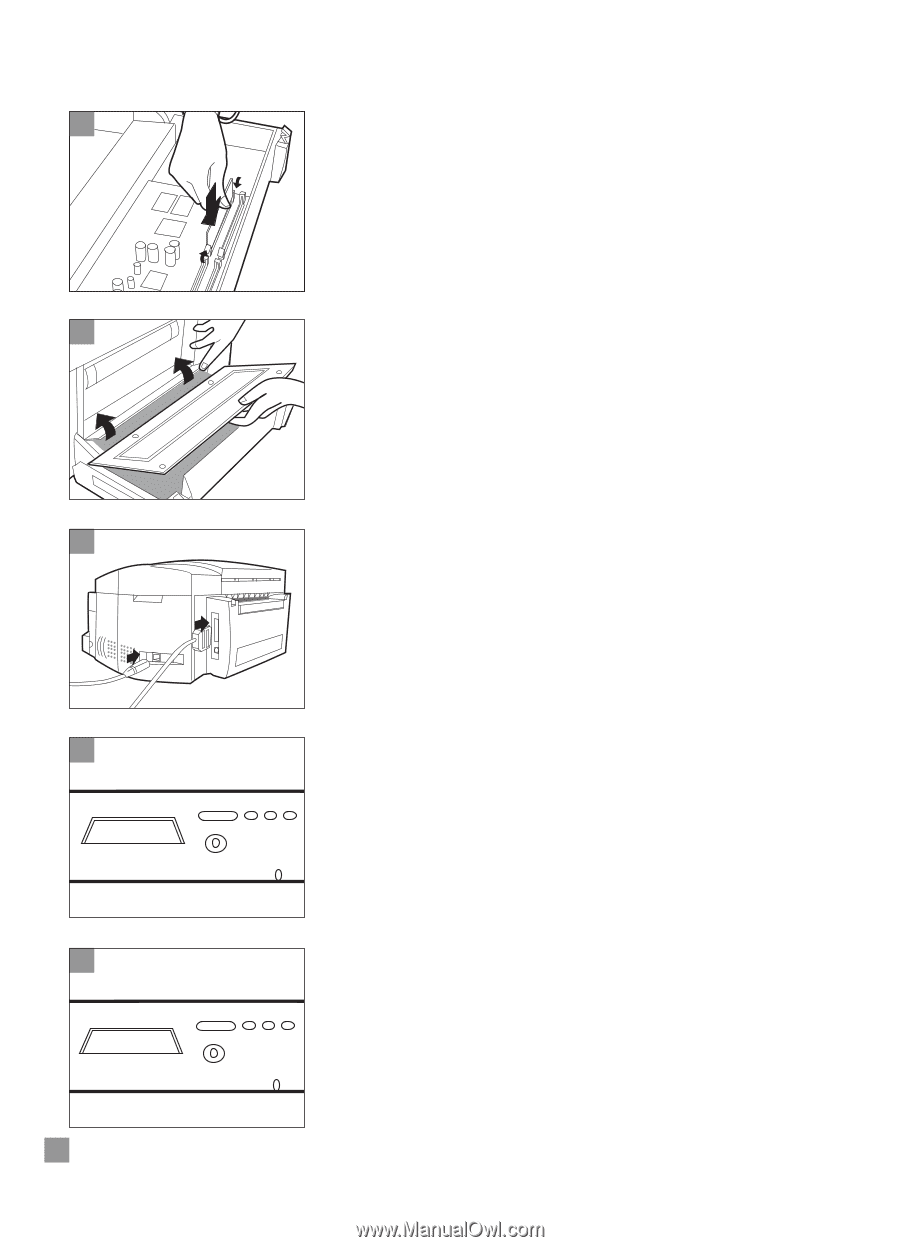
7 7. Push in the PostScript 3 Module until the two clips snap into place. 8 9 10 PS FW VER 11 X.X.X 24 8. Lift the plastic flap, place the metal panel on the Rear Access Door and fasten the screws. 9. Reconnect all cables to the back of the printer and power ON the printer. 10. To verify installation of the PostScript 3 Module, select the PostScript Firmware Version option in the Information Menu from the key panel. 11. The installed PostScript Firmware Version is displayed on the LCD panel.
-
 1
1 -
2
-
3
-
4
-
5
-
6
-
7
-
8
-
9
-
10
-
11
-
12
-
13
-
14
-
15
-
16
-
17
-
18
-
19
-
20
-
21
-
22
-
 23
23 -
 24
24 -
 25
25 -
 26
26 -
 27
27 -
 28
28 -
 29
29 -
 30
30 -
 31
31 -
 32
32 -
 33
33 -
34
-
35
-
36
-
37
-
38
-
39
-
40
-
41
-
42
-
43
-
44
-
45
-
46
-
47
-
48
-
49
-
50
-
51
-
52
-
53
-
54
-
55
-
56
-
57
-
58
-
59
-
60
-
61
-
62
-
63
-
64
-
65
-
66
 |
 |
11
10
9
8
7.
Push in the PostScript 3 Module until the two clips snap into place.
8.
Lift the plastic flap, place the metal panel on the Rear Access Door
and fasten the screws.
9.
Reconnect all cables to the back of the printer and power ON the
printer.
10.
To verify installation of the PostScript 3 Module, select the PostScript
Firmware Version option in the Information Menu from the key panel.
11.
The installed PostScript Firmware Version is displayed on
the LCD panel.
24
7
PS FW VER
X.X.X