HP Business Inkjet 1000 HP Business Inkjet 1000 - User Guide - Page 10
Connecting the printer, Connecting directly using a USB cable (Windows) - installer
 |
View all HP Business Inkjet 1000 manuals
Add to My Manuals
Save this manual to your list of manuals |
Page 10 highlights
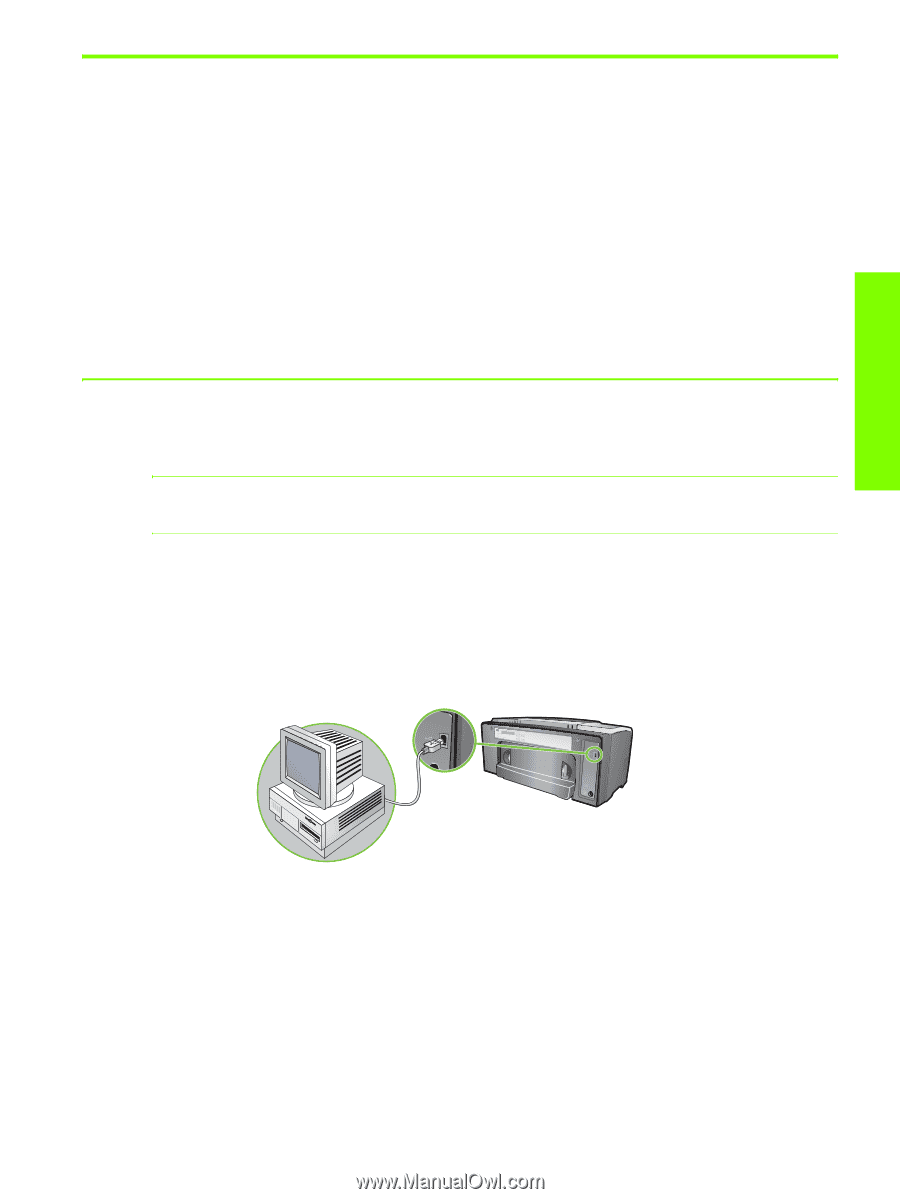
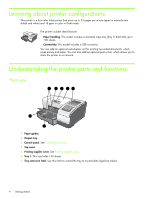
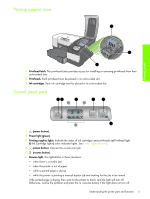
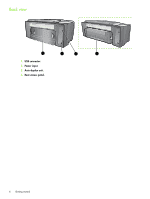
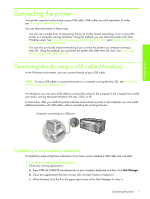
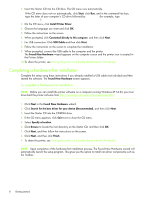
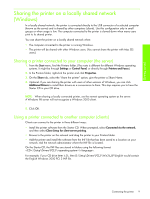
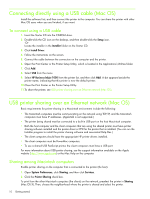
Getting started Connecting the printer Your printer supports local printing using a USB cable. (USB cables are sold separately. To order, see HP supplies and accessories.) You can share the printer in these ways: • You can use a simple form of networking, known as locally shared networking, if you connect the printer to a computer running Windows. Using this method, you can share the printer with other Windows users. See Connecting directly using a USB cable (Windows) and Sharing the printer on a locally shared network (Windows). • You can also use locally shared networking if you connect the printer to a computer running a Mac OS. Using this method, you can share the printer with other Mac OS users. See Connecting directly using a USB cable (Mac OS). Connecting directly using a USB cable (Windows) In the Windows environment, you can connect directly using a USB cable. NOTE: To use a USB cable to connect the printer to a computer running the Mac OS, see Connecting directly using a USB cable (Mac OS). For Windows, you can use a USB cable to connect the printer to the computer if the computer has a USB port and is running Microsoft Windows 98, Me, 2000, or XP. In most cases, after you install the printer software and connect a printer to the computer, you can install additional printers with USB cables without reinstalling the printing software. Computer connecting to a USB port Completing a software-first installation Complete the setup using these instructions if you have not yet installed a USB cable (not included). To complete a software-first installation 1. Close any running applications. a. Press CTRL+ALT+DELETE simultaneously on your computer keyboard and then click Task Manager. b. Close any applications that are running. (Do not close Systray or Explorer.) c. When finished, click the X in the upper-right corner of the Task Manager to close it. Connecting the printer 7
-
 1
1 -
2
-
3
-
4
-
 5
5 -
 6
6 -
 7
7 -
 8
8 -
 9
9 -
 10
10 -
 11
11 -
 12
12 -
 13
13 -
 14
14 -
 15
15 -
16
-
17
-
18
-
19
-
20
-
21
-
22
-
23
-
24
-
25
-
26
-
27
-
28
-
29
-
30
-
31
-
32
-
33
-
34
-
35
-
36
-
37
-
38
-
39
-
40
-
41
-
42
-
43
-
44
-
45
-
46
-
47
-
48
-
49
-
50
-
51
-
52
-
53
-
54
-
55
-
56
-
57
-
58
-
59
-
60
-
61
-
62
-
63
-
64
-
65
-
66
-
67
-
68
-
69
-
70
-
71
-
72
-
73
-
74
-
75
-
76
-
77
-
78
-
79
-
80
-
81
-
82
-
83
-
84
-
85
-
86
-
87
-
88
-
89
-
90
-
91
-
92
-
93
-
94
-
95
-
96
 |
 |