HP Business Inkjet 1000 HP Business Inkjet 1000 - User Guide - Page 39
To replace an ink cartridge, Insert the new ink cartridge into its own color-coded slot. - troubleshooting
 |
View all HP Business Inkjet 1000 manuals
Add to My Manuals
Save this manual to your list of manuals |
Page 39 highlights
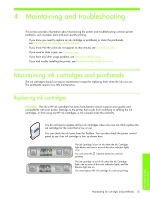
To replace an ink cartridge 1. Turn the printer power on, and then lift the printing supplies cover. 2. Remove the ink cartridge that requires replacement by grasping it between your thumb and forefinger and pulling it firmly toward you. 3. Insert the new ink cartridge into its own color-coded slot. 4. Press down firmly on the new cartridge to ensure proper contact after installation. 5. Close the printing supplies cover. 36 Maintaining and troubleshooting
-
 1
1 -
2
-
3
-
4
-
5
-
6
-
7
-
8
-
9
-
10
-
11
-
12
-
13
-
14
-
15
-
16
-
17
-
18
-
19
-
20
-
21
-
22
-
23
-
24
-
25
-
26
-
27
-
28
-
29
-
30
-
31
-
32
-
33
-
 34
34 -
 35
35 -
 36
36 -
 37
37 -
 38
38 -
 39
39 -
 40
40 -
 41
41 -
 42
42 -
 43
43 -
 44
44 -
45
-
46
-
47
-
48
-
49
-
50
-
51
-
52
-
53
-
54
-
55
-
56
-
57
-
58
-
59
-
60
-
61
-
62
-
63
-
64
-
65
-
66
-
67
-
68
-
69
-
70
-
71
-
72
-
73
-
74
-
75
-
76
-
77
-
78
-
79
-
80
-
81
-
82
-
83
-
84
-
85
-
86
-
87
-
88
-
89
-
90
-
91
-
92
-
93
-
94
-
95
-
96
 |
 |
Maintaining and troubleshooting
36
To replace an ink cartridge
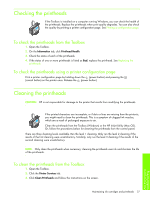
1.
Turn the printer power on, and then lift the printing supplies cover.
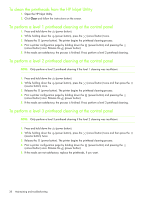
2.
Remove the ink cartridge that requires replacement by grasping it between your thumb and forefinger
and pulling it firmly toward you.
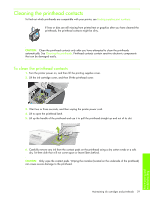
3.
Insert the new ink cartridge into its own color-coded slot.
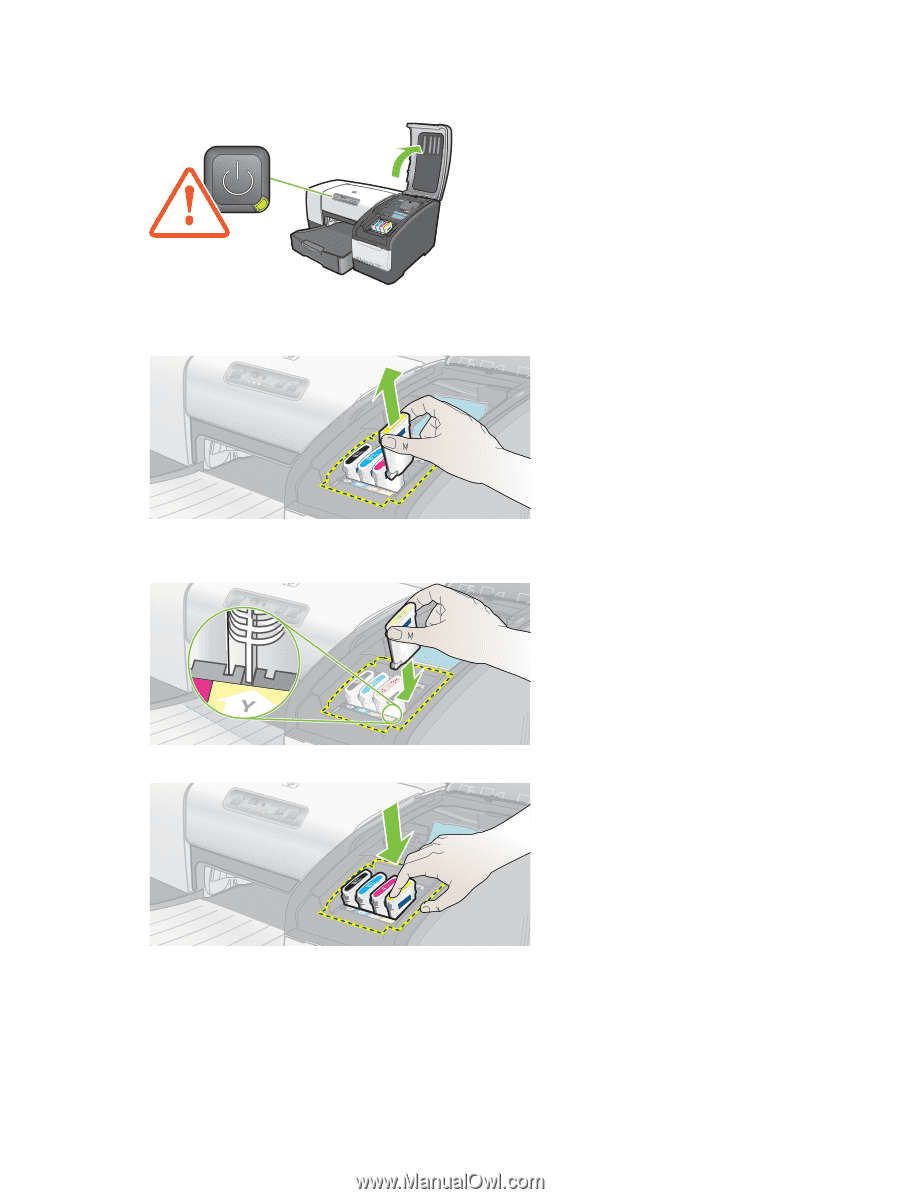
4.
Press down firmly on the new cartridge to ensure proper contact after installation.
5.
Close the printing supplies cover.