HP EliteBook 2760p Getting Started HP Notebook - Windows 7 - Page 32
Setting auto panel rotation preferences, Using pointing devices, Setting pointing device preferences - tablet
 |
View all HP EliteBook 2760p manuals
Add to My Manuals
Save this manual to your list of manuals |
Page 32 highlights
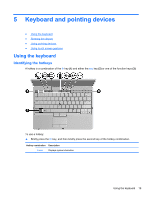
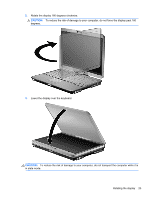
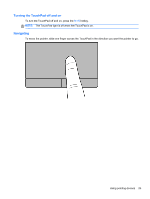
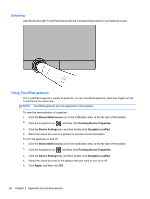
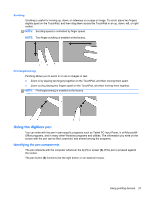
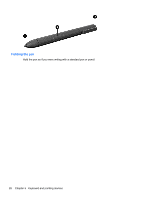
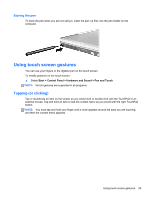
Setting auto panel rotation preferences Use Tablet Screen Rotation in Windows to customize settings for the auto panel rotation feature. This will allow the computer screen to rotate between landscape and portrait orientation either automatically or manually when operating in slate mode. To turn on auto panel rotation: 1. Select Start > Control Panel > Tablet Screen Rotation. 2. Select Automatically rotate screen using accelerometer. 3. Click OK. NOTE: Auto panel rotation is disabled if an external monitor is connected to the computer. Using pointing devices NOTE: In addition to the pointing devices included with your computer, you can use an external USB mouse (purchased separately) by connecting it to one of the USB ports on the computer. Setting pointing device preferences Use Mouse Properties in Windows to customize settings for pointing devices, such as button configuration, click speed, and pointer options. To access Mouse Properties: Windows 7-Select Start > Devices and Printers. Then right-click the device representing your computer, and select Mouse settings. Windows Vista-Select Start > Control Panel > Hardware and Sound > Mouse. Using the pointing stick Press the pointing stick in the direction you want to move the pointer on the screen. Use the left and right pointing stick buttons as you would the left and right buttons on an external mouse. Using the TouchPad To move the pointer, slide one finger across the TouchPad in the direction you want the pointer to go. Use the left and right TouchPad buttons like the buttons on an external mouse. To scroll up and down using the TouchPad vertical scroll zone, slide your finger up or down over the lines. NOTE: If you are using the TouchPad to move the pointer, you must lift your finger off the TouchPad before moving it to the scroll zone. Simply sliding your finger from the TouchPad to the scroll zone does not activate the scrolling function. 24 Chapter 5 Keyboard and pointing devices
-
 1
1 -
2
-
3
-
4
-
5
-
6
-
7
-
8
-
9
-
10
-
11
-
12
-
13
-
14
-
15
-
16
-
17
-
18
-
19
-
20
-
21
-
22
-
23
-
24
-
25
-
26
-
 27
27 -
 28
28 -
 29
29 -
 30
30 -
 31
31 -
 32
32 -
 33
33 -
 34
34 -
 35
35 -
 36
36 -
 37
37 -
38
-
39
-
40
-
41
-
42
-
43
-
44
-
45
-
46
-
47
-
48
-
49
-
50
-
51
-
52
-
53
-
54
-
55
-
56
-
57
-
58
-
59
-
60
-
61
-
62
-
63
-
64
-
65
-
66
-
67
-
68
 |
 |