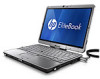
HP EliteBook 2760p Getting Started HP Notebook - Windows 7 - Page 49
connector down, by inserting the cable into the ZIF connector and pressing - memory
 |
View all HP EliteBook 2760p manuals
Add to My Manuals
Save this manual to your list of manuals |
Page 49 highlights
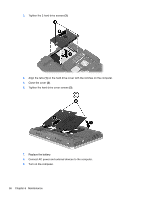
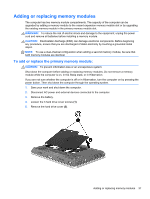
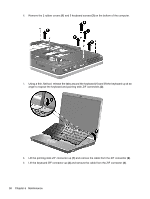
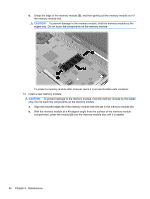
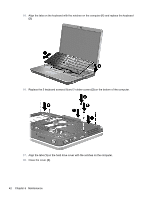
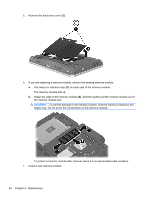
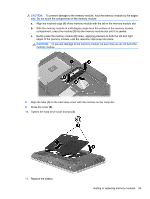
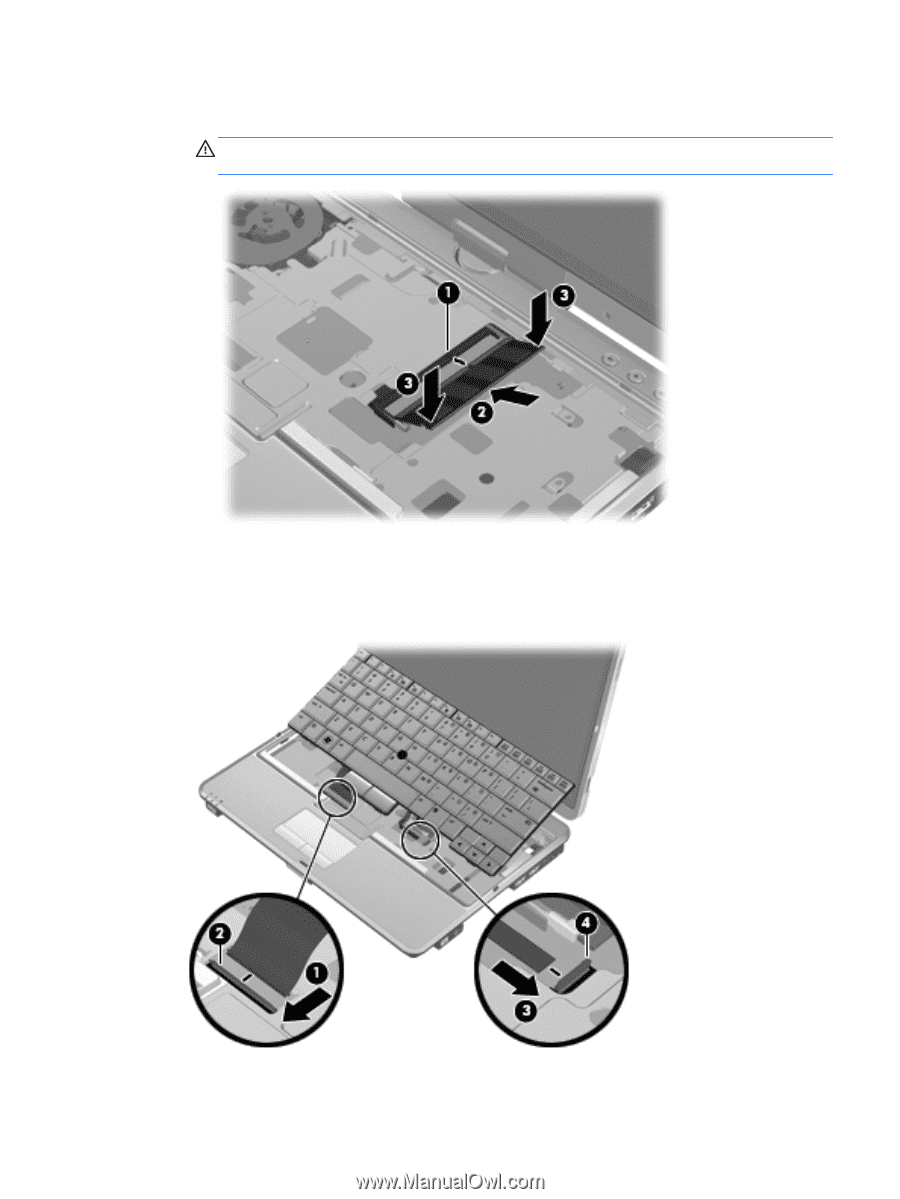
c. Gently press the memory module (3) down, applying pressure to both the left and right edges of the memory module, until the retention clips snap into place. CAUTION: To prevent damage to the memory module, be sure that you do not bend the memory module. 13. Reconnect the keyboard cable (1) by inserting the cable into the ZIF connector and pressing the connector down (2). 14. Reconnect the pointing stick cable (3) by inserting the cable into the ZIF connector and pressing the connector down (4). Adding or replacing memory modules 41
-
 1
1 -
2
-
3
-
4
-
5
-
6
-
7
-
8
-
9
-
10
-
11
-
12
-
13
-
14
-
15
-
16
-
17
-
18
-
19
-
20
-
21
-
22
-
23
-
24
-
25
-
26
-
27
-
28
-
29
-
30
-
31
-
32
-
33
-
34
-
35
-
36
-
37
-
38
-
39
-
40
-
41
-
42
-
43
-
 44
44 -
 45
45 -
 46
46 -
 47
47 -
 48
48 -
 49
49 -
 50
50 -
 51
51 -
 52
52 -
 53
53 -
 54
54 -
55
-
56
-
57
-
58
-
59
-
60
-
61
-
62
-
63
-
64
-
65
-
66
-
67
-
68
 |
 |
c.
Gently press the memory module
(3)
down, applying pressure to both the left and right
edges of the memory module, until the retention clips snap into place.
CAUTION:
To prevent damage to the memory module, be sure that you do not bend the
memory module.
13.
Reconnect the keyboard cable
(1)
by inserting the cable into the ZIF connector and pressing the
connector down
(2)
.
14.
Reconnect the pointing stick cable
(3)
by inserting the cable into the ZIF connector and pressing
the connector down
(4)
.
Adding or replacing memory modules
41