HP LD4200tm HP LD4200tm LCD Monitor User Guide - Page 48
Multi Monitor Display, Touch Devices
 |
View all HP LD4200tm manuals
Add to My Manuals
Save this manual to your list of manuals |
Page 48 highlights
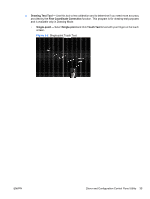
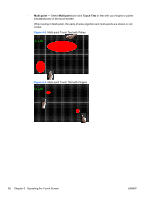
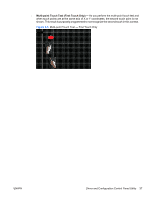
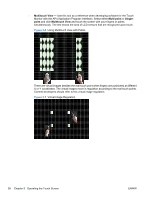
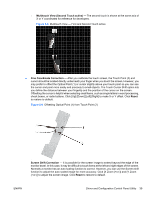
Multi Monitor Display The Multi Monitor Display tab displays the options to map the monitor and touch screen together and to activate and configure multi-monitor support. When mapping multiple monitors, you must map each touch screen to a monitor in the Touch Devices Monitor Mapping window. Click Mapping and double-click the icon of the desired monitor. You must do this in order to individually calibrate and configure each touch screen connected to your system. In Multi-monitor mode, check Support multiple monitors to activate this option. Select Clone mode, Independent mode, or Stretch mode depending on your required configuration. ● Clone Mode - Select to make one of the monitors as the primary one. All other monitors have the same image as the primary monitor. The touch screen on each monitor functions as clone mode too. ● Independent Mode - Select to make all screens show the same image and the touch screen on each monitor functions independently. ● Stretch Mode - Select to make all screens combine as a single image. In this mode the touch screen on each monitor functions independently. Each monitor resolution and display mode (clone, independent, or stretch) should be done before completing the display settings. If a monitor resolution changes, the Multi-monitor mode should be set again to set the resolution and coordinates. In Windows Display Properties, the number 1 monitor should always be located on the left on multimonitor settings. You can set the number 1 monitor to be on the left of the number 2 monitor by selecting Windows Display Properties > Settings. 40 Chapter 5 Operating the Touch Screen ENWW
-
 1
1 -
2
-
3
-
4
-
5
-
6
-
7
-
8
-
9
-
10
-
11
-
12
-
13
-
14
-
15
-
16
-
17
-
18
-
19
-
20
-
21
-
22
-
23
-
24
-
25
-
26
-
27
-
28
-
29
-
30
-
31
-
32
-
33
-
34
-
35
-
36
-
37
-
38
-
39
-
40
-
41
-
42
-
 43
43 -
 44
44 -
 45
45 -
 46
46 -
 47
47 -
 48
48 -
 49
49 -
 50
50 -
 51
51 -
 52
52 -
 53
53 -
54
-
55
-
56
-
57
-
58
-
59
-
60
-
61
-
62
-
63
-
64
-
65
-
66
-
67
-
68
-
69
-
70
-
71
-
72
-
73
-
74
-
75
-
76
-
77
-
78
-
79
-
80
-
81
-
82
-
83
-
84
 |
 |
