HP ProLiant BL420c HP Service Pack for ProLiant User Guide - Page 20
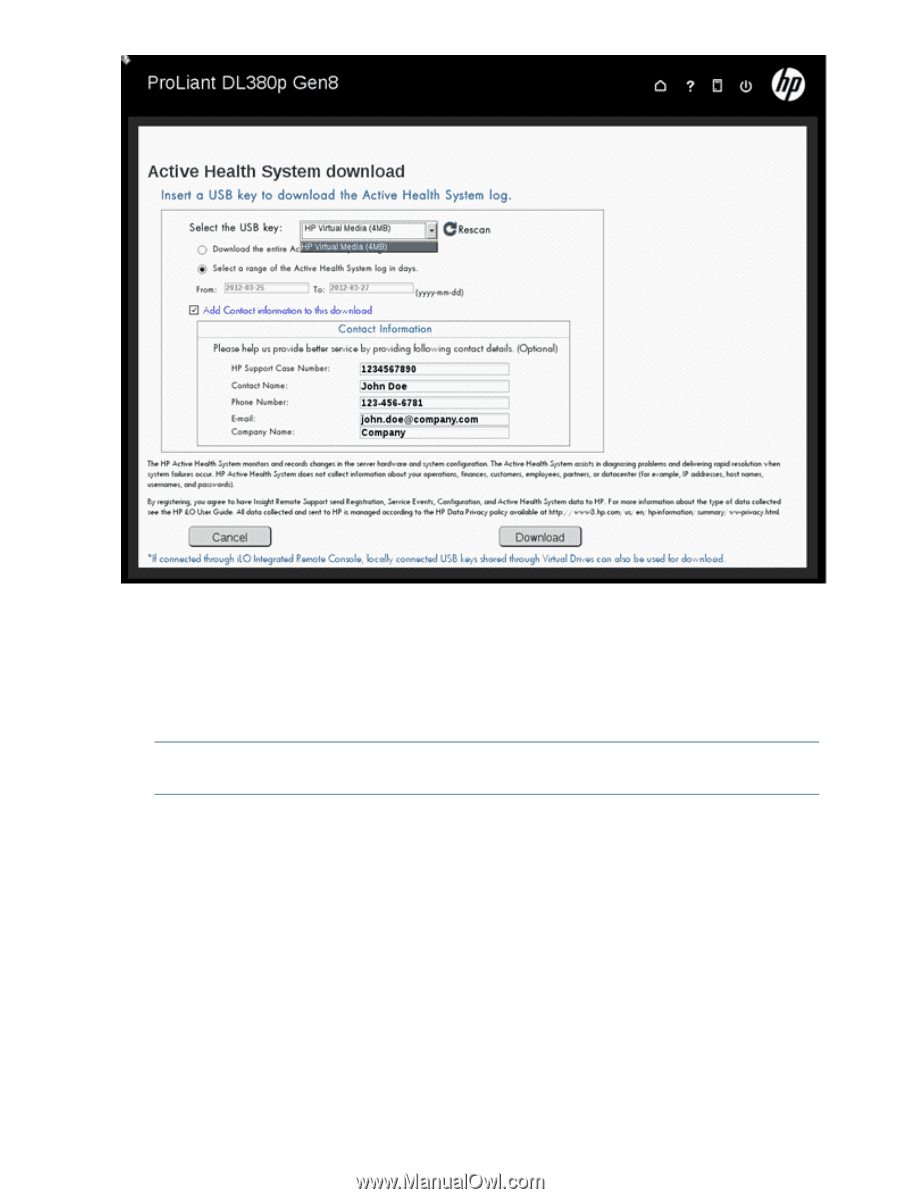
Active Health System download, Rescan, Download the entire Active Health System log
 |
View all HP ProLiant BL420c manuals
Add to My Manuals
Save this manual to your list of manuals |
Page 20 highlights
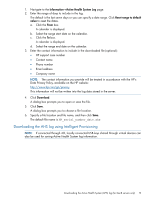
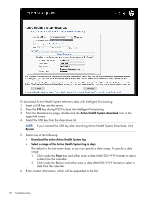
To download Active Health System telemetry data with Intelligent Provisioning: 1. Insert a USB key into the server. 2. Press the F10 key during POST to boot into Intelligent Provisioning. 3. From the Maintenance page, double-click the Active Health System download icon in the upper left corner. 4. Select the USB key from the drop down list. NOTE: If you inserted the USB key after launching Active Health System Download, click Rescan. 5. Select one of the following: • Download the entire Active Health System log • Select a range of the Active Health System log in days The default is the last seven days, or you can specify a date range. To specify a date range: 1. Click inside the From box and either enter a date (MM/DD/YYYY format) or select a date from the calendar. 2. Click inside the To box and either enter a date (MM/DD/YYYY format) or select a date from the calendar. 6. Enter contact information, which will be appended to the file: 20 Troubleshooting
-
 1
1 -
2
-
3
-
4
-
5
-
6
-
7
-
8
-
9
-
10
-
11
-
12
-
13
-
14
-
 15
15 -
 16
16 -
 17
17 -
 18
18 -
 19
19 -
 20
20 -
 21
21 -
 22
22 -
 23
23 -
 24
24 -
 25
25 -
26
-
27
-
28
-
29
 |
 |