HP Scanjet 8200c HP Scanjet 8200 series scanners - (English) User Manual - Page 22
Accept, New Scan, and then click - windows 7
 |
View all HP Scanjet 8200c manuals
Add to My Manuals
Save this manual to your list of manuals |
Page 22 highlights
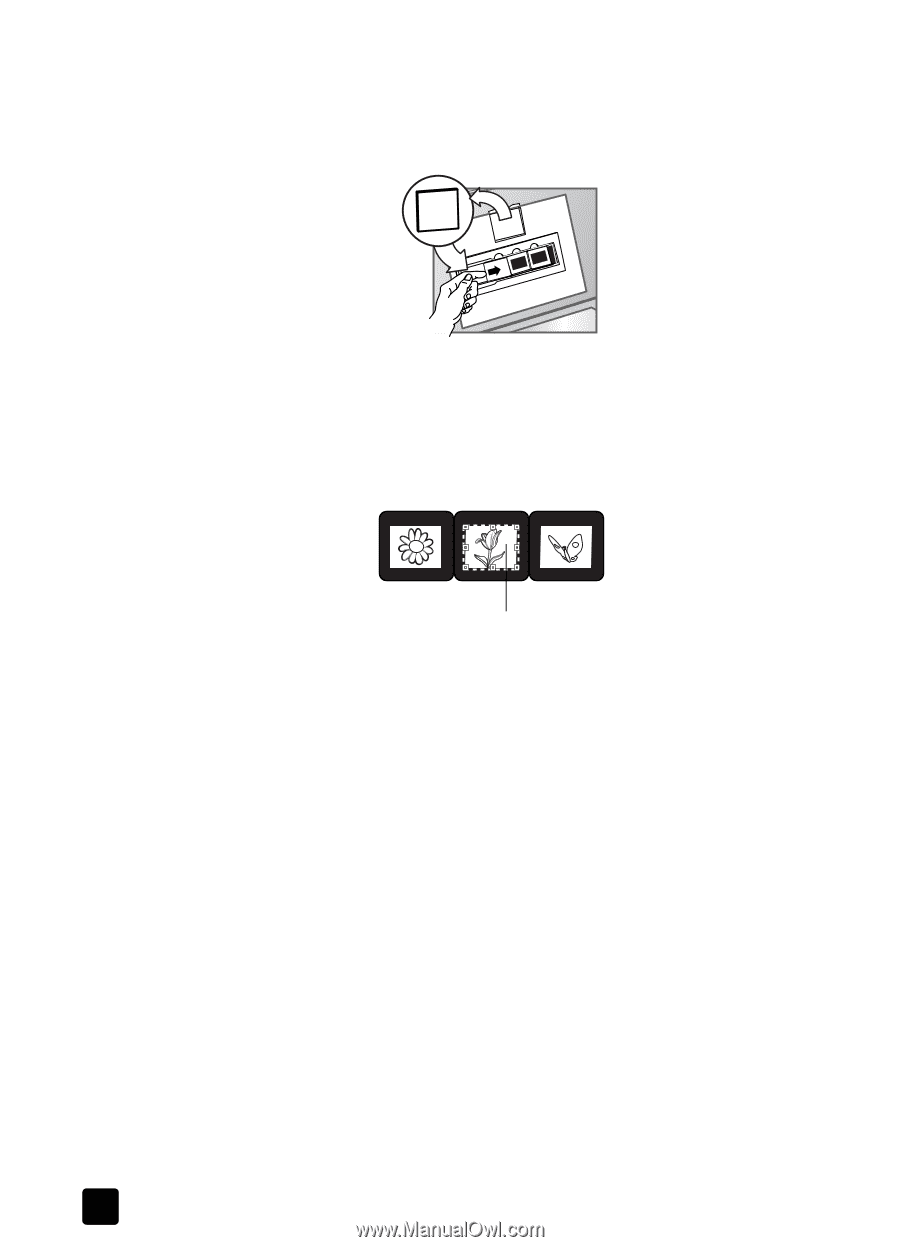
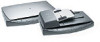
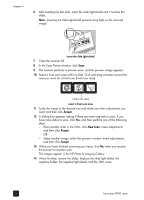
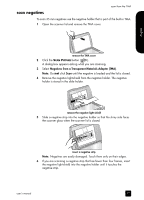
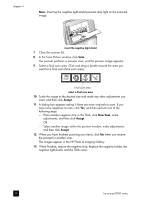
chapter 4 6 After loading the last slide, insert the slide light-shield until it touches the slides. Note: Inserting the slide light-shield prevents stray light on the scanned image. insert the slide light-shield 7 Close the scanner lid. 8 In the Scan Picture window, click Scan. 9 The scanner performs a preview scan, and the preview image appears. 10 Select a final scan area within a slide. Click and drag a border around the area you want for a final scan (final scan area). Final scan area select a final scan area 11 Scale the image to the desired size and make any other adjustments you want, and then click Accept. 12 A dialog box appears asking if there are more originals to scan. If you have more slides to scan, click Yes, and then perform one of the following steps: - Place another slide in the TMA, click New Scan, make adjustments, and then click Accept. OR - Select another image within the preview window, make adjustments, and then click Accept. 13 When you have finished scanning your items, click No when you receive the prompt for another scan. The images appear in the HP Photo & Imaging Gallery. 14 When finished, remove the slides. Replace the slide light-shield, the negative holder, the negative light-shield, and the TMA cover. 16 hp scanjet 8200 series
-
 1
1 -
2
-
3
-
4
-
5
-
6
-
7
-
8
-
9
-
10
-
11
-
12
-
13
-
14
-
15
-
16
-
 17
17 -
 18
18 -
 19
19 -
 20
20 -
 21
21 -
 22
22 -
 23
23 -
 24
24 -
 25
25 -
 26
26 -
 27
27 -
28
-
29
-
30
-
31
-
32
-
33
-
34
-
35
-
36
-
37
-
38
-
39
-
40
-
41
-
42
-
43
-
44
-
45
-
46
-
47
-
48
-
49
-
50
-
51
-
52
-
53
-
54
-
55
-
56
-
57
-
58
-
59
-
60
-
61
-
62
-
63
-
64
-
65
-
66
-
67
-
68
-
69
-
70
-
71
-
72
-
73
-
74
-
75
-
76
-
77
-
78
-
79
-
80
-
81
-
82
-
83
-
84
 |
 |