Hitachi C8FSE Instruction Manual - Page 25
Caution - dust bags
 |
UPC - 717709012998
View all Hitachi C8FSE manuals
Add to My Manuals
Save this manual to your list of manuals |
Page 25 highlights
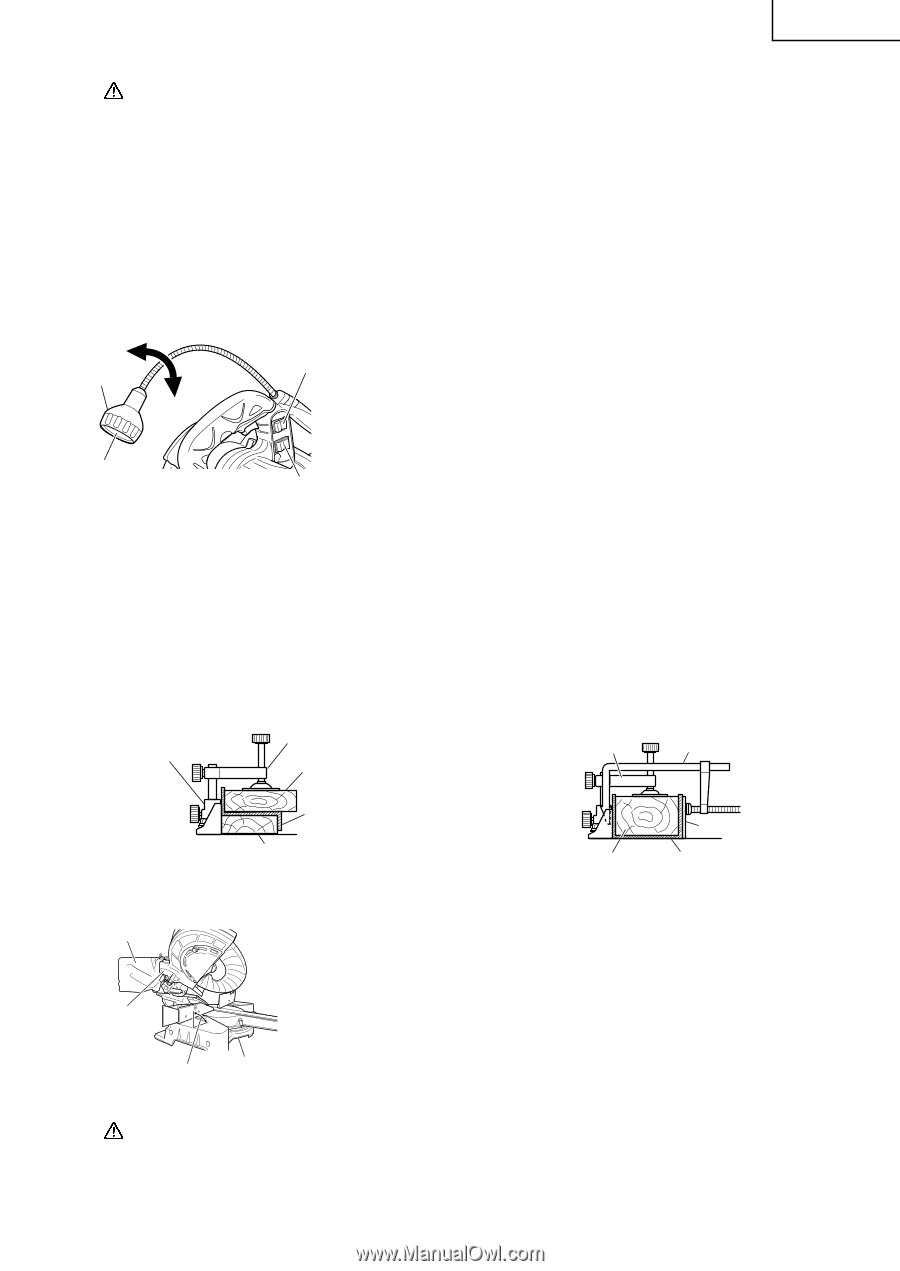
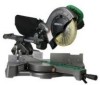
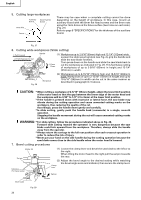
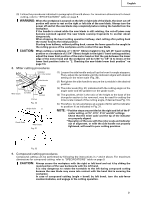
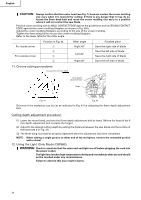
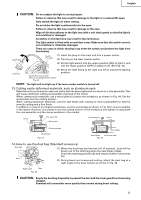
English CAUTION: Do not subject the light to strong impact. Failure to observe this may result in damage to the light or a reduced life span. Only switch the light on when cutting. Do not shine the light continuously into the eyes. Failure to observe this may result in damage to the eyes. Wipe all dirt that adheres to the light lens with a soft cloth gently so that the light is not scratched or damaged. Scratches on the light lens may result in less luminance. The light switch is fitted with an anti-dust cover. Make sure that the switch cover is not scratched or otherwise damaged. There are cases in which shavings may enter the switch and prevent the light from functioning. Light fitting Switch (1) Insert the plug on the main unit into a power socket. (For light) (2) Turning on the laser marker switch. (3) Set the light switch into the upper position (ON) to light it, and into the lower position (OFF) to switch it off. (See Fig. 43) Light lens (4) Move the light fitting to the right and left to adjust the lighting position. Switch (For laser marker) (Also serves as light power switch) Fig. 43 NOTE: The light will not light up if the laser marker switch is turned off. 13. Cutting easily-deformed materials, such as aluminum sash Materials such as aluminum sash can easily deform when tightened too much in a vise assembly. This will cause inefficient cutting and possible overload of the motor. When cutting such materials, use a wood plate to protect the workpiece as shown in Fig. 44. Set the wood plate near the cutting section. When cutting aluminum materials, coat the saw blade with cutting oil (non-combustible) to achieve smooth cutting and a fine finish. In addition, in case of a U-shaped workpiece, use the wood plate as shown in Fig. 45 to ensure stability in the lateral direction, and clamp it near the cutting section of the workpiece and tighten it using both the vise assembly and the clamp available in the market. Fence Vise assembly Wood plate Vise assembly Clamp Aluminum sash Wood plate Fig. 44 Wood plate Wood plate Aluminum sash Fig. 45 14. How to use the dust bag (Standard accessory) Dust bag (1) When the dust bag has become full of sawdust, dust will be blown out of the dust bag when the saw blade rotates. Check the dust bag periodically and empty it before it becomes full. Duct (2) During bevel and compound cutting, attach the dust bag at a right angle to the base surface as shown in Fig. 46. Right angle Base Fig. 46 CAUTION: Empty the dust bag frequently to prevent the duct and the lower guard from becoming clogged. Sawdust will accumulate more quickly than normal during bevel cutting. 25
-
 1
1 -
2
-
3
-
4
-
5
-
6
-
7
-
8
-
9
-
10
-
11
-
12
-
13
-
14
-
15
-
16
-
17
-
18
-
19
-
 20
20 -
 21
21 -
 22
22 -
 23
23 -
 24
24 -
 25
25 -
 26
26 -
 27
27 -
 28
28 -
 29
29 -
 30
30 -
31
-
32
-
33
-
34
-
35
-
36
-
37
-
38
-
39
-
40
-
41
-
42
-
43
-
44
-
45
-
46
-
47
-
48
-
49
-
50
-
51
-
52
-
53
-
54
-
55
-
56
-
57
-
58
-
59
-
60
-
61
-
62
-
63
-
64
-
65
-
66
-
67
-
68
-
69
-
70
-
71
-
72
-
73
-
74
-
75
-
76
-
77
-
78
-
79
-
80
-
81
-
82
-
83
-
84
-
85
-
86
-
87
-
88
-
89
-
90
-
91
-
92
-
93
-
94
-
95
-
96
 |
 |