IBM IC35L040AVER07 Reference Manual - Page 39
Add a new drive as the boot drive, keeping the old boot drive - jumper
 |
View all IBM IC35L040AVER07 manuals
Add to My Manuals
Save this manual to your list of manuals |
Page 39 highlights
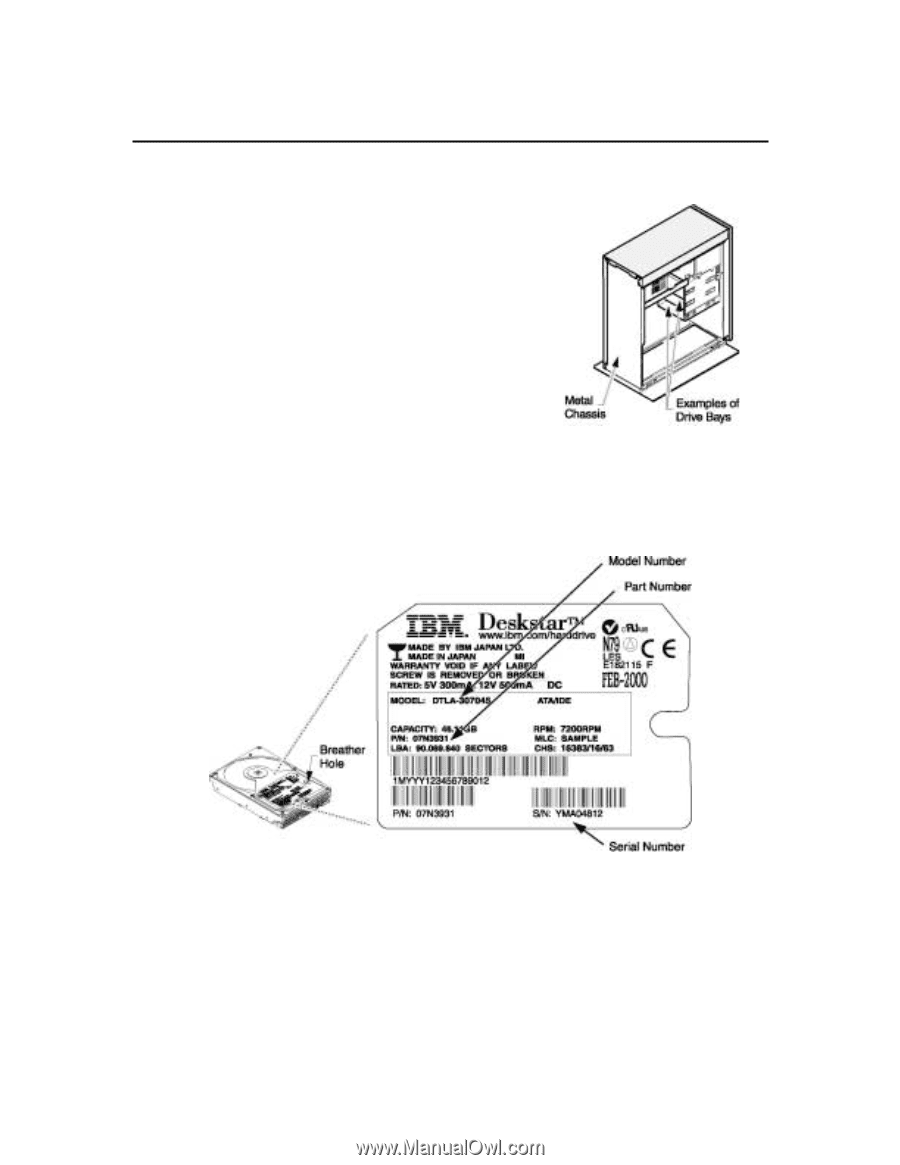
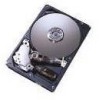
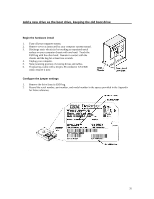
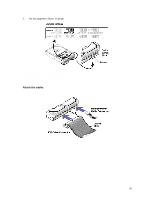
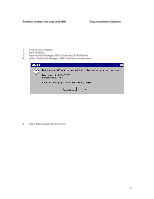
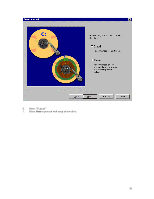
Add a new drive as the boot drive, keeping the old boot drive The following steps exchange an existing boot drive with the IBM Deskstar. The new drive is installed as Primary Slave so data can be copied from the old boot drive to the IBM Deskstar before booting to the new drive. Begin the hardware install 1. Turn off your computer system. 2. Remove cover as instructed by your computer system manual. 3. Discharge static electricity by touching an unpainted metal surface on your computer chassis with one hand. Touch the ESD bag with the other hand. Remain in contact with the chassis and the bag for at least two seconds. 4. Unplug your computer. 5. Note mounting position of existing drives and cables. 6. If replacing a cable with a 40-pin, 80-conductor ATA/IDE cable, remove it now. Configure the jumper settings 1. Remove the drive from its ESD bag. 2. Record the serial number, part number, and model number in the spaces provided in the Appendix for future reference. Note: Placement of model, part, and serial numbers may vary. 35
-
 1
1 -
2
-
3
-
4
-
5
-
6
-
7
-
8
-
9
-
10
-
11
-
12
-
13
-
14
-
15
-
16
-
17
-
18
-
19
-
20
-
21
-
22
-
23
-
24
-
25
-
26
-
27
-
28
-
29
-
30
-
31
-
32
-
33
-
 34
34 -
 35
35 -
 36
36 -
 37
37 -
 38
38 -
 39
39 -
 40
40 -
 41
41 -
 42
42 -
 43
43 -
 44
44 -
45
-
46
-
47
-
48
-
49
-
50
-
51
-
52
-
53
-
54
-
55
-
56
-
57
-
58
-
59
-
60
-
61
-
62
-
63
-
64
-
65
-
66
 |
 |