Insignia NS-L19X-10A User Manual (English) - Page 33
Listening to FM radio
 |
UPC - 600603122453
View all Insignia NS-L19X-10A manuals
Add to My Manuals
Save this manual to your list of manuals |
Page 33 highlights
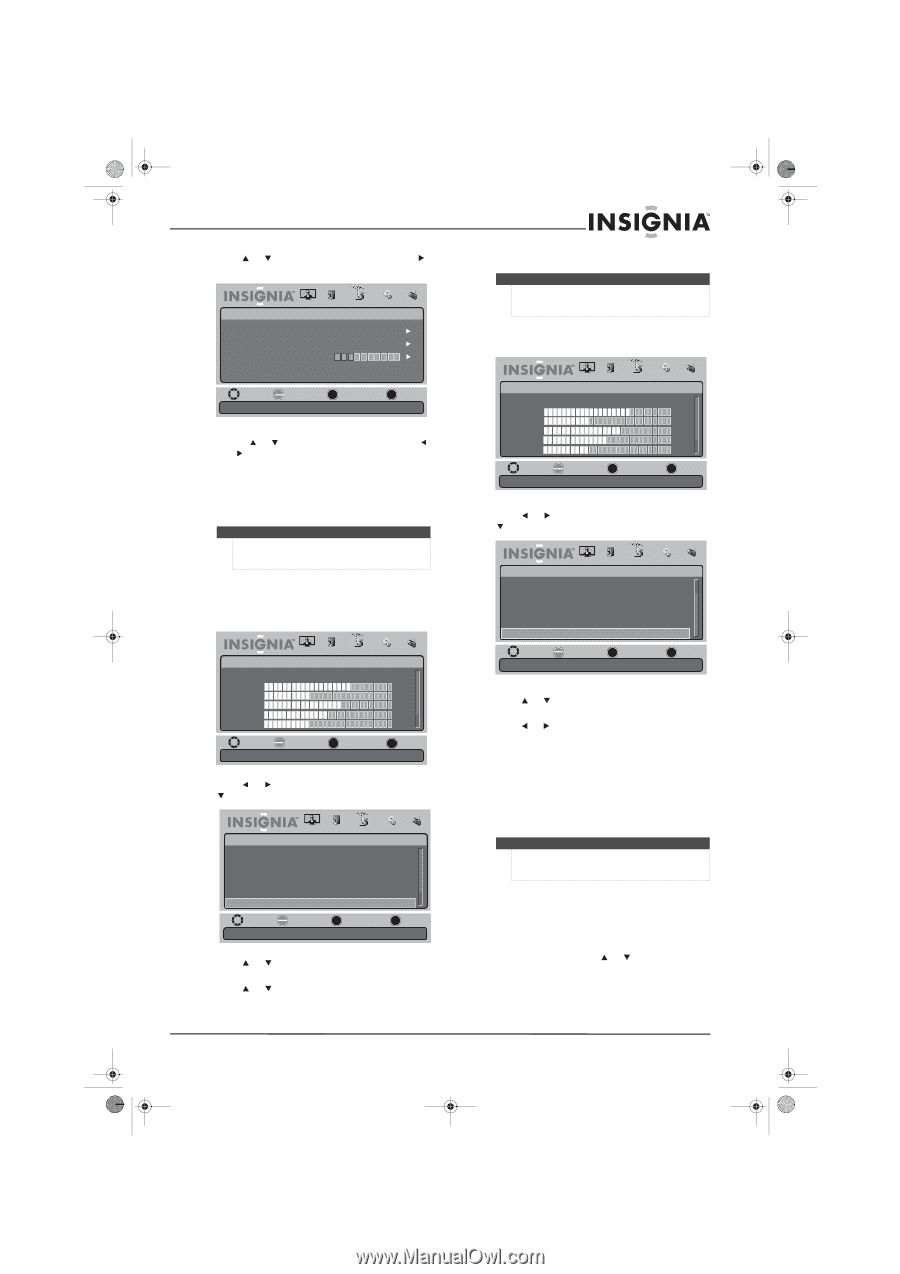
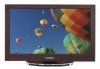
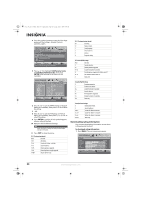
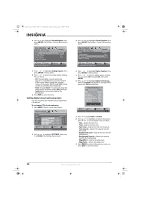
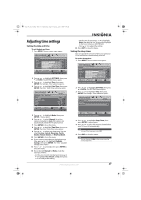
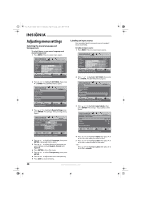
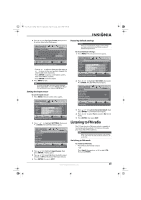
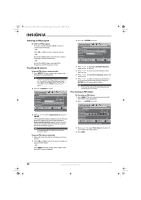
NS-L19X-10A_09-0241_MAN_V2_English.book Page 29 Tuesday, April 7, 2009 9:29 AM 6 Press or to highlight Custom, then press . A custom label entry field opens. PICTURE AUDIO CHANNELS SETTINGS RADIO Settings • Input Labels Input Label Custom Reset Input Labels AV1 Custom AP MOVE OK ENTER SELECT MENU PREVIOUS Create labels for the devices connected to your TV EXIT EXIT • Press or to select a character, then press or to move to the next position. Repeat this step to add more characters. • Press ENTER to open a confirmation screen, then select Yes to confirm. • Press ENTER to exit the menu. 7 Press MENU to exit. Note To restore input labels to factory default, highlight Reset Input Labels, then press ENTER. Select Yes on the confirmation screen and press ENTER again. Setting the input sensor To set the input sensor: 1 Press MENU. The on-screen menu opens. Picture Mode Brightness Contrast Color Tint Sharpness PICTURE AUDIO CHANNELS SETTINGS RADIO Standard 70 40 60 0 -16 MOVE OK SELECT ENTER MENU PREVIOUS Adjust settings to affect picture quality EXIT EXIT 2 Press or to highlight SETTINGS, then press or ENTER. The SETTINGS menu opens. Settings Parental Controls Closed Caption Time Menu Settings Input Labels Input Sensor PICTURE AUDIO CHANNELS SETTINGS RADIO On MOVE OK ENTER SELECT MENU PREVIOUS EXIT EXIT Detects devices connected to the ports on the back or side of the TV 3 Press or to highlight Input Sensor, then press ENTER. A menu opens. 4 Press or to select On (to activate the input sensor) or Off (to deactivate the input sensor). 5 Press ENTER, then press EXIT. Restoring default settings Caution When you restore default settings, all the settings you have customized (except the password and parental rating) are reset. To restore default settings: 1 Press MENU. The on-screen menu opens. Picture Mode Brightness Contrast Color Tint Sharpness PICTURE AUDIO CHANNELS SETTINGS RADIO Standard 70 40 60 0 -16 MOVE OK SELECT ENTER MENU PREVIOUS Adjust settings to affect picture quality EXIT EXIT 2 Press or to highlight SETTINGS, then press or ENTER. The SETTINGS menu opens. Settings PICTURE AUDIO CHANNELS SETTINGS RADIO Menu Settings Input Labels Input Sensor Off Computer Settings Component Settings Reset to Default MOVE Reset to Default OK ENTER SELECT MENU PREVIOUS EXIT EXIT 3 Press or to highlight Reset to Default, then press ENTER. A confirmation box opens. 4 Press or to select Yes (to reset) or No (to not reset). 5 Press ENTER, then press EXIT. Listening to FM radio This TV has a built-in FM tuner which is capable of receiving radio broadcasts. To listen to the radio, you must select FM mode first. Note Make sure to connect the FM antenna to the FM jack on the side of your TV, and extend the antenna as far as possible. Switching to FM mode To switch to FM mode: • Press FM on the remote control. - OR Press Input, then press or to select FM, then press ENTER. www.insigniaproducts.com 29
-
 1
1 -
2
-
3
-
4
-
5
-
6
-
7
-
8
-
9
-
10
-
11
-
12
-
13
-
14
-
15
-
16
-
17
-
18
-
19
-
20
-
21
-
22
-
23
-
24
-
25
-
26
-
27
-
 28
28 -
 29
29 -
 30
30 -
 31
31 -
 32
32 -
 33
33 -
 34
34 -
 35
35 -
 36
36 -
 37
37 -
 38
38 -
39
-
40
 |
 |