Intel PRO/100 Setup Guide - Page 4
Hardware Installation - ethernet
 |
UPC - 735858110105
View all Intel PRO/100 manuals
Add to My Manuals
Save this manual to your list of manuals |
Page 4 highlights
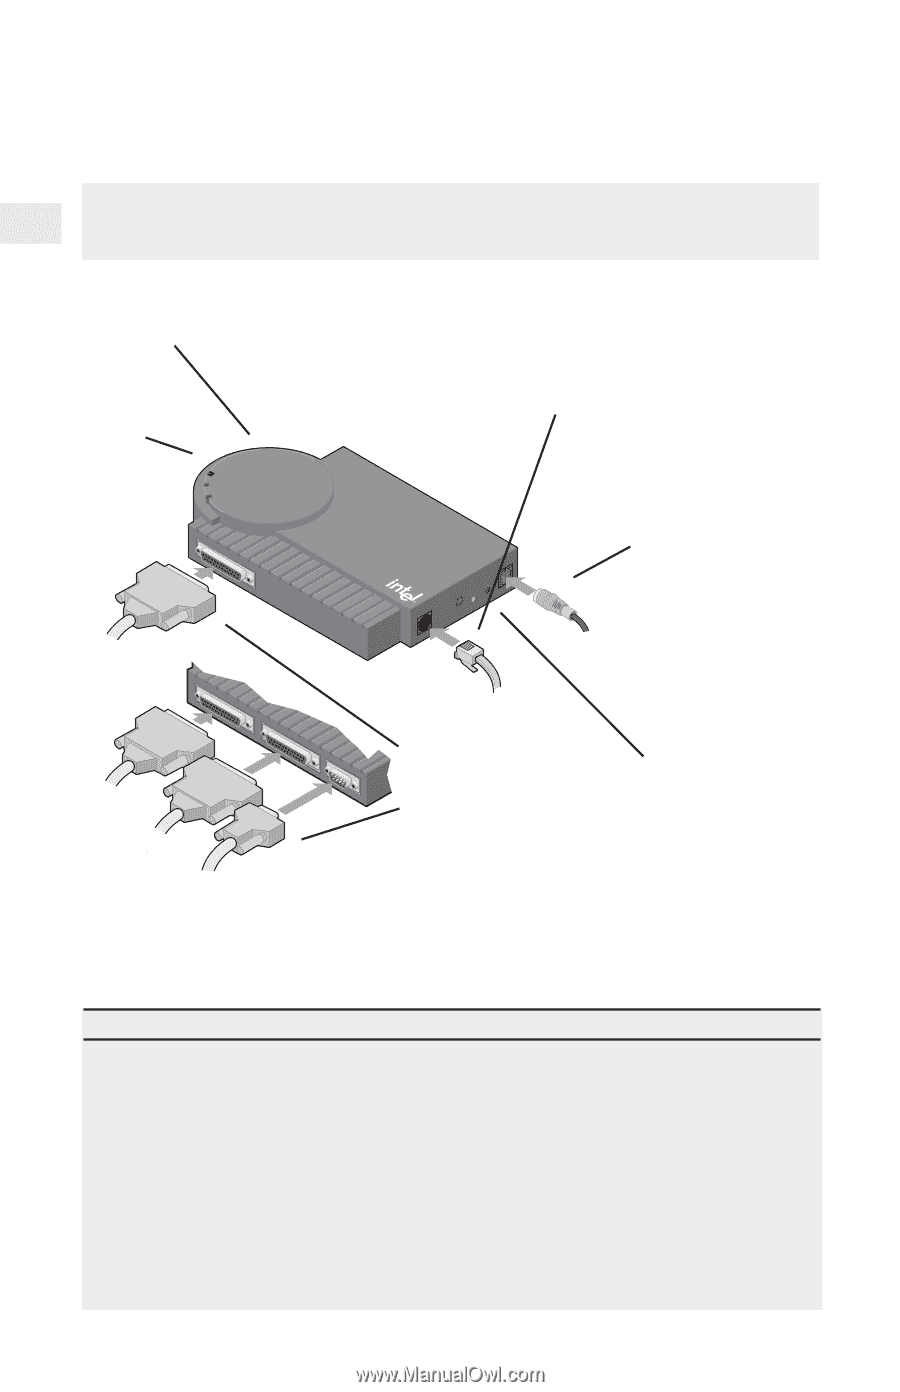
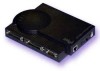
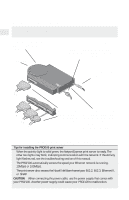
Hardware Installation NetportExpress PRO/100 Single-port and 3-port print servers (Ethernet only) Device ID and Network address (located on bottom) Activity light 1 Connect the network cable to the RJ-45 connector. Use Category 5 cable to connect to a 100Mbps network. Use Category 3 or 5 cable to connect to a 10Mbps network. TrRAacnetscivmeiitviyte 2 Plug the power cable into the print server. NetportExpres TsM PRO/100 PARALLEL PORT 10/100 SW1 DIAG POWER RJ45 PC-3773 PARALLEL 1 PARALLEL 2 SERIAL 3 Connect the printer cable(s) to the printer(s) and to the print server port(s). 4 Press the "diag" button to send a test page from the NetportExpress print server to your printer. The test page includes the Device ID and other configuration information. Continue with Software Installation, page 6 . . . Tips for installing the PRO/100 print server • When the activity light is solid green, the NetportExpress print server is ready. The other two lights may blink, indicating communication with the network. If the Activity light flashes red, see the troubleshooting section of this manual. • The PRO/100 automatically senses the speed your Ethernet network is running: 10Mbps or 100Mbps. • The print server also senses the Novell NetWare frame type: 802.2, 802.3, Ethernet II, or SNAP. CAUTION When connecting the power cable, use the power supply that comes with your PRO/100. Another power supply could cause your PRO/100 to malfunction. 2
-
 1
1 -
 2
2 -
 3
3 -
 4
4 -
 5
5 -
 6
6 -
 7
7 -
 8
8 -
 9
9 -
 10
10 -
11
-
12
-
13
-
14
-
15
-
16
-
17
-
18
-
19
-
20
-
21
-
22
-
23
-
24
-
25
-
26
-
27
-
28
-
29
-
30
-
31
-
32
-
33
-
34
-
35
-
36
-
37
-
38
-
39
-
40
-
41
-
42
-
43
-
44
-
45
-
46
-
47
-
48
 |
 |