Konica Minolta bizhub PRESS C1070/C1070P bizhub PRESS C1070/C1070P/C1060/bizhu - Page 106
Control Panel Layout, Name of each Component, Description, Keypad, Reset, control, panel, Power LED
 |
View all Konica Minolta bizhub PRESS C1070/C1070P manuals
Add to My Manuals
Save this manual to your list of manuals |
Page 106 highlights
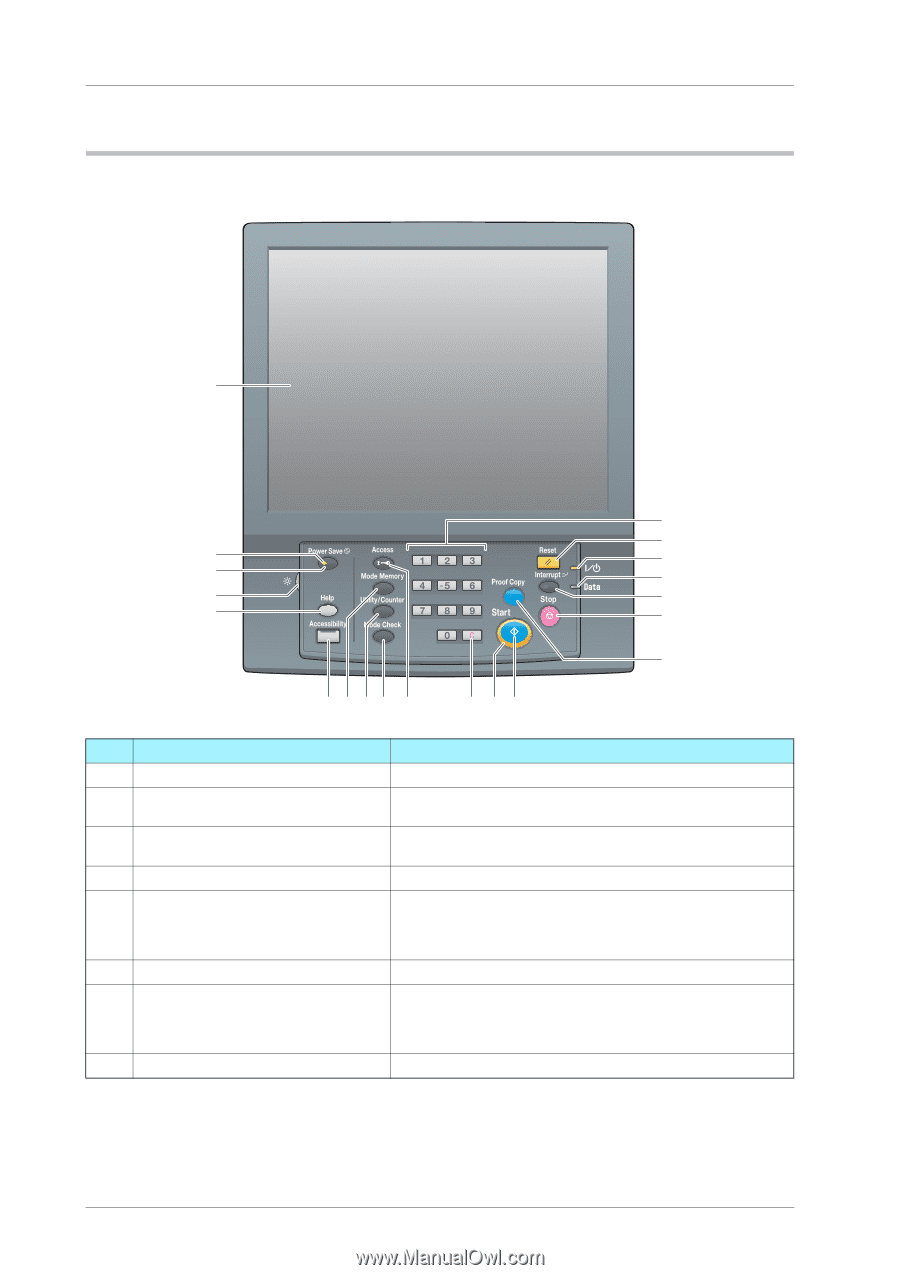
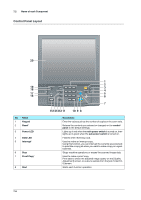
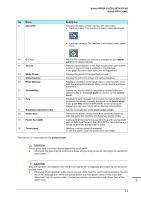
7.2 Name of each Component Control Panel Layout 20 19 18 17 16 No. Name 1 Keypad 2 Reset* 3 Power LED 4 Data LED 5 Interrupt* 6 Stop 7 Proof Copy* 8 Start 1 2 3 4 5 6 7 15141312 11 10 9 8 Description Enter the values such as the number of copies or the zoom ratio. Returns the contents you entered or changed on the control panel to the default settings. Lights up in red when the main power switch is turned on, then lights up in green when the sub power switch is turned on. Flashes when receiving a job. Used to make an interrupt copy. Using this function, you can interrupt the currently executed job to prioritize a copy job when you want to make a copy on urgent business. Stops machine operations or erases the scanned image data. Used to make a proof copy. Print data to check the adjusted image quality on the [Quality Adjustment] screen, or output a sample from the [Job Ticket Edit] screen. Starts each function operation. 7-6
-
 1
1 -
2
-
3
-
4
-
5
-
6
-
7
-
8
-
9
-
10
-
11
-
12
-
13
-
14
-
15
-
16
-
17
-
18
-
19
-
20
-
21
-
22
-
23
-
24
-
25
-
26
-
27
-
28
-
29
-
30
-
31
-
32
-
33
-
34
-
35
-
36
-
37
-
38
-
39
-
40
-
41
-
42
-
43
-
44
-
45
-
46
-
47
-
48
-
49
-
50
-
51
-
52
-
53
-
54
-
55
-
56
-
57
-
58
-
59
-
60
-
61
-
62
-
63
-
64
-
65
-
66
-
67
-
68
-
69
-
70
-
71
-
72
-
73
-
74
-
75
-
76
-
77
-
78
-
79
-
80
-
81
-
82
-
83
-
84
-
85
-
86
-
87
-
88
-
89
-
90
-
91
-
92
-
93
-
94
-
95
-
96
-
97
-
98
-
99
-
100
-
 101
101 -
 102
102 -
 103
103 -
 104
104 -
 105
105 -
 106
106 -
 107
107 -
 108
108 -
 109
109 -
 110
110 -
 111
111 -
112
-
113
-
114
-
115
-
116
-
117
-
118
-
119
-
120
-
121
-
122
-
123
-
124
-
125
-
126
-
127
-
128
-
129
-
130
-
131
-
132
-
133
-
134
-
135
-
136
-
137
-
138
-
139
-
140
-
141
-
142
-
143
 |
 |