Kyocera KM-5230 Printing System G Instruction Hand Book - Page 22
Removing the Printer Server software
 |
View all Kyocera KM-5230 manuals
Add to My Manuals
Save this manual to your list of manuals |
Page 22 highlights
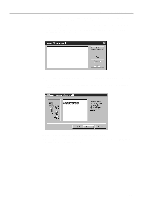
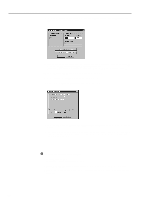
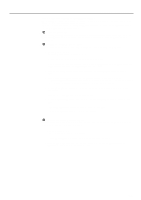
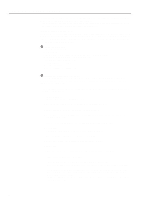
Server Configuration 14. To set the IP address for the Printer Board, click on Configure Driver. The Printing System (G) Spooler Setup dialogue box will open. 15. Enter the IP Address and port number. (It is not necessary to change the port number.) Click on OK to return to the Add Printer: Configure the driver dialogue box. * Enter the IP Address as it is registered in the printer. (Refer to "(3) Network settings", page 11.) 16. Click on Next. The Add Printer: Complete dialogue box will open. 17. Click on Finish. The Print Management dialogue box will open. 18. Click on OK. The Memory Management dialogue box will open. 19. Select the Use Windows memory management (stand alone) radio button. Click OK to close this window. 20. The computer must be restarted before the Server software settings will take effect. Click on Yes to restart the computer. When the computer is restarted, the Printer Server will detect this unit and it can then be used as a printer. 3 Removing the Printer Server software 1. Start up Windows NT 4.0. * Quit all other applications that may be open. 2. Click on My Computer and then double-click on the drive in which the Printer Server is installed. 3. Move all folders labelled with "wincui", as well as those with a prefix of "spool", to the trash can and delete them. 19
-
 1
1 -
2
-
3
-
4
-
5
-
6
-
7
-
8
-
9
-
10
-
11
-
12
-
13
-
14
-
15
-
16
-
 17
17 -
 18
18 -
 19
19 -
 20
20 -
 21
21 -
 22
22 -
 23
23 -
 24
24 -
 25
25 -
 26
26 -
 27
27 -
28
-
29
-
30
-
31
-
32
-
33
-
34
-
35
-
36
-
37
-
38
 |
 |
