Lexmark C772N C77x - Setup Guide - Page 28
Installing drivers, Printers, Properties, Install Options, Device Settings, Device, Options
 |
UPC - 734646047227
View all Lexmark C772N manuals
Add to My Manuals
Save this manual to your list of manuals |
Page 28 highlights
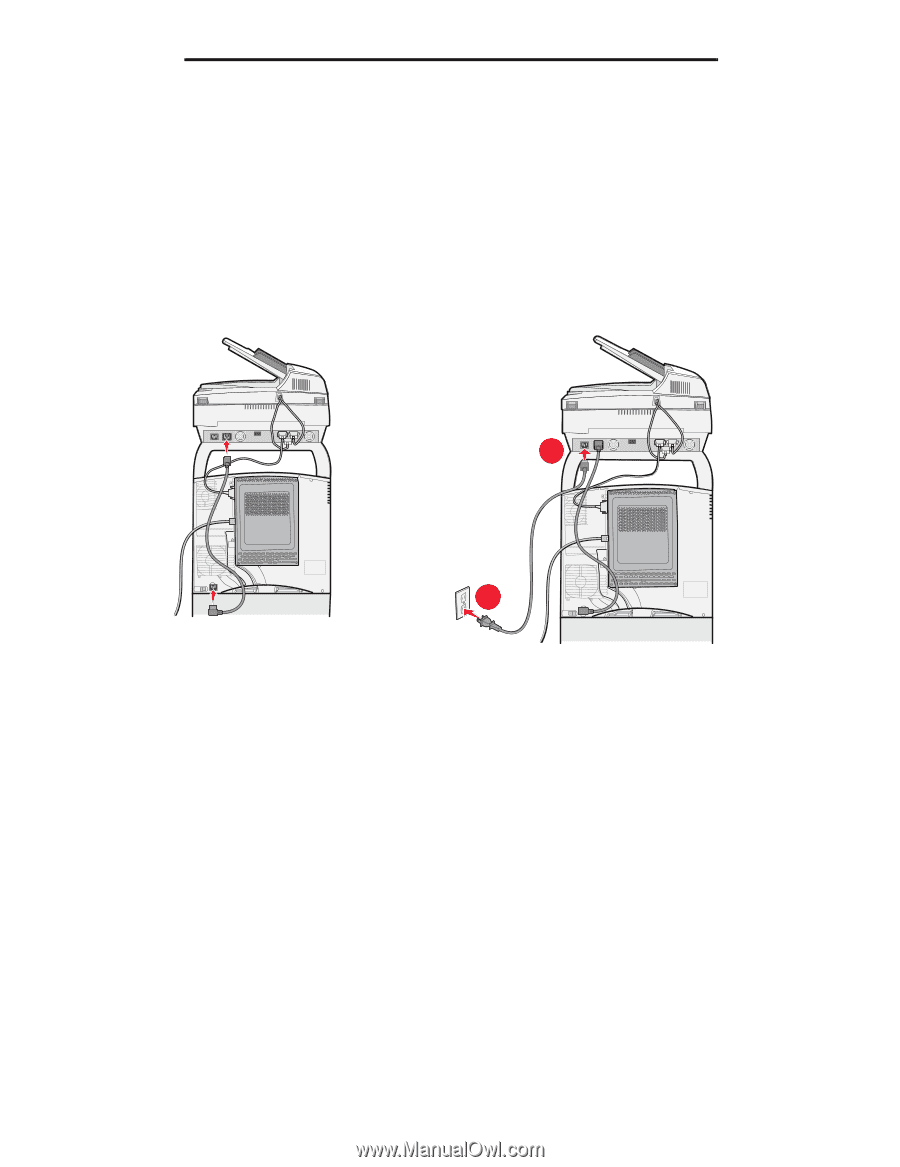
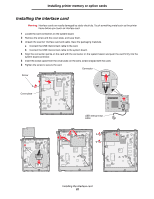
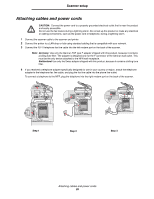
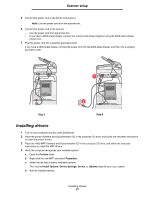
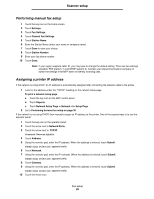
Scanner setup 5 Connect the power cord to the printer and scanner. Note: Use the power cord from the scanner box. 6 Connect the power cord to the scanner. • Use the power cord from the printer box • If you have a 2000-sheet drawer, connect the scanner and drawer together using the 2000-sheet drawer power cord. 7 Plug the power cord into a properly-grounded outlet. If you have a 2000-sheet drawer, connect the power cord into the 2000-sheet drawer, and then into a properly grounded outlet. 1 2 Step 5 Step 6 Installing drivers 1 Turn on your computer and any other peripherals. 2 Place the printer Software and Documentation CD in the computer CD drive, and follow the onscreen instructions to install the printer drivers. 3 Place the 4600 MFP Software and Documentation CD in the computer CD drive, and follow the onscreen instructions to install the MFP drivers. 4 Verify the computer recognizes your installed options. a Open the Printers folder. b Right-click the new MFP and select Properties. c Select the tab that contains installable options. This may be Install Options, Device Settings, Device, or Options depending on your system. d Add the installed options. Installing drivers 27
-
 1
1 -
2
-
3
-
4
-
5
-
6
-
7
-
8
-
9
-
10
-
11
-
12
-
13
-
14
-
15
-
16
-
17
-
18
-
19
-
20
-
21
-
22
-
 23
23 -
 24
24 -
 25
25 -
 26
26 -
 27
27 -
 28
28 -
 29
29 -
 30
30 -
 31
31 -
 32
32 -
 33
33 -
34
-
35
 |
 |