Lexmark X342N User's Guide - Page 9
Setting up the MFP
 |
UPC - 734646256292
View all Lexmark X342N manuals
Add to My Manuals
Save this manual to your list of manuals |
Page 9 highlights
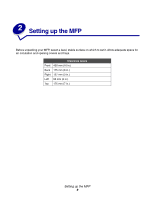
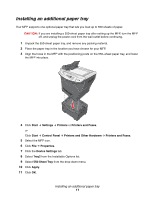
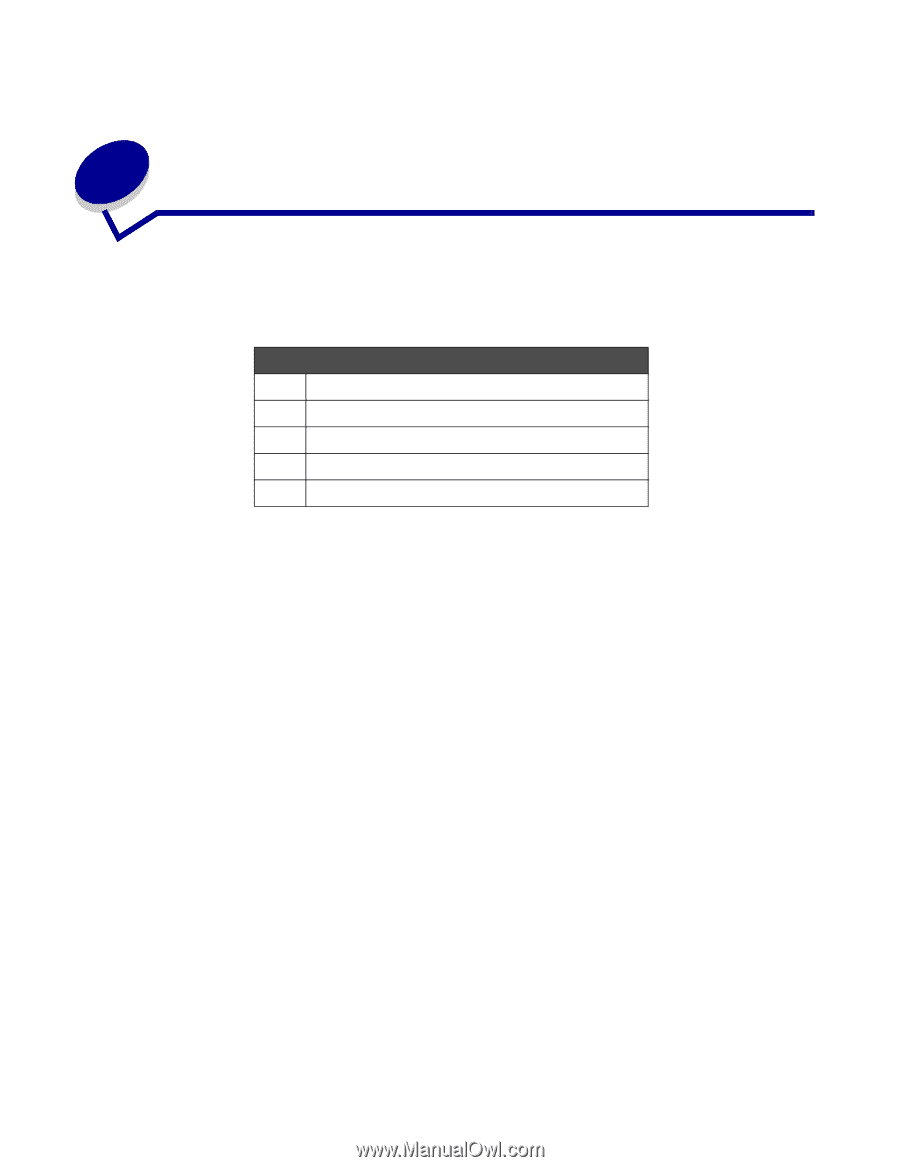
2 Setting up the MFP Before unpacking your MFP, select a level, stable surface on which to set it. Allow adequate space for air circulation and opening covers and trays. Clearance space Front 400 mm (16 in.) Back 175 mm (8 in.) Right 127 mm (3 in.) Left 50 mm (2 in.) Top 175 mm (7 in.) Setting up the MFP 9
-
 1
1 -
2
-
3
-
 4
4 -
 5
5 -
 6
6 -
 7
7 -
 8
8 -
 9
9 -
 10
10 -
 11
11 -
 12
12 -
 13
13 -
 14
14 -
15
-
16
-
17
-
18
-
19
-
20
-
21
-
22
-
23
-
24
-
25
-
26
-
27
-
28
-
29
-
30
-
31
-
32
-
33
-
34
-
35
-
36
-
37
-
38
-
39
-
40
-
41
-
42
-
43
-
44
-
45
-
46
-
47
-
48
-
49
-
50
-
51
-
52
-
53
-
54
-
55
-
56
-
57
-
58
-
59
-
60
-
61
-
62
-
63
-
64
-
65
-
66
-
67
-
68
-
69
-
70
-
71
-
72
-
73
-
74
-
75
-
76
-
77
-
78
-
79
-
80
-
81
-
82
-
83
-
84
-
85
-
86
-
87
-
88
-
89
-
90
-
91
-
92
-
93
-
94
-
95
-
96
-
97
-
98
-
99
-
100
-
101
-
102
-
103
-
104
-
105
 |
 |
Setting up the MFP
9
2
Setting up the MFP
Before unpacking your MFP, select a level, stable surface on which to set it. Allow adequate space for
air circulation and opening covers and trays.
Clearance space
Front
400 mm (16 in.)
Back
175 mm (8 in.)
Right
127 mm (3 in.)
Left
50 mm (2 in.)
Top
175 mm (7 in.)