NEC PX-42M3A PlasmaSync 4200W - Page 26
Example: Setting NR-2
 |
View all NEC PX-42M3A manuals
Add to My Manuals
Save this manual to your list of manuals |
Page 26 highlights
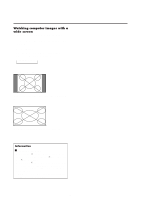
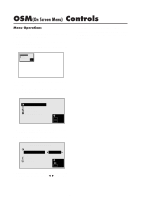
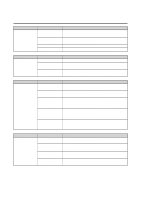
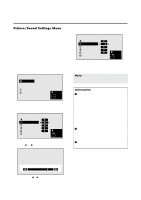
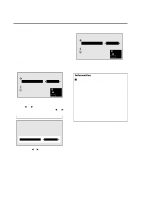
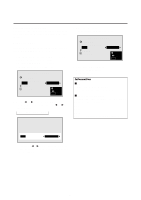
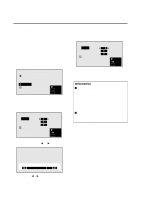
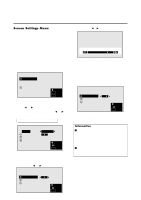
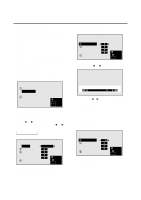
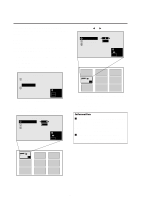
Reducing noise in the picture Use these settings if the picture is noise due to poor reception or when playing video tapes on which the picture quality is poor. Example: Setting "NR-2" Press the MENU button on the remote controller to display the MAIN MENU on the screen, then... 1. Use the v and w buttons to select "PICTURE/ SOUND", then press the "OK" button. The "PICTURE/SOUND" screen appears. 2. Use the v and w buttons to select "NR ". PICTURE/SOUND PICTURE PICTURE MODE : N R : SOUND RETURN MEMORY NR-1 SEL. ADJ. MENU EXIT 3. Use the ᮤ and ᮣ buttons to select "NR-2". The mode switches as follows when the ᮤ and ᮣ buttons are pressed: → OFF ↔ NR-1 ↔ NR-2 ↔ NR-3 ← 4. Press the "OK" button. The noise reduction mode is set to "NR-2". PICTURE/SOUND PICTURE PICTURE MODE : N R : SOUND RETURN MEMORY NR-2 SEL. ADJ. MENU EXIT 5. Once the setting is completed ... Press the "MENU" button. All menus disappear. Information Ⅵ NR * "NR" stands for Noise Reduction. * This function reduces noise in the picture. Ⅵ Types of noise reduction There are three types of noise reduction. Each has a different level of noise reduction. NR-1 NR-2 NR-3 OFF .......... Turns the noise reduction function off. N R : NR-2 * If neither the ᮤ or ᮣ button is pressed within 5 seconds, the current selection is set and the previous screen reappears. 21
-
 1
1 -
2
-
3
-
4
-
5
-
6
-
7
-
8
-
9
-
10
-
11
-
12
-
13
-
14
-
15
-
16
-
17
-
18
-
19
-
20
-
 21
21 -
 22
22 -
 23
23 -
 24
24 -
 25
25 -
 26
26 -
 27
27 -
 28
28 -
 29
29 -
 30
30 -
 31
31 -
32
-
33
-
34
-
35
-
36
-
37
-
38
-
39
-
40
-
41
-
42
-
43
-
44
 |
 |