Netgear GS418TPP Hardware Installation Guide - Page 18
Attach the Switch to a Rectangular Pole or Table Leg, Installation
 |
View all Netgear GS418TPP manuals
Add to My Manuals
Save this manual to your list of manuals |
Page 18 highlights
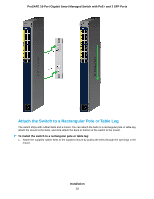
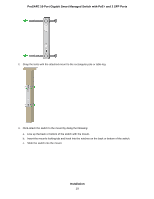
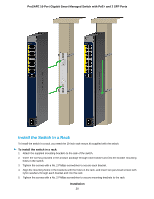
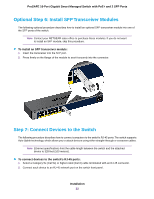
ProSAFE 16-Port Gigabit Smart Managed Switch with PoE+ and 2 SFP Ports Attach the Switch to a Rectangular Pole or Table Leg The switch ships with rubber belts and a mount. You can attach the belts to a rectangular pole or table leg, attach the mount to the belts, and click-attach the back or bottom of the switch to the mount. To install the switch to a rectangular pole or table leg: 1. Attach the supplied rubber belts to the supplied mount by pulling the belts through the openings in the mount. Installation 18
-
 1
1 -
2
-
3
-
4
-
5
-
6
-
7
-
8
-
9
-
10
-
11
-
12
-
 13
13 -
 14
14 -
 15
15 -
 16
16 -
 17
17 -
 18
18 -
 19
19 -
 20
20 -
 21
21 -
 22
22 -
 23
23 -
24
-
25
-
26
-
27
-
28
-
29
-
30
 |
 |
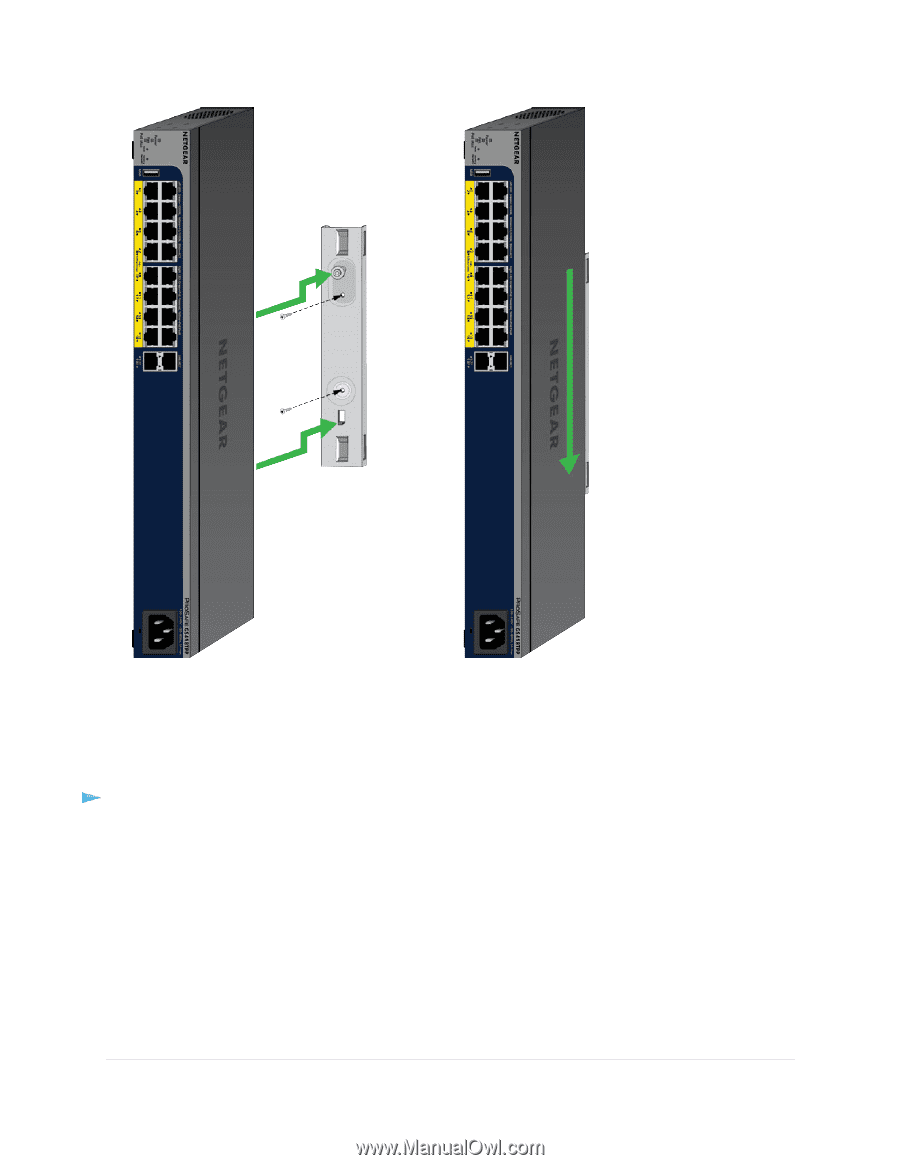
Attach the Switch to a Rectangular Pole or Table Leg
The switch ships with rubber belts and a mount.You can attach the belts to a rectangular pole or table leg,
attach the mount to the belts, and click-attach the back or bottom of the switch to the mount.
To install the switch to a rectangular pole or table leg:
1.
Attach the supplied rubber belts to the supplied mount by pulling the belts through the openings in the
mount.
Installation
18
ProSAFE 16-Port Gigabit Smart Managed Switch with PoE+ and 2 SFP Ports