Nokia Lumia 830 User Guide - Page 78
Create an album, Create the stories of your life, Lumia Storyteller
 |
View all Nokia Lumia 830 manuals
Add to My Manuals
Save this manual to your list of manuals |
Page 78 highlights
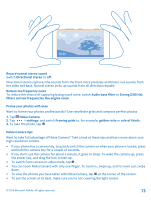
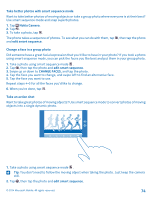
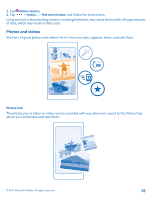
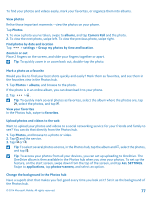
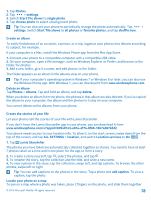
1. Tap Photos. 2. Tap > settings. 3. Switch Start Tile shows to single photo. 4. Tap choose photo to select a background photo. Tip: You can also set your phone to periodically change the photo automatically. Tap > settings. Switch Start Tile shows to all photos or favorite photos, and tap shuffle now. Create an album To easily find photos of an occasion, a person, or a trip, organize your photos into albums according to subject, for example. If your computer is a Mac, install the Windows Phone app from the Mac App Store. 1. Connect your phone to a compatible computer with a compatible USB cable. 2. On your computer, open a file manager, such as Windows Explorer or Finder, and browse to the folder for photos. 3. Add a new folder, give it a name, and add photos to the folder. The folder appears as an album in the albums view on your phone. Tip: If your computer's operating system is Windows 7 or Windows 8 or later, you can also use the Windows Phone app. With Windows 7, you can download it from www.windowsphone.com. Delete an album Tap Photos > albums. Tap and hold an album, and tap delete. When you delete an album from the phone, the photos in that album are also deleted. If you've copied the album to your computer, the album and the photos in it stay on your computer. You cannot delete online albums from your phone. Create the stories of your life Let your photos tell the stories of your life with Lumia Storyteller. If you don't have the Lumia Storyteller app in your phone, you can download it from www.windowsphone.com/s?appid=b0940143-e67e-4f74-8f68-16b7ad872dd2. Your phone needs access to your location info. To allow it, on the start screen, swipe down from the top of the screen, and tap ALL SETTINGS > location, and switch Location services to On . 1. Tap Lumia Storyteller. The photos you have taken are automatically collected together as stories. You need to have at least 7 photos taken at a time and in one place for the app to form a story. 2. To create a story yourself, tap , select the photos, and tap . 3. To rename the story, tap the collection and the title, and write a new name. 4. To view a photo in the story, tap the collection, swipe left, and tap a photo. To browse the other photos, swipe left or right. Tip: You can add captions to the photos in the story. Tap a photo and add caption. To view a caption, tap the photo. Locate your photo on a map To see on a map where a photo was taken, place 2 fingers on the photo, and slide them together. © 2014 Microsoft Mobile. All rights reserved. 78
-
 1
1 -
2
-
3
-
4
-
5
-
6
-
7
-
8
-
9
-
10
-
11
-
12
-
13
-
14
-
15
-
16
-
17
-
18
-
19
-
20
-
21
-
22
-
23
-
24
-
25
-
26
-
27
-
28
-
29
-
30
-
31
-
32
-
33
-
34
-
35
-
36
-
37
-
38
-
39
-
40
-
41
-
42
-
43
-
44
-
45
-
46
-
47
-
48
-
49
-
50
-
51
-
52
-
53
-
54
-
55
-
56
-
57
-
58
-
59
-
60
-
61
-
62
-
63
-
64
-
65
-
66
-
67
-
68
-
69
-
70
-
71
-
72
-
 73
73 -
 74
74 -
 75
75 -
 76
76 -
 77
77 -
 78
78 -
 79
79 -
 80
80 -
 81
81 -
 82
82 -
 83
83 -
84
-
85
-
86
-
87
-
88
-
89
-
90
-
91
-
92
-
93
-
94
-
95
-
96
-
97
-
98
-
99
-
100
-
101
-
102
-
103
-
104
-
105
-
106
-
107
-
108
-
109
-
110
-
111
-
112
-
113
-
114
-
115
-
116
-
117
-
118
 |
 |