Ricoh Aficio MP C2050 User Manual - Page 22
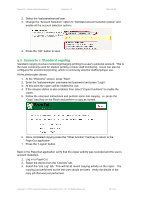
Select the Release Held Print Jobs option.
 |
View all Ricoh Aficio MP C2050 manuals
Add to My Manuals
Save this manual to your list of manuals |
Page 22 highlights
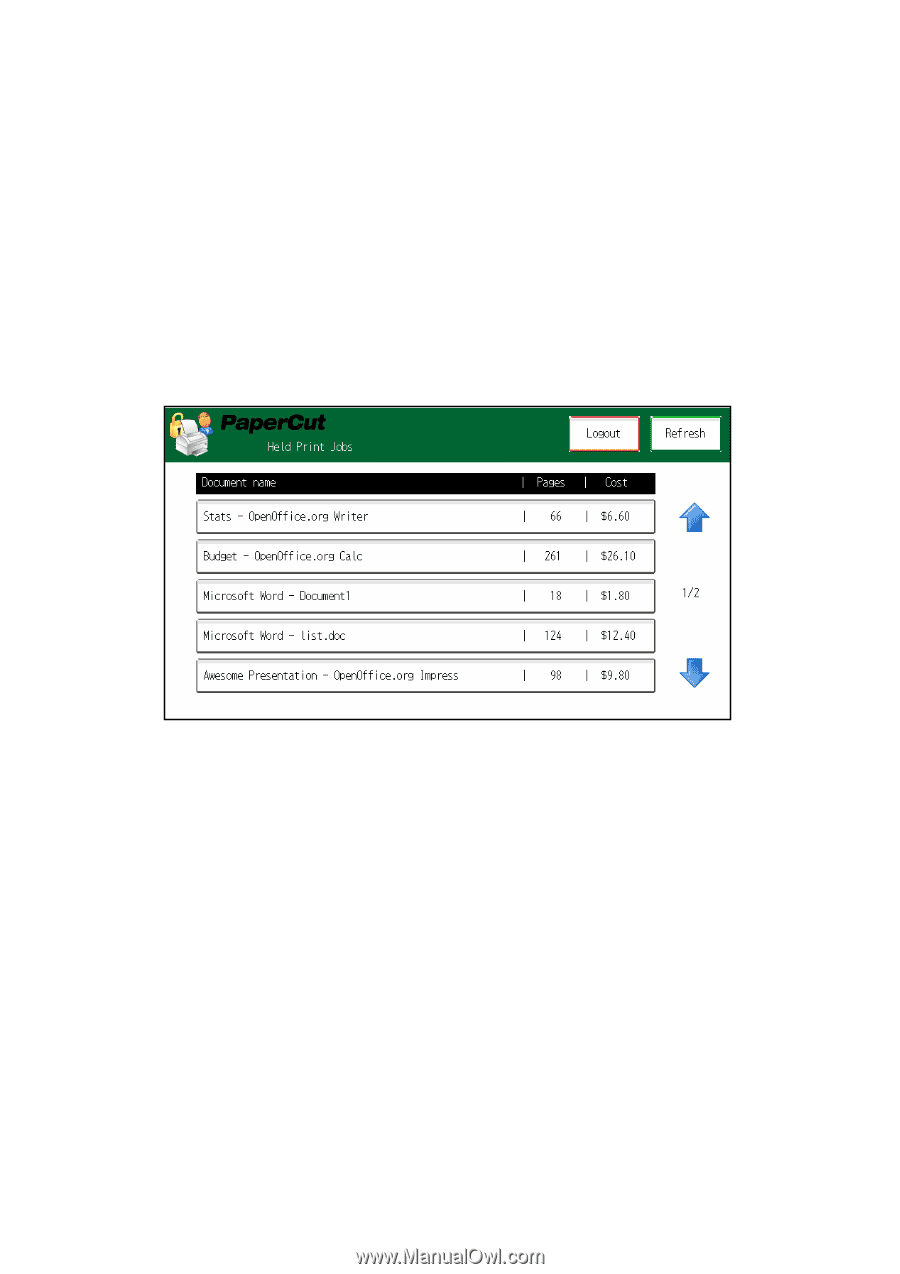
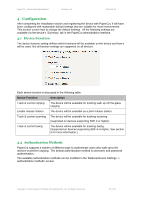
PaperCut - Ricoh Embedded Manual Revision: 19 2012-10-26 5. Press "OK" to save. 6. Login to a computer workstation as 'testusersimple'. 7. Print a few jobs to the print queue that was configured above. The jobs will be held in the hold/release queue. 8. Confirm that the jobs are held, by checking that the jobs are listed in the "Printers- >Jobs Pending Release" page of the PaperCut administration interface. 9. Confirm that the username is 'testusersimple'. At the photocopier device: 10. At the "Welcome" screen, press "Start". 11. Enter the 'testusersimple' username and password and press "Login". 12. Select the "Release Held Print Jobs" option. 13. The list of held print jobs is displayed. 14. Select the job to release by pressing on the job. 15. Confirm the release of the print job by pressing the "Print" button. 16. The job will then print. 17. Try cancelling a job by selecting it and then selecting the "Cancel Job" button. 18. The job will be cancelled, and will not print. Copyright © 2012 PaperCut Software International Pty. Ltd., All Rights Reserved. 22 of 41
-
 1
1 -
2
-
3
-
4
-
5
-
6
-
7
-
8
-
9
-
10
-
11
-
12
-
13
-
14
-
15
-
16
-
 17
17 -
 18
18 -
 19
19 -
 20
20 -
 21
21 -
 22
22 -
 23
23 -
 24
24 -
 25
25 -
 26
26 -
 27
27 -
28
-
29
-
30
-
31
-
32
-
33
-
34
-
35
-
36
-
37
-
38
-
39
-
40
-
41
 |
 |