Samsung SCX 5115 User Manual (ENGLISH) - Page 68
Auto Fit Copying, You cannot adjust the copy size using the, button, while Auto fit is enabled.
 |
View all Samsung SCX 5115 manuals
Add to My Manuals
Save this manual to your list of manuals |
Page 68 highlights
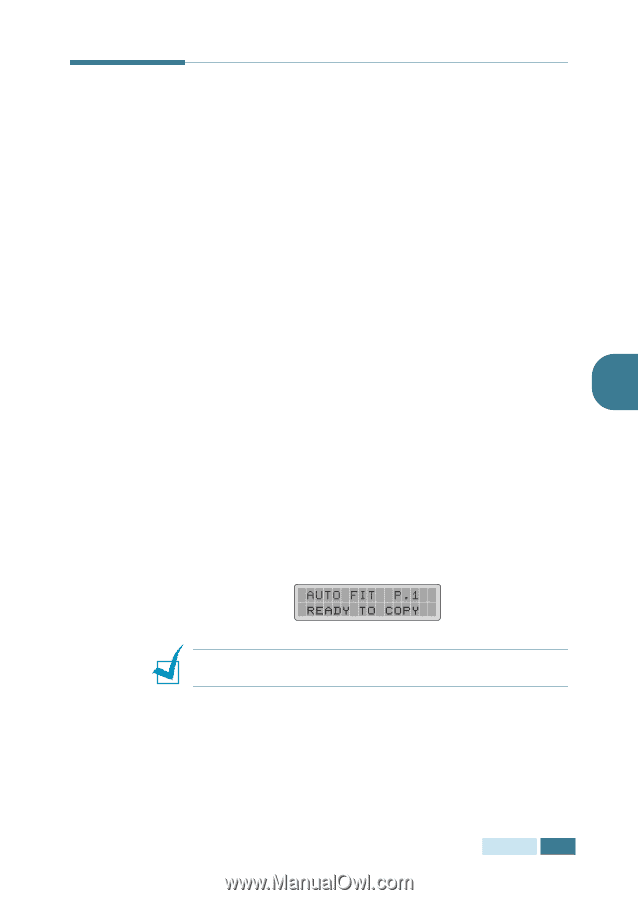
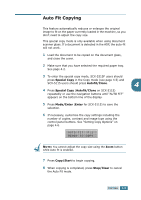
Auto Fit Copying This feature automatically reduces or enlarges the original image to fit on the paper currently loaded in the machine, so you don't need to adjust the copy size. This special copy mode is only available when using document scanner glass. If a document is detected in the ADF, the auto-fit will not work. 1 Load the document to be copied on the document glass, and close the cover. 2 Make sure that you have selected the required paper tray. See page 4.2. 3 To enter the special copy mode, SCX-5315F users should press Special Copy in the Copy mode (see page 4.5) and SCX-5115 users should press Autofit/Clone. 4 4 Press Special Copy (Autofit/Clone on SCX-5115) repeatedly or use the navigation buttons until "AUTO FIT" appears on the bottom line of the display. 5 Press Mode/Enter (Enter for SCX-5115) to save the selection. 6 If necessary, customise the copy settings including the number of copies, contrast and image type using the control panel buttons. See "Setting Copy Options" on page 4.6. NOTE: You cannot adjust the copy size using the Zoom button while Auto fit is enabled. 7 Press Copy/Start to begin copying. 8 When copying is completed, press Stop/Clear to cancel the Auto Fit mode. COPYING 4.9
-
 1
1 -
2
-
3
-
4
-
5
-
6
-
7
-
8
-
9
-
10
-
11
-
12
-
13
-
14
-
15
-
16
-
17
-
18
-
19
-
20
-
21
-
22
-
23
-
24
-
25
-
26
-
27
-
28
-
29
-
30
-
31
-
32
-
33
-
34
-
35
-
36
-
37
-
38
-
39
-
40
-
41
-
42
-
43
-
44
-
45
-
46
-
47
-
48
-
49
-
50
-
51
-
52
-
53
-
54
-
55
-
56
-
57
-
58
-
59
-
60
-
61
-
62
-
 63
63 -
 64
64 -
 65
65 -
 66
66 -
 67
67 -
 68
68 -
 69
69 -
 70
70 -
 71
71 -
 72
72 -
 73
73 -
74
-
75
-
76
-
77
-
78
-
79
-
80
-
81
-
82
-
83
-
84
-
85
-
86
-
87
-
88
-
89
-
90
-
91
-
92
-
93
-
94
-
95
-
96
-
97
-
98
-
99
-
100
-
101
-
102
-
103
-
104
-
105
-
106
-
107
-
108
-
109
-
110
-
111
-
112
-
113
-
114
-
115
-
116
-
117
-
118
-
119
-
120
-
121
-
122
-
123
-
124
-
125
-
126
-
127
-
128
-
129
-
130
-
131
-
132
-
133
-
134
-
135
-
136
-
137
-
138
-
139
-
140
-
141
-
142
-
143
-
144
 |
 |