Seagate Maxtor Shared Storage II User Guide - Page 49
System Maintenance - error codes
 |
View all Seagate Maxtor Shared Storage II manuals
Add to My Manuals
Save this manual to your list of manuals |
Page 49 highlights
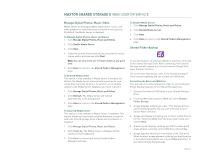
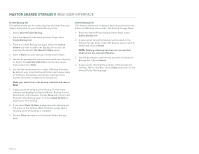
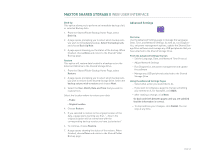
MAXTOR SHARED STORAGE II WEB USER INTERFACE System Maintenance Use these pages to run disk utilities and perform diagnostics; modify power management settings, and to update your Shared Storage Drive software. To Change Power Management Settings 1. Click Power Management. 2. Select the Drive that you would like to apply power management settings to. 3. Use the pull down menu to select the time which you would like the drive to sit idle before "Going to sleep." Note: By default, the drive inactivity period is set to 1 hour. 4. Click Next. 5. It will confirm the amount of time that you set. 6. Click Done to return to the System Maintenance page. To Run Diagnostics 1. Click Diagnostics Scan and Repair. 2. A warning will appear notifying you that the drive will be inaccessible to users while running. Click Next. 3. The diagnostic feature inspects your hard drive for defects. - Click Proceed to start the diagnostic process. - Click Cancel if you would like to back up your data first. Selecting Cancel will require a re-test. 4. A status bar will appear showing the status of the scan. The Diagnostic process takes between 2 - 5 minutes. 5. Upon successful completion, a window will appear notifying you that your Shared Storage Drive is functioning within normal operating parameters. 6. Click on Done to return to the System Maintenance Options page. If there are errors that are not repairable, a screen will prompt you with a diagnostics code. Record this error code and contact Maxtor Technical Assistance. System Update 1. Click System Update. 2. A warning will appear notifying you that the drive will be inaccessible to users while running. Click Next. 3. Follow the on screen instructions. This process does require a firmware download from the Maxtor website. 4. After the file is downloaded, click the Browse button and search for the firmware update. 5. Once the file is selected, click Update. 6. A progress bar will show the status of the update. The drive does reboot during this process. You will have a countdown. Once the countdown is finished, close your browser and then reopen it to the Shared Storage Drive home page. 7. Click Done to return to the System Maintenance page. PAGE 47
-
 1
1 -
2
-
3
-
4
-
5
-
6
-
7
-
8
-
9
-
10
-
11
-
12
-
13
-
14
-
15
-
16
-
17
-
18
-
19
-
20
-
21
-
22
-
23
-
24
-
25
-
26
-
27
-
28
-
29
-
30
-
31
-
32
-
33
-
34
-
35
-
36
-
37
-
38
-
39
-
40
-
41
-
42
-
43
-
 44
44 -
 45
45 -
 46
46 -
 47
47 -
 48
48 -
 49
49 -
 50
50 -
 51
51 -
 52
52 -
 53
53
 |
 |
