Sony CCD-FX520 Primary User Manual - Page 13
vocii#010011,010, Using, Alternative, Power, Sources
 |
View all Sony CCD-FX520 manuals
Add to My Manuals
Save this manual to your list of manuals |
Page 13 highlights
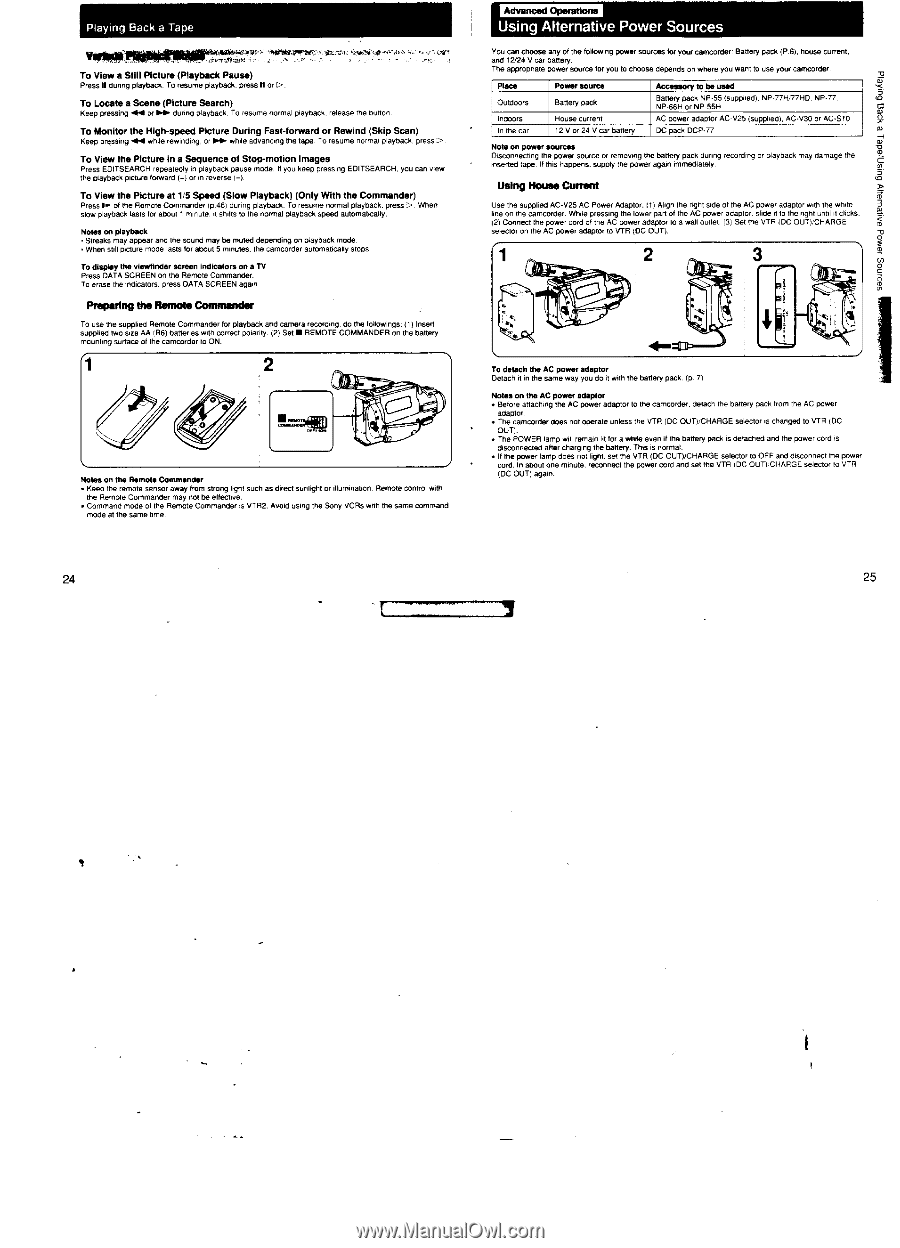
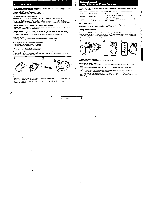
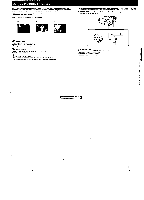
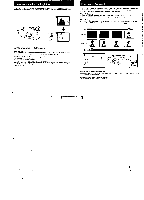
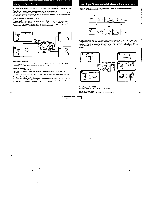
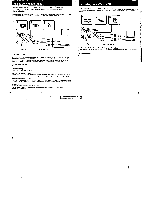
Playing Back a Tape vocii#010011,0104,:=7' To View a Still Picture (Playback Pause) Press II during playback. To resume playback. prone a or >. To Locate a Scene (Picture Search) Keep pressing 4.1 or IN. during playback. To resume normal playback. release the button. To Monitor the High-speed Picture During Fast-forward or Rewind (Skip Scan) Keep pressing *4 while rewording, or lele while advancing the tape. To resume normal playback. press>. To View the Picture in a Sequence of Stop-motion Images Press EDITSEARCH repeatedly in playback pause mode. If you keep pressing EDITSEARCH, you can wee the playback picture lanyard lot or in reverse I - ) To View the Picture at 1/5 Speed (Slow Playback) (Only With the Commander) Press 1•• of the Remote Commander ,p.46) during playback. To resume normal playback, press, When slow playback tests for about 1 minute. n shifts to the normal playback speed autornaboally. Note, en playback • Streaks may appear and the sound may be muted depending on playbaw mods. • When sou picture mode lasts for about 5 minutes. the camcorder automaticmy stops. To display the viewfinder screen indicators on a TV Press DATA SCREEN on the Remote Commander. To erase the indicators, press DATA SCREEN again Preparing the Remote Commander To use the supplied Remote Commander for playback and camera recording, do the followings, Ill Insert supplied two size AA (R6) battenns with correct polanly. (2) Seta REMOTE COMMANDER on the battery mountmg surface of the camcorder to ON. 1 2 0 0 Nolen on the Remote Commander • Keep the remote sensor away from strong tight such as direct sunikght or illumination Remote control with the Remote Commander may not be effective. • Command mode of the Remote Commander is VTR2. Avoid using the Sony VCRs with the same =mend mode et the sante me. Advanced Operations Using Alternative Power Sources You can choose any of the following power sources for your camcorder Battery pack (P.61, house current. and 1.24 V car battery. The appropriate power source for you to choose depends on where you want to use your camcorder Place Outdoors ' Indoors In the car Power sow. Battery pack House current 12 V or 24 V car battery Accessory to be usad Battery pack NP.55 (supplied), NP-77H,,77HD, NP.77 NP.66H or NP-55H AC power adaptor AC-025 (supplied), AC.V30 or AC-S10 DC pack DCP.77 Note on power sources Osconnectno the power source or removing the battery pack during recording or playback may damage the lessened tape , this happens. supply the power again immediately. Using House Current Use the supplied AC-025 AC Power Adeplot. 11) Mien the right side 01the AC power adaptor with the white tine on the camcorder. While pressing the lower pad of Ire AC power adaptor. slide it to the right until it clicks. (2) Connect the power cord of the AC power adaptor to a wall outlet. (31 Set the VTR (DC OUT),CHARGE seleCtor on the AC power adaptor to VTR (DC OUT). 2 3 4 iy To detach the AC power adaptor Detach it in the same way you do it with the battery pack. (p. 71 Notes on the AC power adaptor • Before attaching the AC power adaptor to the camcorder. detach the battery pack from the AC power adaptor. • The camcorder does not operate unless the VTR pc OUTttCHARGE selector is dung. to VTR (DC OUT). • The POWER lamp will remain In fora *ale even if the battery pack Is detached and Me power cord is disconnected after charging the battery. This is normal. • If the power lamp does not light. set the VTR (DC OUT)/CHARGE selector to OFF and disconnect the power cord. In about one minute, reconnect the power cord and set the VTR IDC OUTKCHARGE SeleCtOe b VTR (DC OUT) again. 24 25
-
 1
1 -
2
-
3
-
4
-
5
-
6
-
7
-
 8
8 -
 9
9 -
 10
10 -
 11
11 -
 12
12 -
 13
13 -
 14
14 -
 15
15 -
 16
16 -
 17
17 -
 18
18 -
19
-
20
-
21
-
22
-
23
-
24
-
25
-
26
 |
 |