Sony HTIS100 Operating Instructions - Page 34
Remote control, on/standby, To save the power in standby mode, Input buttons, NIGHT MODE, AMP MENU - pictures
 |
UPC - 027242731332
View all Sony HTIS100 manuals
Add to My Manuals
Save this manual to your list of manuals |
Page 34 highlights
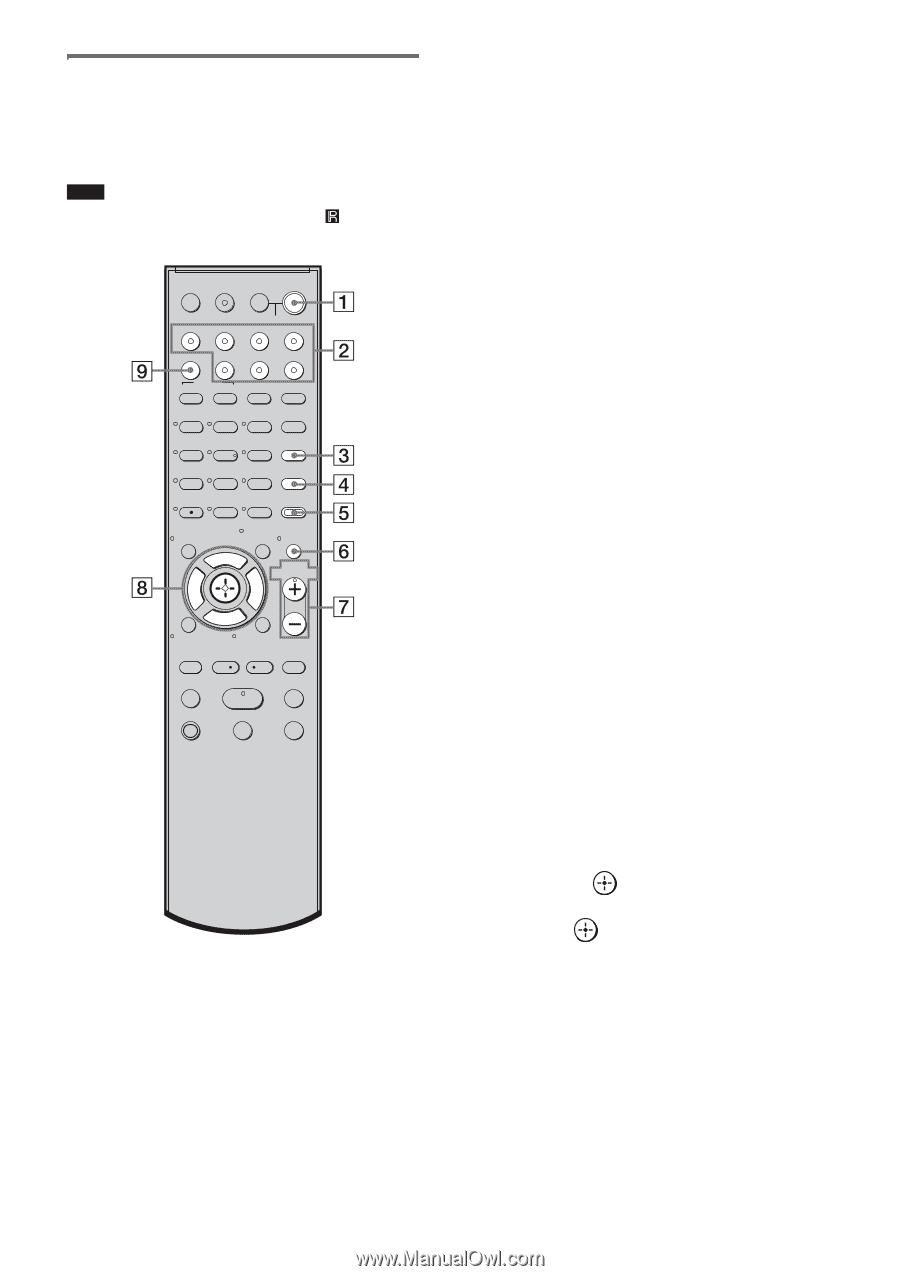
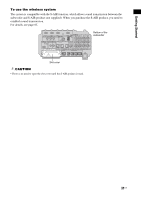
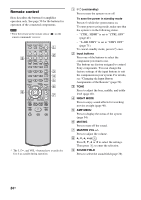
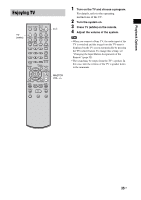
Remote control Here describes the buttons for amplifier operation only. See page 50 for the buttons for operation of the connected components. Note • Point the remote at the remote sensor ( ) on the remote commander receiver. TV ?/1 THEATER TV INPUT AV ?/1 ?/1 SYSTEM STANDBY TV BD DVD SAT SOUND FIELD VIDEO TUNER/BAND DMPORT BD/DVD TOP MENU MENU F1 F2 JUMP PICTURE WIDE FAVORITE GUIDE 123 TONE 456 NIGHT MODE 789 CLEAR DISPLAY AMP MENU 0 ENTER TOOLS/ OPTIONS MUTING F TV VOL MASTER VOL G g f RETURN/EXIT MENU/HOME TV CH - TV CH + PRESET - REPLAY ADVANCE PRESET + .< > < TUNING m TUNING + H M TV X x * The 5, H, and VOL + buttons have a tactile dot. Use it as a guide during operation. A ?/1 (on/standby) Press to turn the system on or off. To save the power in standby mode Press ?/1 while the system turns on. To enter power saving mode, make sure that the system is in the following status. - "CTRL: HDMI" is set to "CTRL OFF" (page 41). - "S-AIR STBY" is set to "STBY OFF" (page 71). To cancel standby mode, press ?/1 once. B Input buttons Press one of the buttons to select the component you want to use. The buttons are factory assigned to control Sony components. You can change the factory settings of the input buttons to suit the components in your system. For details, see "Changing the Input Button Assignments of the Remote" (page 52). C TONE Press to adjust the bass, middle, and treble level (page 40). D NIGHT MODE Press to enjoy sound effects for watching movies at night (page 40). E AMP MENU Press to display the menu of the system (page 54). F MUTING Press to turn off the sound. G MASTER VOL +/- Press to adjust the volume. H C, X, x, c or Press C, X, x or c to select the settings. Then press to enter the selection. I SOUND FIELD Press to select the sound field (page 38). 34US
-
 1
1 -
2
-
3
-
4
-
5
-
6
-
7
-
8
-
9
-
10
-
11
-
12
-
13
-
14
-
15
-
16
-
17
-
18
-
19
-
20
-
21
-
22
-
23
-
24
-
25
-
26
-
27
-
28
-
 29
29 -
 30
30 -
 31
31 -
 32
32 -
 33
33 -
 34
34 -
 35
35 -
 36
36 -
 37
37 -
 38
38 -
 39
39 -
40
-
41
-
42
-
43
-
44
-
45
-
46
-
47
-
48
-
49
-
50
-
51
-
52
-
53
-
54
-
55
-
56
-
57
-
58
-
59
-
60
-
61
-
62
-
63
-
64
-
65
-
66
-
67
-
68
-
69
-
70
-
71
-
72
-
73
-
74
-
75
-
76
-
77
-
78
-
79
-
80
-
81
-
82
-
83
-
84
-
85
-
86
-
87
-
88
-
89
-
90
-
91
-
92
-
93
-
94
-
95
-
96
-
97
-
98
-
99
-
100
-
101
-
102
-
103
-
104
-
105
-
106
-
107
-
108
-
109
-
110
-
111
-
112
-
113
-
114
-
115
-
116
-
117
-
118
-
119
-
120
-
121
-
122
-
123
-
124
-
125
-
126
-
127
-
128
-
129
-
130
-
131
-
132
-
133
-
134
-
135
-
136
-
137
-
138
-
139
-
140
-
141
-
142
-
143
-
144
-
145
-
146
-
147
-
148
-
149
-
150
-
151
-
152
-
153
-
154
-
155
-
156
-
157
-
158
-
159
-
160
-
161
-
162
-
163
-
164
-
165
-
166
-
167
-
168
 |
 |