Sony ICD-BX140 Help Guide - Page 108
Erasing a file, Press ERASE.
 |
View all Sony ICD-BX140 manuals
Add to My Manuals
Save this manual to your list of manuals |
Page 108 highlights
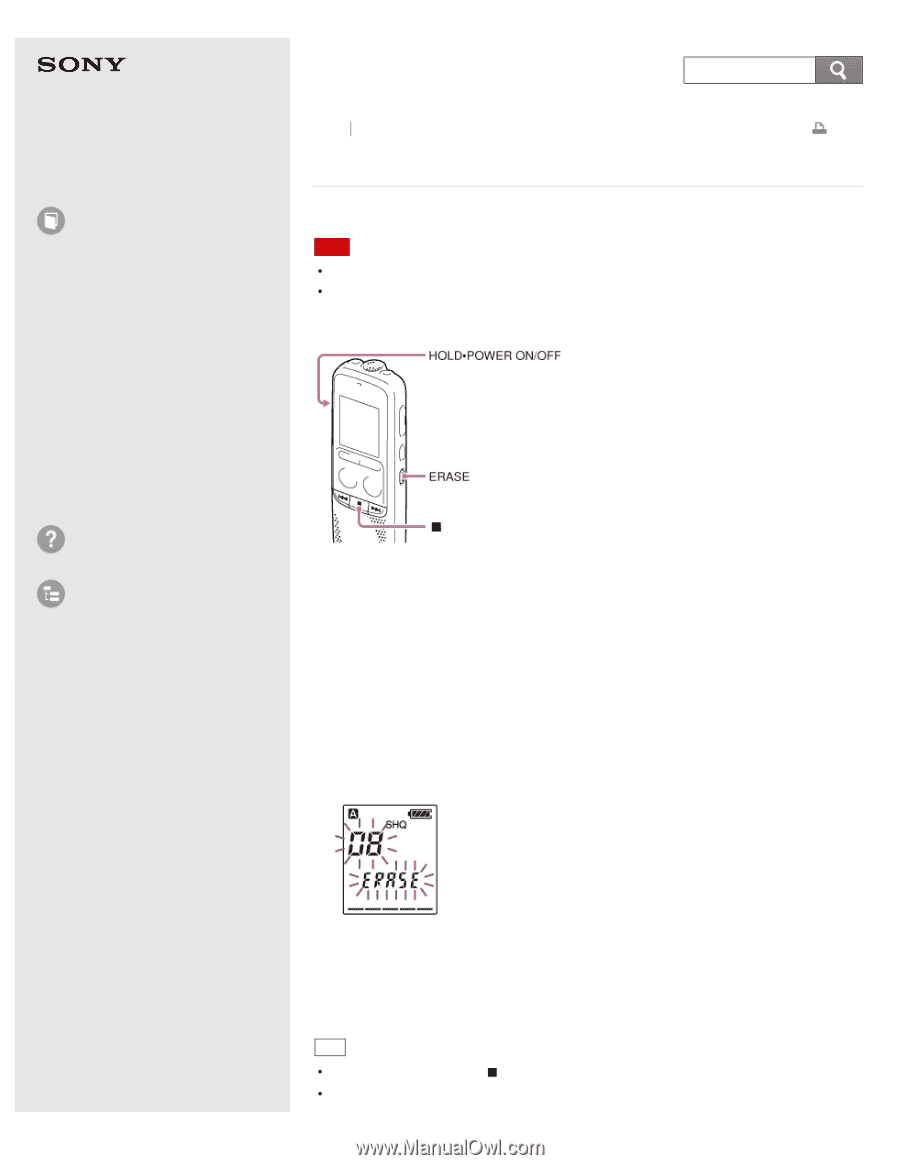
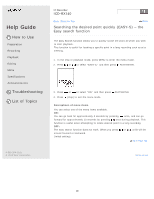
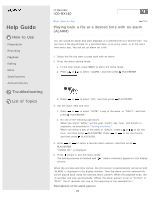
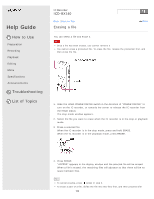
Help Guide How to Use Preparation Recording Playback Editing Menu Specifications Announcements Troubleshooting List of Topics IC Recorder ICD-BX140 Back Back to Top Print Erasing a file You can select a file and erase it. Note Once a file has been erased, you cannot retrieve it. You cannot erase a protected file. To erase the file, release the protection first, and then erase the file. 1. Slide the HOLD·POWER ON/OFF switch in the direction of "POWER ON/OFF" to turn on the IC recorder, or towards the center to release the IC recorder from the HOLD status. The stop mode window appears. 2. Select the file you want to erase when the IC recorder is in the stop or playback mode. 3. Erase a selected file. When the IC recorder is in the stop mode, press and hold ERASE. When the IC recorder is in the playback mode, press ERASE. 4. Press ERASE. "ACCESS" appears in the display window and the selected file will be erased. When a file is erased, the remaining files will advance so that there will be no space between files. Hint To cancel erasing, press (stop) in step 3. To erase a part of a file, divide the file into two files first, and then proceed with 102
-
 1
1 -
2
-
3
-
4
-
5
-
6
-
7
-
8
-
9
-
10
-
11
-
12
-
13
-
14
-
15
-
16
-
17
-
18
-
19
-
20
-
21
-
22
-
23
-
24
-
25
-
26
-
27
-
28
-
29
-
30
-
31
-
32
-
33
-
34
-
35
-
36
-
37
-
38
-
39
-
40
-
41
-
42
-
43
-
44
-
45
-
46
-
47
-
48
-
49
-
50
-
51
-
52
-
53
-
54
-
55
-
56
-
57
-
58
-
59
-
60
-
61
-
62
-
63
-
64
-
65
-
66
-
67
-
68
-
69
-
70
-
71
-
72
-
73
-
74
-
75
-
76
-
77
-
78
-
79
-
80
-
81
-
82
-
83
-
84
-
85
-
86
-
87
-
88
-
89
-
90
-
91
-
92
-
93
-
94
-
95
-
96
-
97
-
98
-
99
-
100
-
101
-
102
-
 103
103 -
 104
104 -
 105
105 -
 106
106 -
 107
107 -
 108
108 -
 109
109 -
 110
110 -
 111
111 -
 112
112 -
 113
113 -
114
-
115
-
116
-
117
-
118
-
119
-
120
-
121
-
122
-
123
-
124
-
125
-
126
-
127
-
128
-
129
-
130
-
131
-
132
-
133
-
134
-
135
-
136
-
137
-
138
-
139
-
140
-
141
-
142
-
143
-
144
-
145
-
146
-
147
-
148
-
149
-
150
-
151
-
152
-
153
-
154
-
155
-
156
-
157
-
158
-
159
-
160
-
161
-
162
-
163
-
164
-
165
-
166
-
167
-
168
-
169
-
170
-
171
-
172
-
173
-
174
-
175
-
176
-
177
-
178
-
179
-
180
 |
 |