Sony ICD-BX140 Help Guide - Page 72
Setting the clock
 |
View all Sony ICD-BX140 manuals
Add to My Manuals
Save this manual to your list of manuals |
Page 72 highlights
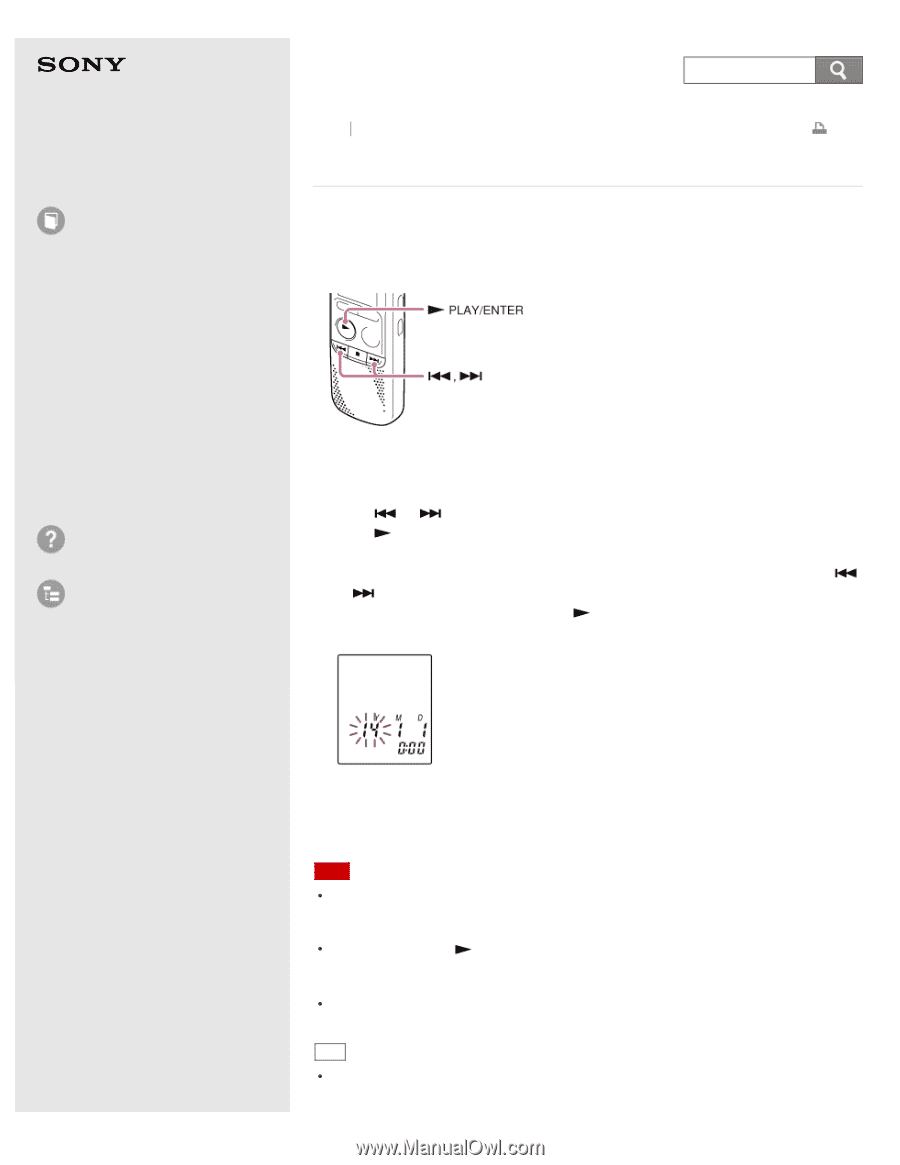
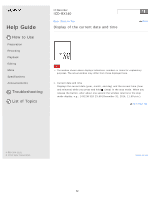
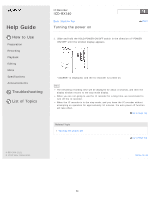
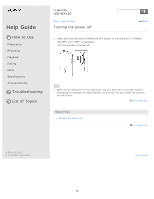
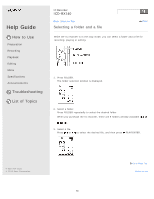
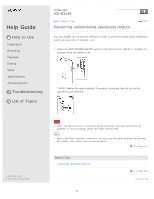
Help Guide How to Use Preparation Recording Playback Editing Menu Specifications Announcements Troubleshooting List of Topics IC Recorder ICD-BX140 Back Back to Top Print Setting the clock You need to set the clock to use the alarm function or record the date and time. When you insert batteries and turn the power on, the year section begins to flash in the clock setting display window. 1. Set year, month, day, hour and minute. Press or to set the year (the last two digits of the year), and then press PLAY/ENTER. Repeat this procedure to set month, day, hour, and minute in sequence. You can move the cursor to the year, month, day, hour and minute by pressing or . When you set the minute and press PLAY/ENTER, the clock reflects the setting. When you finish setting the clock, the remaining recording time will be displayed for about 3 seconds, and then the display window returns to the stop mode display. Note The clock setting display appears every time you replace batteries, and the approximate time when you last operated the unit before replacing the batteries is displayed. You must set the clock to the current time again. If you do not press PLAY/ENTER within 1 minute of entering the clock setting data, the clock setting mode is canceled and the window will return to the display of the stop mode. The time is displayed either in 12-Hour with "AM" or "PM," or in 24-Hour, depending on the "HOUR" setting in the menu. Hint You can set the clock using the menu as well. 66 Go to Page Top
-
 1
1 -
2
-
3
-
4
-
5
-
6
-
7
-
8
-
9
-
10
-
11
-
12
-
13
-
14
-
15
-
16
-
17
-
18
-
19
-
20
-
21
-
22
-
23
-
24
-
25
-
26
-
27
-
28
-
29
-
30
-
31
-
32
-
33
-
34
-
35
-
36
-
37
-
38
-
39
-
40
-
41
-
42
-
43
-
44
-
45
-
46
-
47
-
48
-
49
-
50
-
51
-
52
-
53
-
54
-
55
-
56
-
57
-
58
-
59
-
60
-
61
-
62
-
63
-
64
-
65
-
66
-
 67
67 -
 68
68 -
 69
69 -
 70
70 -
 71
71 -
 72
72 -
 73
73 -
 74
74 -
 75
75 -
 76
76 -
 77
77 -
78
-
79
-
80
-
81
-
82
-
83
-
84
-
85
-
86
-
87
-
88
-
89
-
90
-
91
-
92
-
93
-
94
-
95
-
96
-
97
-
98
-
99
-
100
-
101
-
102
-
103
-
104
-
105
-
106
-
107
-
108
-
109
-
110
-
111
-
112
-
113
-
114
-
115
-
116
-
117
-
118
-
119
-
120
-
121
-
122
-
123
-
124
-
125
-
126
-
127
-
128
-
129
-
130
-
131
-
132
-
133
-
134
-
135
-
136
-
137
-
138
-
139
-
140
-
141
-
142
-
143
-
144
-
145
-
146
-
147
-
148
-
149
-
150
-
151
-
152
-
153
-
154
-
155
-
156
-
157
-
158
-
159
-
160
-
161
-
162
-
163
-
164
-
165
-
166
-
167
-
168
-
169
-
170
-
171
-
172
-
173
-
174
-
175
-
176
-
177
-
178
-
179
-
180
 |
 |