TP-Link TL-PS110U User Guide - Page 12
Change Settings, Finish, Subnet Mask: 255.255.255.0 - default ip
 |
UPC - 845973031008
View all TP-Link TL-PS110U manuals
Add to My Manuals
Save this manual to your list of manuals |
Page 12 highlights
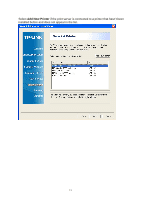
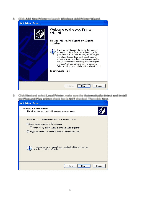
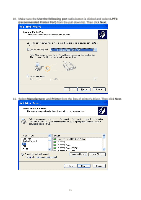
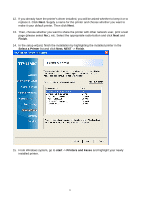
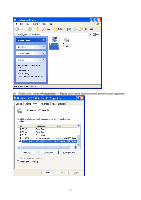
6. On the Change Settings screen, select No or Yes: Click No if you want the print server to keep using the default IP address and keep the default settings: z IP address: 192.168.0.10 z Subnet Mask: 255.255.255.0 Click Yes if you want change IP address to the print server, and then click Next. Note: The IP address of print server must be within the same subnet as your network adapter. 7. In the setup wizard, select an already configured printer from the list, click Next, Next and then Finish to complete the installation. or 12
-
 1
1 -
2
-
3
-
4
-
5
-
6
-
 7
7 -
 8
8 -
 9
9 -
 10
10 -
 11
11 -
 12
12 -
 13
13 -
 14
14 -
 15
15 -
 16
16 -
 17
17 -
18
-
19
-
20
-
21
-
22
-
23
-
24
-
25
-
26
-
27
-
28
-
29
-
30
-
31
-
32
-
33
-
34
-
35
-
36
-
37
-
38
-
39
-
40
-
41
-
42
-
43
-
44
-
45
-
46
-
47
-
48
-
49
-
50
-
51
-
52
-
53
-
54
-
55
-
56
-
57
-
58
-
59
-
60
-
61
-
62
-
63
-
64
-
65
-
66
-
67
-
68
-
69
-
70
-
71
-
72
-
73
-
74
-
75
-
76
-
77
-
78
-
79
 |
 |
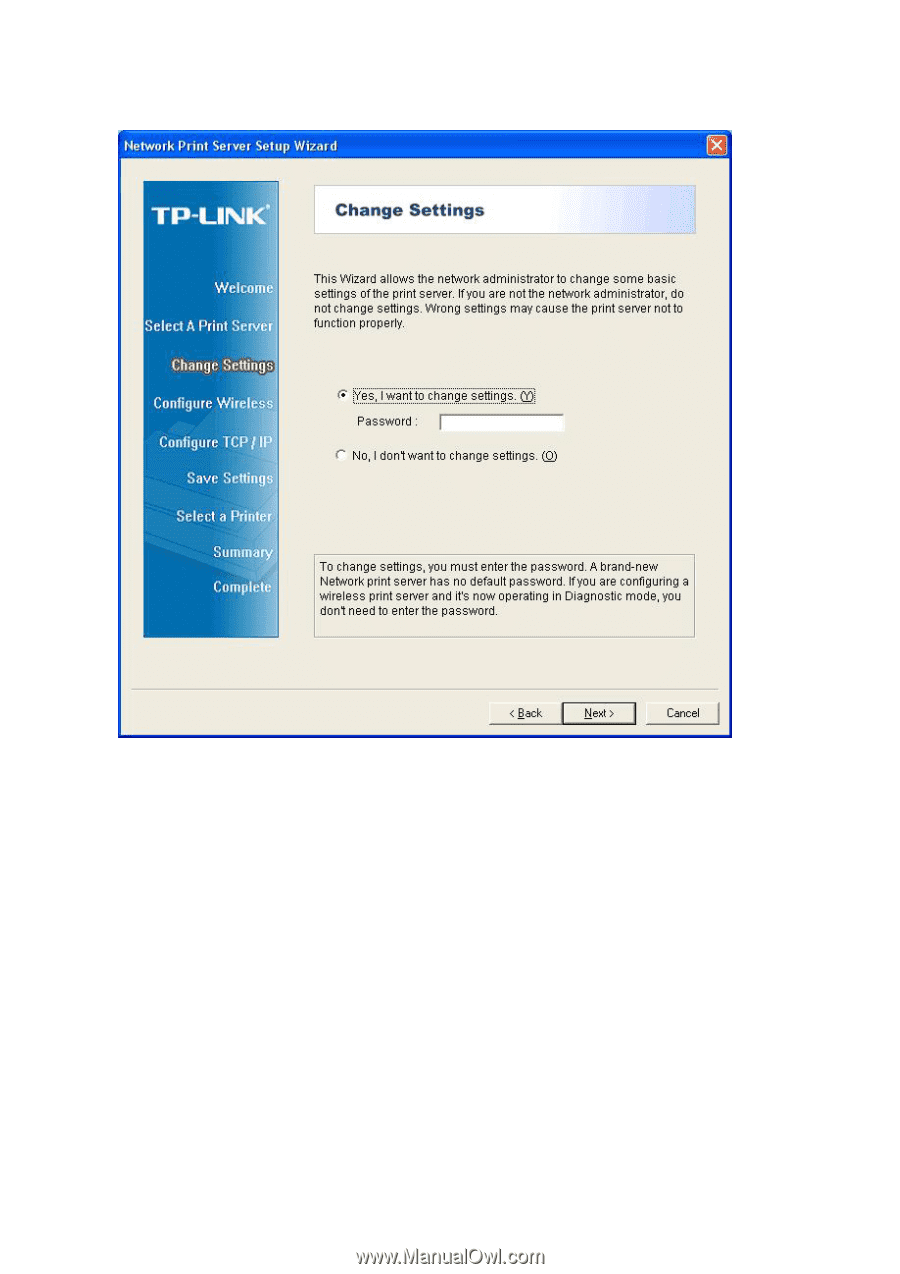
6.
On the
Change Settings
screen, select
No
or
Yes
:
Click
No
if you want the print server to keep using the default IP address and keep the default
settings:
z
IP address: 192.168.0.10
z
Subnet Mask: 255.255.255.0
Click
Yes
if you want change IP address to the print server, and then click
Next
.
Note:
The IP address of print server must be within the same subnet as your network adapter.
7.
In the setup wizard, select an already configured printer from the list, click
Next
,
Next
and then
Finish
to complete the installation.
or
12