TP-Link TL-R402M User Guide - Page 15
TL-R402M, admin, Enter - router configuration
 |
UPC - 696726402015
View all TP-Link TL-R402M manuals
Add to My Manuals
Save this manual to your list of manuals |
Page 15 highlights
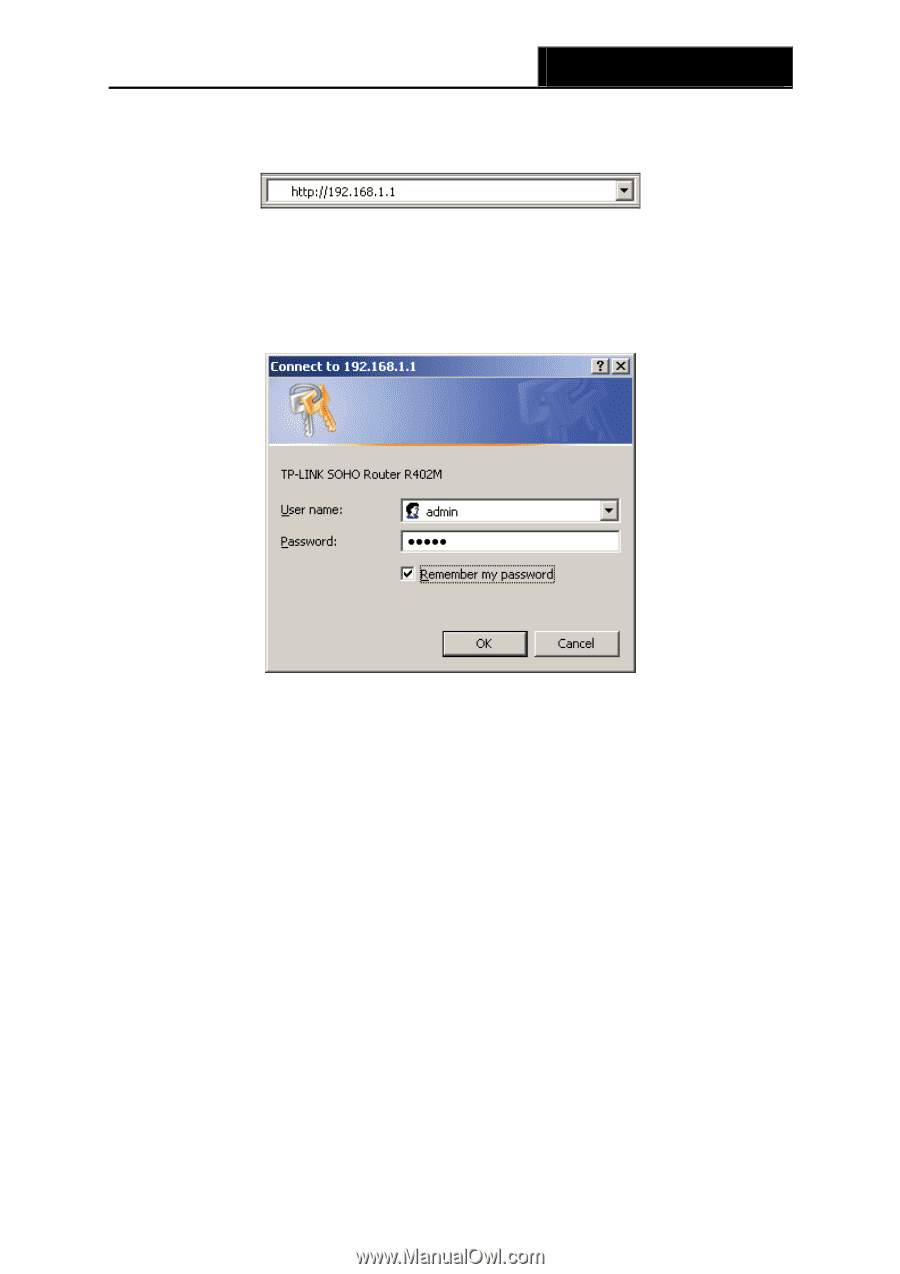
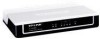
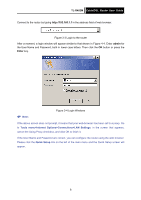
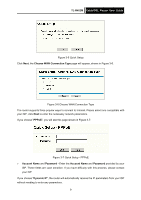
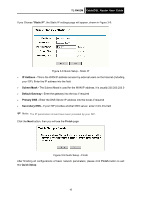
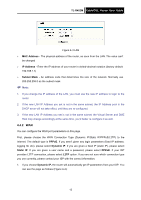
TL-R402M Cable/DSL Router User Guide Connect to the router by typing http://192.168.1.1 in the address field of web browser. Figure 3-3 Login to the router After a moment, a login window will appear similar to that shown in Figure 4-4. Enter admin for the User Name and Password, both in lower case letters. Then click the OK button or press the Enter key. ) Note: Figure 3-4 Login Windows If the above screen does not prompt, it means that your web-browser has been set to a proxy. Go to Tools menu>Internet Options>Connections>LAN Settings, in the screen that appears, cancel the Using Proxy checkbox, and click OK to finish it. If the User Name and Password are correct, you can configure the router using the web browser. Please click the Quick Setup link on the left of the main menu and the Quick Setup screen will appear. 8
-
 1
1 -
2
-
3
-
4
-
5
-
6
-
7
-
8
-
9
-
 10
10 -
 11
11 -
 12
12 -
 13
13 -
 14
14 -
 15
15 -
 16
16 -
 17
17 -
 18
18 -
 19
19 -
 20
20 -
21
-
22
-
23
-
24
-
25
-
26
-
27
-
28
-
29
-
30
-
31
-
32
-
33
-
34
-
35
-
36
-
37
-
38
-
39
-
40
-
41
-
42
-
43
-
44
-
45
-
46
-
47
-
48
-
49
-
50
-
51
-
52
-
53
-
54
-
55
-
56
-
57
-
58
-
59
-
60
-
61
 |
 |