TP-Link TL-WDR3500 TL-WDR3500 V1 User Guide 1910010836 - Page 68
Storage Sharing, Confirm Password
 |
View all TP-Link TL-WDR3500 manuals
Add to My Manuals
Save this manual to your list of manuals |
Page 68 highlights
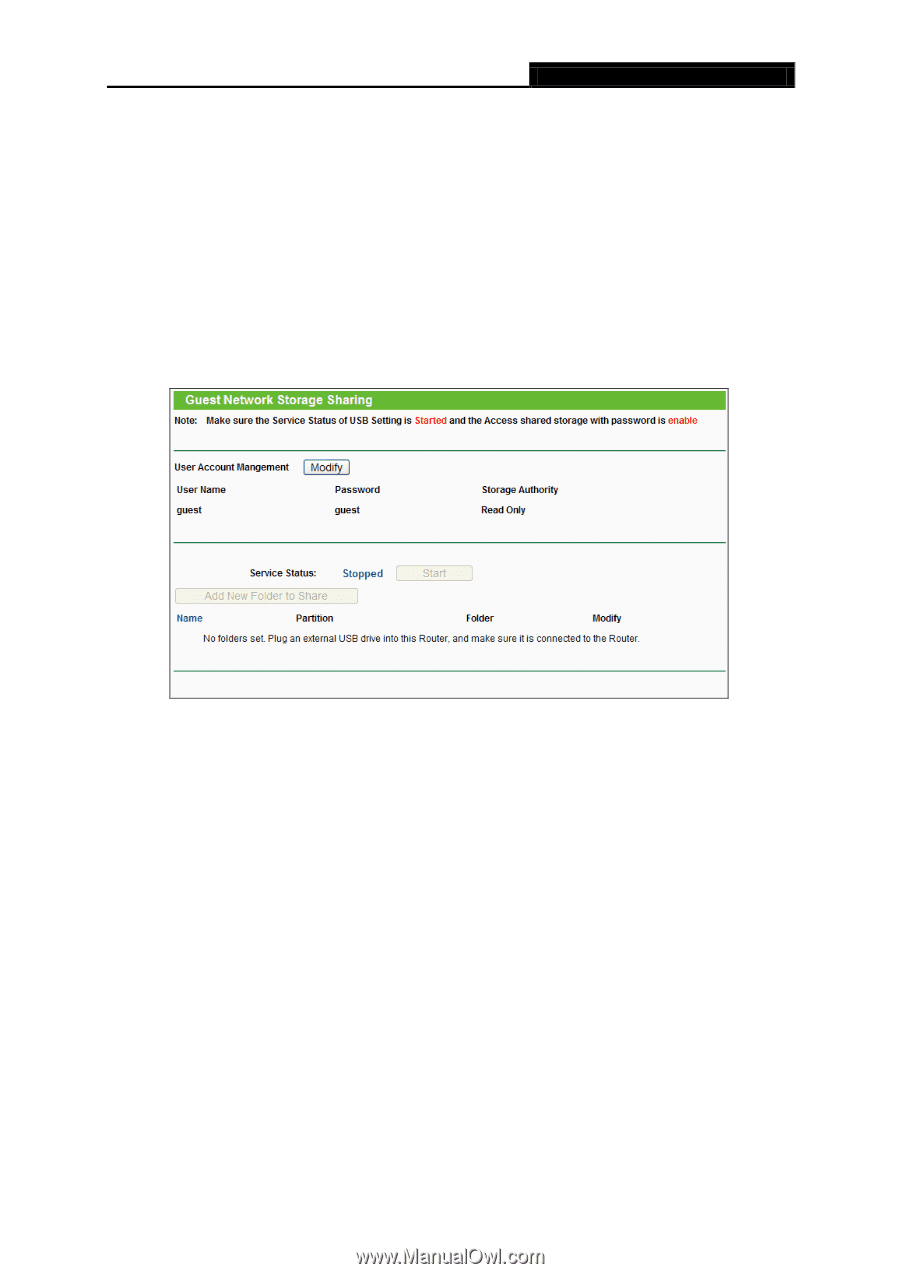
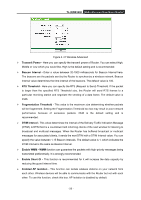
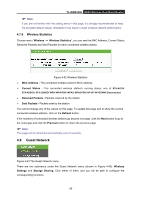
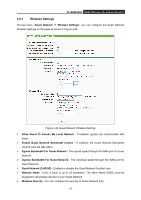
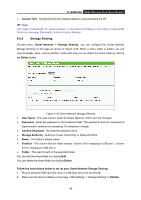
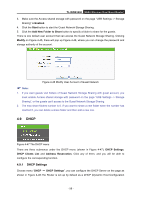
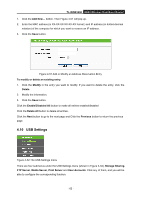
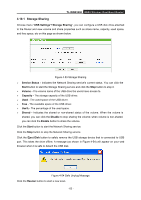
TL-WDR3500 N600 Wireless Dual Band Router Access Time - During this time the wireless stations could accessing the AP. Note: The range of bandwidth for Guest Network is calculated according to the setting of Bandwidth Control on the page "Bandwidth Control->Control Settings". 4.8.2 Storage Sharing Choose menu "Guest Network → Storage Sharing", you can configure the Guest Network Storage Sharing on the page as shown in Figure 4-45. When a share folder is added, you can view its display name, volume partition, folder path and you can delete the share folder by clicking the Delete button. Figure 4-45 Guest Network Storage Sharing User Name - The user name is guest for Guest Network, which can't be changed. Password - Enter the password in the Password field. The password must be composed of alphanumeric symbols not exceeding 15 characters in length. Confirm Password - Re-enter the password here. Storage Authority - Authority of user: Read Only or Read and Write. Name - This folder's display name. Partition - The volume that the folder resides. Volume 1-8 is mapping to USB port 1, Volume 9-16 is mapping to USB port 2. Folder - The real full path of the specified folder. You can edit the share folder by clicking Edit. You can delete the share folder by clicking Delete. Follow the instructions below to set up your Guest Network Storage Sharing: 1. Plug an external USB hard disk drive or USB flash drive into this Router. 2. Make sure the Service Status on the page "USB Settings -> Storage Sharing" is Started. - 58 -
-
 1
1 -
2
-
3
-
4
-
5
-
6
-
7
-
8
-
9
-
10
-
11
-
12
-
13
-
14
-
15
-
16
-
17
-
18
-
19
-
20
-
21
-
22
-
23
-
24
-
25
-
26
-
27
-
28
-
29
-
30
-
31
-
32
-
33
-
34
-
35
-
36
-
37
-
38
-
39
-
40
-
41
-
42
-
43
-
44
-
45
-
46
-
47
-
48
-
49
-
50
-
51
-
52
-
53
-
54
-
55
-
56
-
57
-
58
-
59
-
60
-
61
-
62
-
 63
63 -
 64
64 -
 65
65 -
 66
66 -
 67
67 -
 68
68 -
 69
69 -
 70
70 -
 71
71 -
 72
72 -
 73
73 -
74
-
75
-
76
-
77
-
78
-
79
-
80
-
81
-
82
-
83
-
84
-
85
-
86
-
87
-
88
-
89
-
90
-
91
-
92
-
93
-
94
-
95
-
96
-
97
-
98
-
99
-
100
-
101
-
102
-
103
-
104
-
105
-
106
-
107
-
108
-
109
-
110
-
111
-
112
-
113
-
114
-
115
-
116
-
117
-
118
-
119
-
120
-
121
-
122
-
123
-
124
-
125
-
126
-
127
-
128
-
129
-
130
-
131
-
132
-
133
-
134
-
135
-
136
-
137
-
138
-
139
-
140
-
141
-
142
-
143
 |
 |