Yamaha AW16G Owner's Manual - Page 116
Manual record, Auto record, Make sure that the MANU REC/AUTO REC - manual free
 |
View all Yamaha AW16G manuals
Add to My Manuals
Save this manual to your list of manuals |
Page 116 highlights
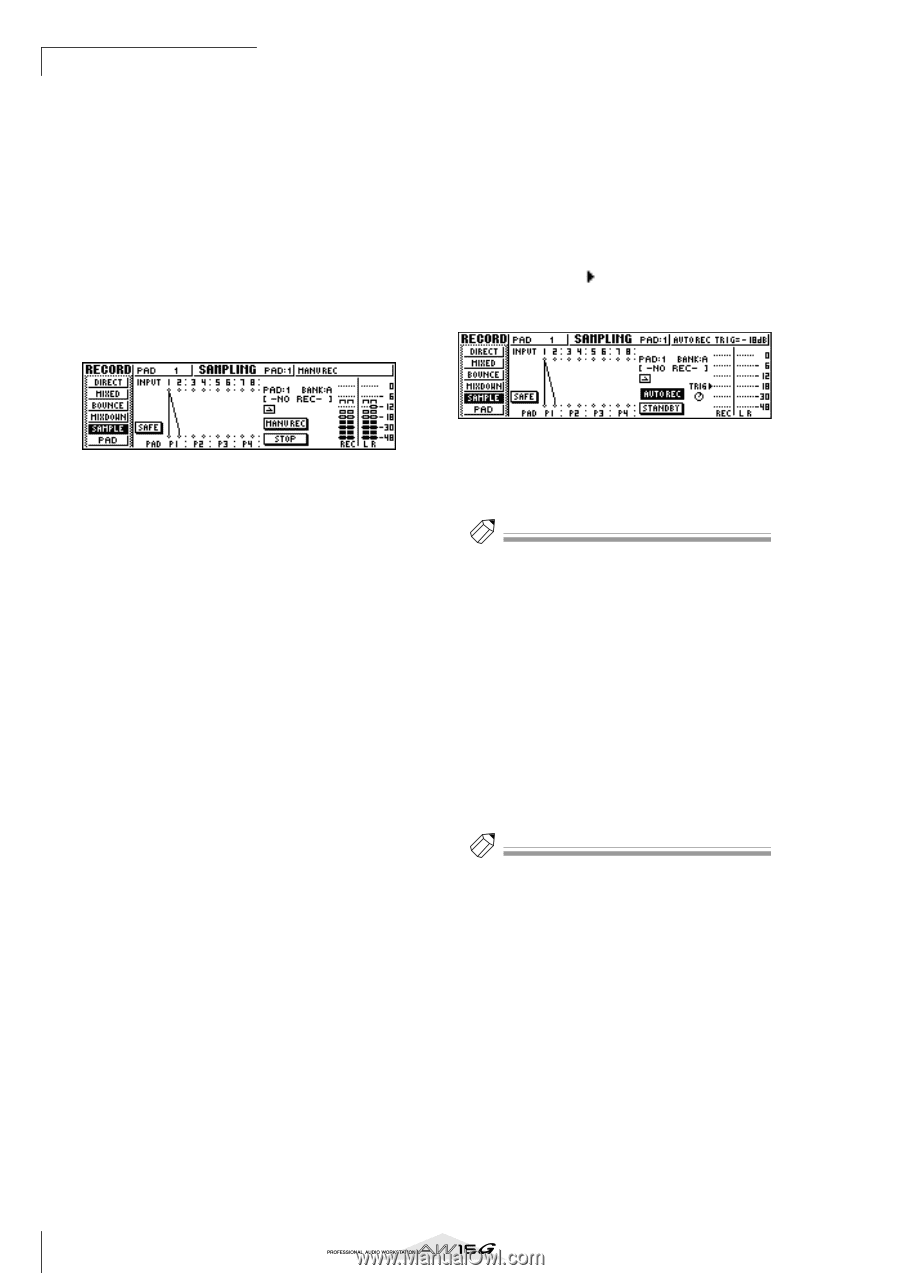
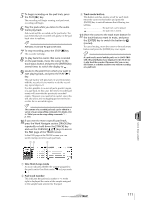
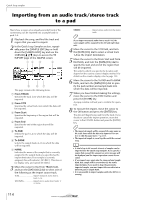
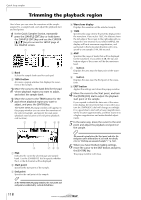
Quick loop sampler ■ Manual record 1 Make sure that the MANU REC/AUTO REC button indicates MANU REC. If the button indicates AUTO REC, move the cursor to the button and press the [ENTER] key. When MANU REC is selected, the START/STANDBY button will function as the START button to start or stop sampling. 2 To begin sampling, move the cursor to the START button in the screen, and press the [ENTER] key. Then play your instrument. During sampling, the button will be displayed as STOP, and will function as the sampling stop button. ■ Auto record 1 Move the cursor to the MANU REC/AUTO REC button and press the [ENTER] key to switch the button to AUTO REC. The START/STANDBY button will function as the STANDBY button to standby or stop sampling. 2 Move the cursor to the TRIG button and turn the [DATA/JOG] dial to adjust the level at which sampling will begin. The setting is indicated by the symbol in the meter. Sampling will begin automatically when the input signal exceeds the level you specify. 3 To stop sampling, move the cursor to the STOP button in the screen, and press the [ENTER] key. Sampling will also end automatically when the available memory is used up. 3 Move the cursor to the STANDBY button and press the [ENTER] key. The STANDBY button display will change to START, and you will be in record-standby mode. Tip! If you move the cursor to the START button and press the [ENTER] key, sampling will begin immediately even if the input signal has not reached the level specified by the TRIG knob. 4 Play your instrument. Sampling will begin when the input signal reaches the level you specified in step 2. During sampling, the STANDBY button will be displayed as STOP, and will function as the sampling stop button. 5 To stop sampling, move the cursor to the STOP button in the screen, and press the [ENTER] key. Sampling will also end automatically when the available memory is used up. Tip! • Immediately after sampling ends, a name of "PAD_x_y" (x= pad number/y= sample bank) will be automatically assigned to the sample. You are free to edit this name later (→ p. 117). • You can adjust the region of a sample after recording it (→ p. 118). It is a good idea to leave some extra time before and after the sound you actually want, and adjust the playback region afterward. 116
-
 1
1 -
2
-
3
-
4
-
5
-
6
-
7
-
8
-
9
-
10
-
11
-
12
-
13
-
14
-
15
-
16
-
17
-
18
-
19
-
20
-
21
-
22
-
23
-
24
-
25
-
26
-
27
-
28
-
29
-
30
-
31
-
32
-
33
-
34
-
35
-
36
-
37
-
38
-
39
-
40
-
41
-
42
-
43
-
44
-
45
-
46
-
47
-
48
-
49
-
50
-
51
-
52
-
53
-
54
-
55
-
56
-
57
-
58
-
59
-
60
-
61
-
62
-
63
-
64
-
65
-
66
-
67
-
68
-
69
-
70
-
71
-
72
-
73
-
74
-
75
-
76
-
77
-
78
-
79
-
80
-
81
-
82
-
83
-
84
-
85
-
86
-
87
-
88
-
89
-
90
-
91
-
92
-
93
-
94
-
95
-
96
-
97
-
98
-
99
-
100
-
101
-
102
-
103
-
104
-
105
-
106
-
107
-
108
-
109
-
110
-
 111
111 -
 112
112 -
 113
113 -
 114
114 -
 115
115 -
 116
116 -
 117
117 -
 118
118 -
 119
119 -
 120
120 -
 121
121 -
122
-
123
-
124
-
125
-
126
-
127
-
128
-
129
-
130
-
131
-
132
-
133
-
134
-
135
-
136
-
137
-
138
-
139
-
140
-
141
-
142
-
143
-
144
-
145
-
146
-
147
-
148
-
149
-
150
-
151
-
152
-
153
-
154
-
155
-
156
-
157
-
158
-
159
-
160
-
161
-
162
-
163
-
164
-
165
-
166
-
167
-
168
-
169
-
170
-
171
-
172
-
173
-
174
-
175
-
176
-
177
-
178
-
179
-
180
-
181
-
182
-
183
-
184
-
185
-
186
-
187
-
188
-
189
-
190
-
191
-
192
-
193
-
194
-
195
-
196
-
197
-
198
-
199
-
200
-
201
-
202
-
203
-
204
-
205
-
206
-
207
-
208
-
209
-
210
-
211
-
212
-
213
-
214
-
215
-
216
-
217
-
218
-
219
 |
 |