Canon SX10IS PowerShot SX10 IS Camera User Guide - Page 107
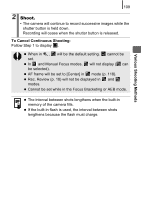
Shoot.
 |
UPC - 013803100785
View all Canon SX10IS manuals
Add to My Manuals
Save this manual to your list of manuals |
Page 107 highlights
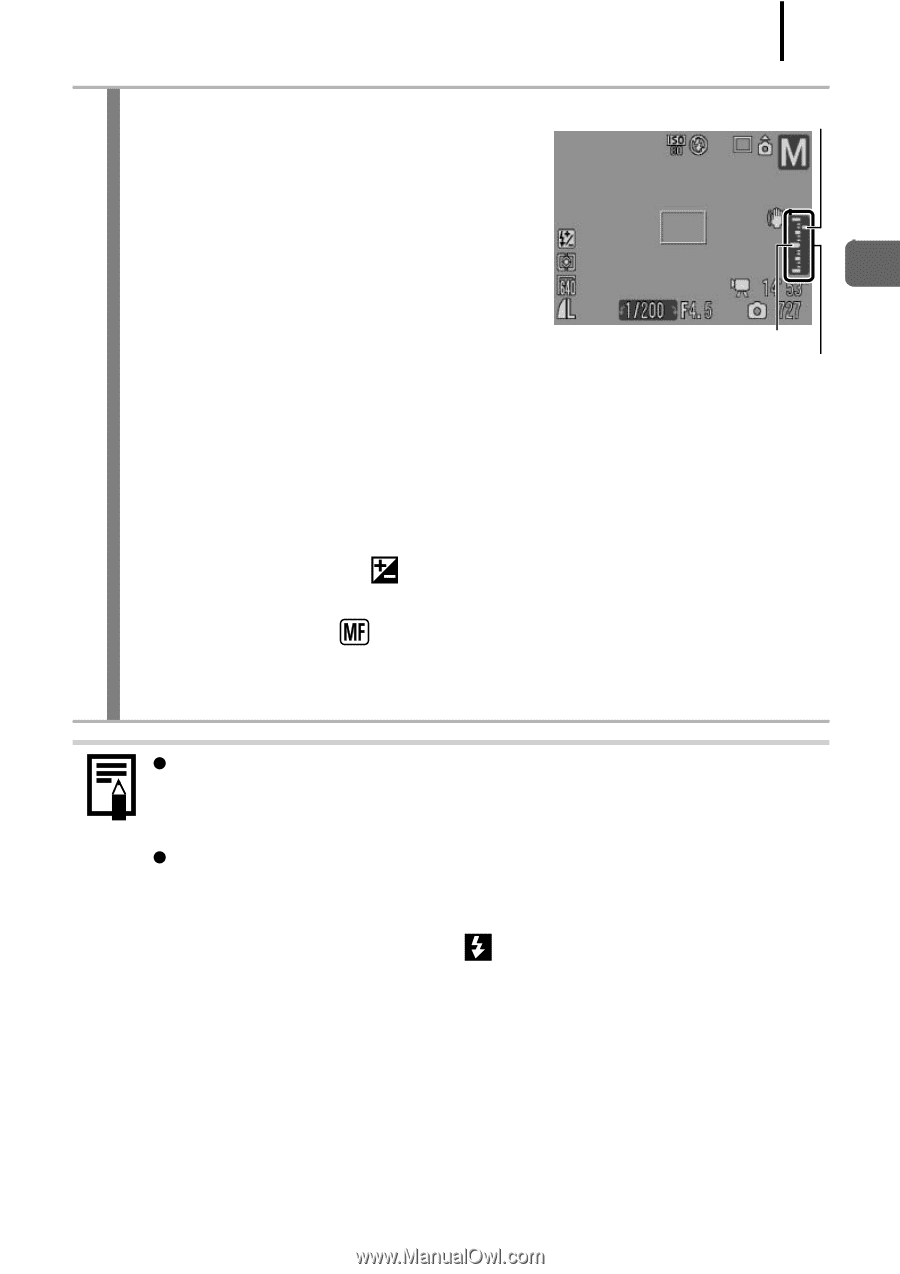
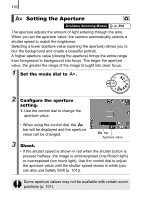
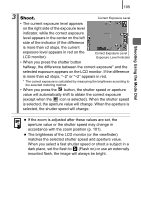
Shooting Using the Mode Dial 105 3 Shoot. Current Exposure Level • The current exposure level appears on the right side of the exposure level indicator, while the correct exposure level appears in the center on the left side of the indicator (if the difference is more than ±2 stops, the current exposure level appears in red on the LCD monitor). Correct Exposure Level Exposure Level Indicator • When you press the shutter button halfway, the difference between the correct exposure* and the selected exposure appears on the LCD monitor. If the difference is more than ±2 stops, "-2" or "+2" appears in red. * The correct exposure is calculated by measuring the brightness according to the selected metering method. • When you press the button, the shutter speed or aperture value will automatically shift to obtain the correct exposure (except when the icon is selected). When the shutter speed is selected, the aperture value will change. When the aperture is selected, the shutter speed will change. z If the zoom is adjusted after these values are set, the aperture value or the shutter speed may change in accordance with the zoom position (p. 101). z The brightness of the LCD monitor (or the viewfinder) matches the selected shutter speed and aperture value. When you select a fast shutter speed or shoot a subject in a dark place, set the flash to (Flash on) or use an externally mounted flash, the image will always be bright.
-
 1
1 -
2
-
3
-
4
-
5
-
6
-
7
-
8
-
9
-
10
-
11
-
12
-
13
-
14
-
15
-
16
-
17
-
18
-
19
-
20
-
21
-
22
-
23
-
24
-
25
-
26
-
27
-
28
-
29
-
30
-
31
-
32
-
33
-
34
-
35
-
36
-
37
-
38
-
39
-
40
-
41
-
42
-
43
-
44
-
45
-
46
-
47
-
48
-
49
-
50
-
51
-
52
-
53
-
54
-
55
-
56
-
57
-
58
-
59
-
60
-
61
-
62
-
63
-
64
-
65
-
66
-
67
-
68
-
69
-
70
-
71
-
72
-
73
-
74
-
75
-
76
-
77
-
78
-
79
-
80
-
81
-
82
-
83
-
84
-
85
-
86
-
87
-
88
-
89
-
90
-
91
-
92
-
93
-
94
-
95
-
96
-
97
-
98
-
99
-
100
-
101
-
 102
102 -
 103
103 -
 104
104 -
 105
105 -
 106
106 -
 107
107 -
 108
108 -
 109
109 -
 110
110 -
 111
111 -
 112
112 -
113
-
114
-
115
-
116
-
117
-
118
-
119
-
120
-
121
-
122
-
123
-
124
-
125
-
126
-
127
-
128
-
129
-
130
-
131
-
132
-
133
-
134
-
135
-
136
-
137
-
138
-
139
-
140
-
141
-
142
-
143
-
144
-
145
-
146
-
147
-
148
-
149
-
150
-
151
-
152
-
153
-
154
-
155
-
156
-
157
-
158
-
159
-
160
-
161
-
162
-
163
-
164
-
165
-
166
-
167
-
168
-
169
-
170
-
171
-
172
-
173
-
174
-
175
-
176
-
177
-
178
-
179
-
180
-
181
-
182
-
183
-
184
-
185
-
186
-
187
-
188
-
189
-
190
-
191
-
192
-
193
-
194
-
195
-
196
-
197
-
198
-
199
-
200
-
201
-
202
-
203
-
204
-
205
-
206
-
207
-
208
-
209
-
210
-
211
-
212
-
213
-
214
-
215
-
216
-
217
-
218
-
219
-
220
-
221
-
222
-
223
-
224
-
225
-
226
-
227
-
228
-
229
-
230
-
231
-
232
-
233
-
234
-
235
-
236
-
237
-
238
-
239
-
240
-
241
-
242
-
243
-
244
-
245
-
246
-
247
-
248
-
249
-
250
-
251
-
252
-
253
-
254
-
255
-
256
-
257
-
258
-
259
-
260
-
261
-
262
-
263
-
264
-
265
-
266
-
267
-
268
-
269
-
270
-
271
-
272
-
273
-
274
-
275
-
276
-
277
-
278
-
279
-
280
-
281
-
282
-
283
-
284
-
285
-
286
-
287
-
288
-
289
-
290
-
291
-
292
 |
 |