D-Link DCS-900 Product Manual - Page 22
Open Second Port, Apply/Cancel - ports
 |
UPC - 790069262012
View all D-Link DCS-900 manuals
Add to My Manuals
Save this manual to your list of manuals |
Page 22 highlights
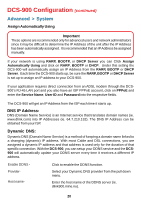
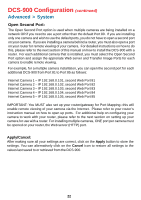
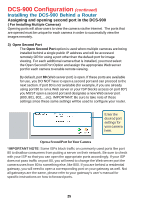
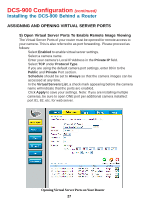
DCS-900 Configuration (continued) Advanced > System Open Second Port: The Open Second Port option is used when multiple cameras are being installed on a network OR if you need to use a port other than the default Port 80. If you are installing only one camera and wish to use the default ports, you do not have to open a second port on your camera. If you are installing a camera behind a router, you must also open a port on your router for remote viewing of your camera. For detailed instructions on how to do this, please refer to the next section of this manual on how to install the DCS-900 with a router. For each additional camera that is installed, you must select the Open Second Port option and assign the approriate Web server and Transfer Image Ports for each camera to enable remote viewing. For example, for a multiple camera installation, you can open the second port for each additional DCS-900 from Port 81 to Port 85 as follows: Internet Camera 1 - IP 192.168.0.101, second Web Port 81 Internet Camera 2 - IP 192.168.0.102, second Web Port 82 Internet Camera 3 - IP 192.168.0.103, second Web Port 83 Internet Camera 4 - IP 192.168.0.104, second Web Port 84 Internet Camera 5 - IP 192.168.0.105, second Web Port 85 IMPORTANT: You MUST also set up your router/gateway for Port Mapping--this will enable remote viewing of your camera via the Internet. Please refer to your router's instruction manual on how to open up ports. For additional help on configuring your camera to work with your router, please refer to the next section on setting up your camera for use with a router. For installing multiple cameras, ONE port per camera must be opened on your router, the Web server (HTTP) port. Apply/Cancel: After making sure all your settings are correct, click on the Apply button to store the settings. You can alternatively click on the Cancel icon to restore all settings to the values last saved to or retrieved from the DCS-900. 22
-
 1
1 -
2
-
3
-
4
-
5
-
6
-
7
-
8
-
9
-
10
-
11
-
12
-
13
-
14
-
15
-
16
-
 17
17 -
 18
18 -
 19
19 -
 20
20 -
 21
21 -
 22
22 -
 23
23 -
 24
24 -
 25
25 -
 26
26 -
 27
27 -
28
-
29
-
30
-
31
-
32
-
33
-
34
-
35
-
36
-
37
-
38
-
39
-
40
-
41
-
42
-
43
-
44
-
45
-
46
-
47
-
48
-
49
-
50
-
51
-
52
-
53
-
54
-
55
-
56
-
57
-
58
-
59
-
60
-
61
-
62
-
63
-
64
-
65
-
66
-
67
-
68
-
69
-
70
-
71
-
72
-
73
-
74
-
75
-
76
-
77
-
78
-
79
-
80
-
81
-
82
-
83
-
84
-
85
-
86
-
87
-
88
-
89
-
90
-
91
-
92
-
93
 |
 |