Garmin eTrex 10 Owner's Manual - Page 14
Tracks, Setup, Record, Do Not Show, Show On Map, Show On, Record Method, Distance, Record Interval - memory
 |
View all Garmin eTrex 10 manuals
Add to My Manuals
Save this manual to your list of manuals |
Page 14 highlights
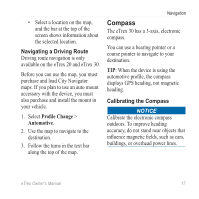
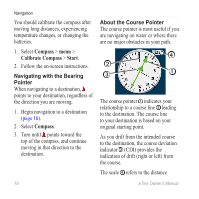
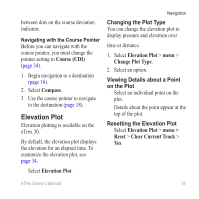
Waypoints, Routes, and Tracks Tracks A track is a recording of your path. The track log contains information about points along the recorded path, including time, location, and elevation for each point. Recording Track Logs 1. Select Setup > Tracks > Track Log. 2. Select Record, Do Not Show or Record, Show On Map. If you select Record, Show On Map, a line on the map indicates your track. 3. Select Record Method. 4. Select an option: • To record tracks at a variable rate that creates an optimum representation of your tracks, select Auto. • To record tracks at a specified distance, select Distance. 14 • To record tracks at a specified time, select Time. 5. Select Record Interval. 6. Complete an action: • Select an option to record tracks more or less often. NOTE: Using the Most Often interval provides the most track detail, but fills up the device memory quicker. • Enter a time or distance, and select Done. As you move with the device turned on, a track log is created. eTrex Owner's Manual
-
 1
1 -
2
-
3
-
4
-
5
-
6
-
7
-
8
-
 9
9 -
 10
10 -
 11
11 -
 12
12 -
 13
13 -
 14
14 -
 15
15 -
 16
16 -
 17
17 -
 18
18 -
 19
19 -
20
-
21
-
22
-
23
-
24
-
25
-
26
-
27
-
28
-
29
-
30
-
31
-
32
-
33
-
34
-
35
-
36
-
37
-
38
-
39
-
40
-
41
-
42
-
43
-
44
-
45
-
46
-
47
-
48
-
49
-
50
-
51
-
52
-
53
-
54
-
55
-
56
-
57
-
58
-
59
-
60
 |
 |
