HP Designjet 510 HP Designjet 510 Printer series - Quick Reference Guide - Page 23
Replacing printheads - printhead cover
 |
View all HP Designjet 510 manuals
Add to My Manuals
Save this manual to your list of manuals |
Page 23 highlights
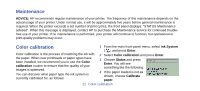
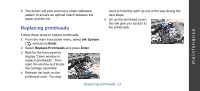
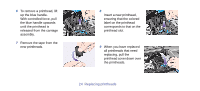
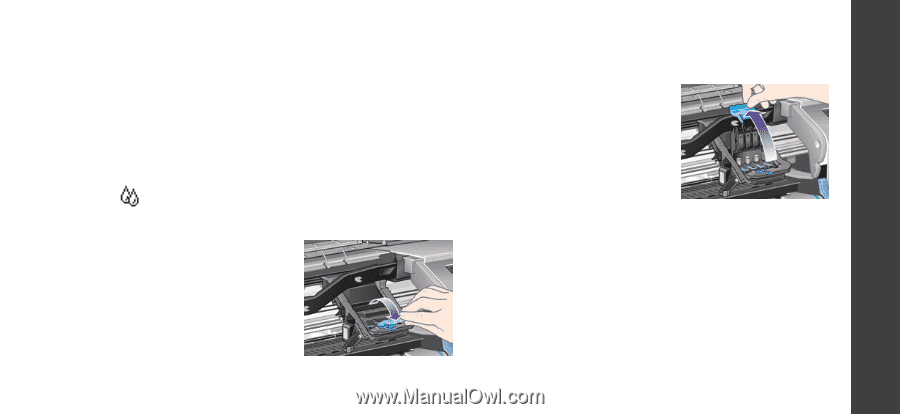
maintenance 5 The printer will print and use a small calibration pattern to ensure an optimal match between the paper and the ink. Replacing printheads Follow these steps to replace printheads. 1 From the main front-panel menu, select Ink System ( ) and press Enter. 2 Select Replace Printheads and press Enter. 3 Wait for the front panel to display "Open window to replace printheads". Then open the window and locate the carriage assembly. 4 Release the latch on the printhead cover. You may need to hold this latch up out of the way during the next steps. 5 Lift up the printhead cover; this will give you access to the printheads. Replacing printheads 23
-
 1
1 -
2
-
3
-
4
-
5
-
6
-
7
-
8
-
9
-
10
-
11
-
12
-
13
-
14
-
15
-
16
-
17
-
 18
18 -
 19
19 -
 20
20 -
 21
21 -
 22
22 -
 23
23 -
 24
24 -
 25
25 -
 26
26 -
 27
27 -
 28
28 -
29
-
30
-
31
-
32
-
33
 |
 |
Replacing printheads
23
maintenance
5
The printer will print and use a small calibration
pattern to ensure an optimal match between the
paper and the ink.
Replacing printheads
Follow these steps to replace printheads.
1
From the main front-panel menu, select
Ink System
(
) and press
Enter
.
2
Select
Replace Printheads
and press
Enter
.
3
Wait for the front panel to
display “Open window to
replace printheads”. Then
open the window and locate
the carriage assembly.
4
Release the latch on the
printhead cover. You may
need to hold this latch up out of the way during the
next steps.
5
Lift up the printhead cover;
this will give you access to
the printheads.