Kenmore 7808 Use and Care Guide - Page 8
than90°elbows.
 |
View all Kenmore 7808 manuals
Add to My Manuals
Save this manual to your list of manuals |
Page 8 highlights
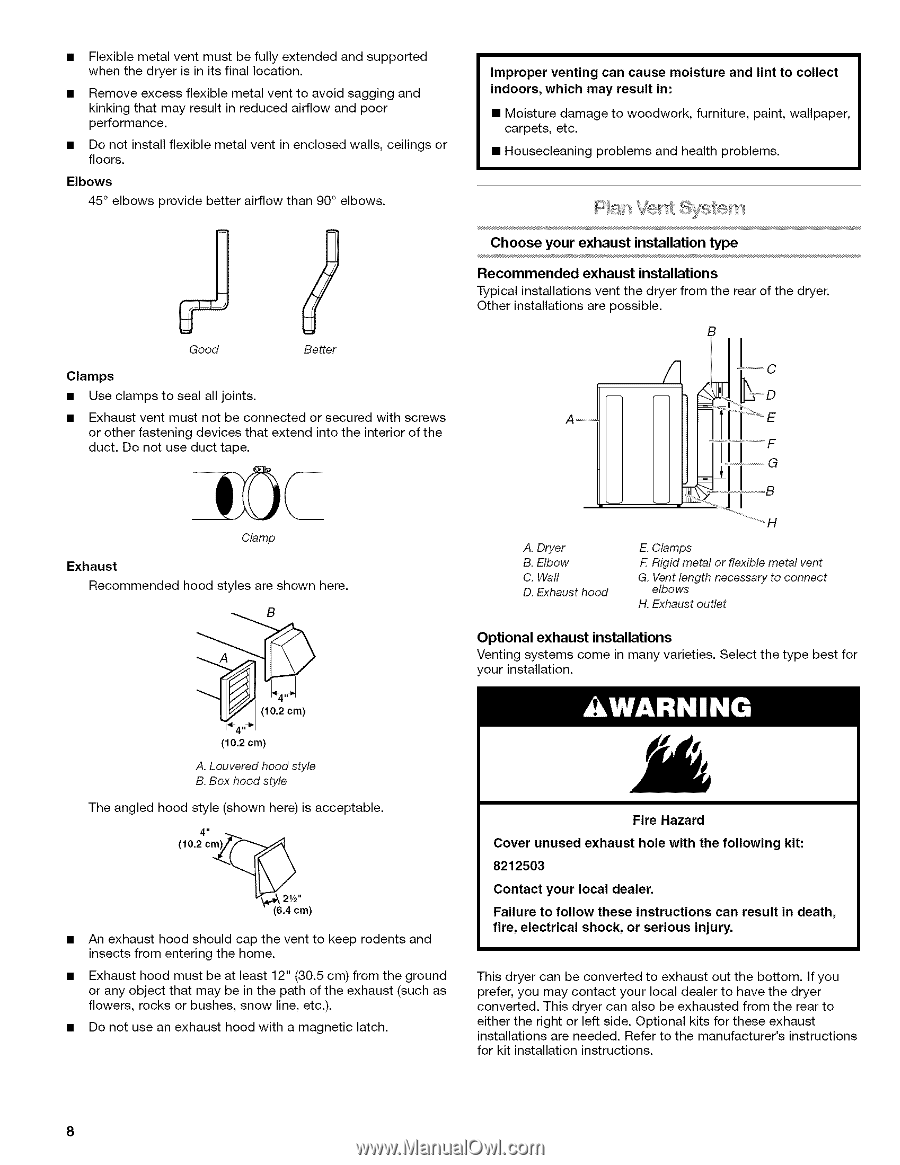
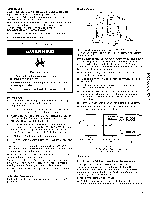
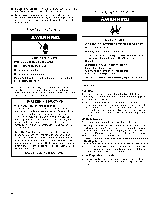
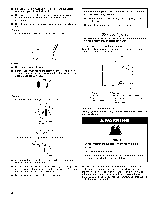
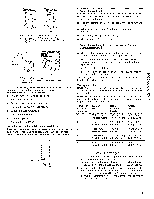
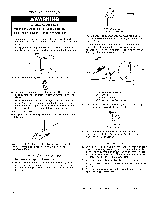
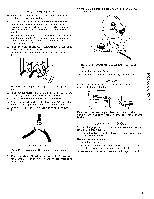
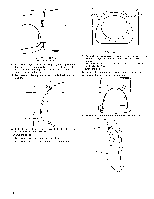
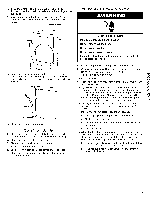
Flexiblme etavl entmusbt efullyextendeadndsupported whenthedryerisinitsfinalocation. Removeexcesfslexiblemetavl ent o avoidsagginagnd kinkingthatmayresulitnreduceadirflowandpoor performance. Donotinstafllexiblemetavlentinenclosewdallsc, eilingosr floors. Elbows 45° elbowsprovidbeettear irflowthan90°elbows. Improper venting can cause moisture and lint to collect indoors, which may result in: • Moisture damage to woodwork, furniture, paint, wallpaper, carpets, etc. • Housecleaning problems and health problems. _2 o_ Good Better Clamps Use clamps to seal all joints. Exhaust vent must not be connected or secured with screws or other fastening devices that extend into the interior of the duct. Do not use duct tape. Choose your exhaust installation type Recommended exhaust installations Typical installations vent the dryer from the rear of the dryer. Other installations are possible. B A Clamp Exhaust Recommended hood styles are shown here. B ........... A. Dryer B. Elbow C. Waft D. Exhaust hood E. Clamps F. Rigid metal or flexible metal vent G. Vent length necessary to connect elbows H. Exhaust outlet Optional exhaust installations Venting systems come in many varieties. Select the type best for your installation. 1_4,,_" I (10.2 crn) A. Louvered hood style B. Box hood style The angled hood style (shown here) is acceptable. • An exhaust hood should cap the vent to keep rodents and insects from entering the home. • Exhaust hood must be at least 12" (30.5 cm) from the ground or any object that may be in the path of the exhaust (such as flowers, rocks or bushes, snow line, etc.). • Do not use an exhaust hood with a magnetic latch. Fire Hazard Cover unused exhaust hole with the following kit: 8212503 Contact your local dealer. Failure to follow these instructions can result in death, fire, electrical shock, or serious injury. This dryer can be converted to exhaust out the bottom. If you prefer, you may contact your local dealer to have the dryer converted. This dryer can also be exhausted from the rear to either the right or left side. Optional kits for these exhaust installations are needed. Refer to the manufacturer's instructions for kit installation instructions. 8
-
 1
1 -
2
-
 3
3 -
 4
4 -
 5
5 -
 6
6 -
 7
7 -
 8
8 -
 9
9 -
 10
10 -
 11
11 -
 12
12 -
 13
13 -
14
-
15
-
16
-
17
-
18
-
19
-
20
-
21
-
22
-
23
-
24
-
25
-
26
-
27
-
28
-
29
-
30
-
31
-
32
-
33
-
34
-
35
-
36
-
37
-
38
-
39
-
40
-
41
-
42
-
43
-
44
-
45
-
46
-
47
-
48
 |
 |