Kyocera TASKalfa 4551ci Printing System (11),(12),(13),(14) Configuration and - Page 41
In the Proxy Settings window, click Save., Select Enable System Updates.
 |
View all Kyocera TASKalfa 4551ci manuals
Add to My Manuals
Save this manual to your list of manuals |
Page 41 highlights
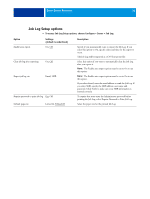
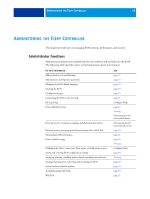
ADMINISTERING THE FIERY CONTROLLER 41 TO SCHEDULE SYSTEM UPDATES 1 Access System Update. You can access System Updates from a client computer using WebTools or Command WorkStation. From a client using Command WorkStation • Start Command WorkStation. • Log on as Administrator with the appropriate password. • Choose Configure > Server > System Update. From a client using WebTools • Launch a Web browser and type the IP address or DNS name of the E100 and press Enter. • Click the Configure tab, and click Launch Configure. • Log on as Administrator with the appropriate password. • Choose Configure > Server > System Update. NOTE: While updates are being installed, you cannot print to the E100. Schedule automatic updates when no one plans to print. The E100 may also need to reboot several times during the update process. 2 Select "Enable System Updates." 3 Specify how often the E100 contacts the Update Server. This feature sets a schedule for installing updates. 4 If you use a proxy server to connect through a firewall to the Update Server, click Proxy Settings, select Enable Proxy, and type the appropriate information in the following fields: • Address: proxy server IP address • Port: port used by the proxy server • User Name: user name for accessing the proxy server • Password: password for accessing the proxy server 5 In the Proxy Settings window, click Save. 6 Click Apply.
-
 1
1 -
2
-
3
-
4
-
5
-
6
-
7
-
8
-
9
-
10
-
11
-
12
-
13
-
14
-
15
-
16
-
17
-
18
-
19
-
20
-
21
-
22
-
23
-
24
-
25
-
26
-
27
-
28
-
29
-
30
-
31
-
32
-
33
-
34
-
35
-
 36
36 -
 37
37 -
 38
38 -
 39
39 -
 40
40 -
 41
41 -
 42
42 -
 43
43 -
 44
44 -
 45
45 -
 46
46 -
47
-
48
-
49
-
50
-
51
-
52
-
53
-
54
-
55
-
56
-
57
-
58
-
59
 |
 |
