Lexmark X7350 User's Guide - Page 33
Using the Fax Setup Utility, From this You can
 |
View all Lexmark X7350 manuals
Add to My Manuals
Save this manual to your list of manuals |
Page 33 highlights
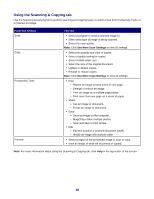
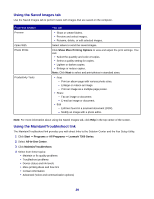
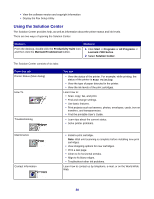
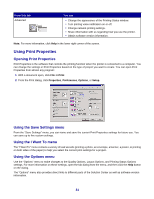
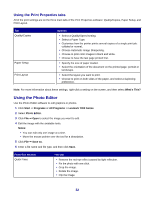
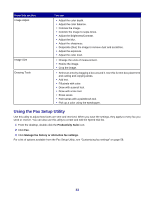
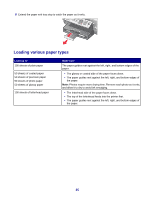
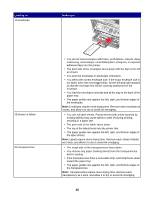
From this section Image Adjust Image Size Drawing Tools You can • Adjust the color depth. • Adjust the color balance. • Colorize the image. • Colorize the image to sepia tones. • Adjust the Brightness/Contrast. • Adjust the blur. • Adjust the sharpness. • Despeckle (blur) the image to remove dust and scratches. • Adjust the exposure. • Adjust the color level. • Change the units of measurement. • Resize the image. • Crop the image. • Select an area by dragging a box around it. Use this for text box placement and cutting and copying areas. • Add text. • Fill pixels with color. • Draw with a pencil tool. • Draw with a line tool. • Erase areas. • Paint areas with a paintbrush tool. • Pick up a color using the eyedropper. Using the Fax Setup Utility Use this utility to adjust how faxes are sent and received. When you save the settings, they apply to every fax you send or receive. You can also use this utility to create and edit the Speed Dial list. 1 From the desktop, double-click the Productivity Suite icon. 2 Click Fax. 3 Click Manage fax history or All-In-One fax settings. For a list of options available from the Fax Setup Utility, see "Customizing fax settings" on page 58. 33
-
 1
1 -
2
-
3
-
4
-
5
-
6
-
7
-
8
-
9
-
10
-
11
-
12
-
13
-
14
-
15
-
16
-
17
-
18
-
19
-
20
-
21
-
22
-
23
-
24
-
25
-
26
-
27
-
 28
28 -
 29
29 -
 30
30 -
 31
31 -
 32
32 -
 33
33 -
 34
34 -
 35
35 -
 36
36 -
 37
37 -
 38
38 -
39
-
40
-
41
-
42
-
43
-
44
-
45
-
46
-
47
-
48
-
49
-
50
-
51
-
52
-
53
-
54
-
55
-
56
-
57
-
58
-
59
-
60
-
61
-
62
-
63
-
64
-
65
-
66
-
67
-
68
-
69
-
70
-
71
-
72
-
73
-
74
-
75
-
76
-
77
-
78
-
79
-
80
-
81
-
82
-
83
-
84
-
85
-
86
-
87
-
88
-
89
-
90
-
91
-
92
-
93
-
94
-
95
-
96
-
97
-
98
-
99
-
100
-
101
-
102
-
103
-
104
-
105
-
106
-
107
-
108
-
109
-
110
-
111
-
112
 |
 |
