Lexmark Z65n User's Guide (1.06 MB) - Page 21
Installing additional listed printers, Manually configuring a single uncon d printer - z65 manual
 |
View all Lexmark Z65n manuals
Add to My Manuals
Save this manual to your list of manuals |
Page 21 highlights
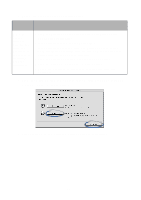
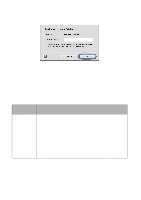
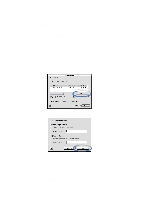
Installing additional listed printers To install additional configured printers, follow the steps for your operating system: Mac OS 8.6 to 9.2 1 From the Apple menu, choose Control Panels Lexmark Z65 Control Panel. The Printer Selection screen appears. 2 Select the next printer in the list you want to install, and then click Select. 3 From the Control Panel, click the close box to complete the printer software installation. Mac OS X version 10.0.3 to 10.1 1 From the Finder, click Computer, and then double-click the OS X disk icon Library folder Printers folder Lexmark folder Lexmark Z65 Utility. The Printer Selection screen appears. 2 Select the next printer in the list you want to install, and then click Select. 3 From the Printer Selection screen, click Open Print Center. The Printer List appears. 4 If your printer is listed, continue with step 5. If your printer is not listed, click Add Printer, and then select Lexmark Inkjet Networking from the pop-up menu. Select your printer from the list, and then click Add. 5 From the Printer List screen, click the red close button. 6 From the Printer Selection screen, click Continue. 7 From the Lexmark Z65 Utility, click the red close button to complete the printer software installation. Manually configuring a single unconfigured printer 1 From the New Network Printer Found screen, click Continue. 17
-
 1
1 -
2
-
3
-
4
-
5
-
6
-
7
-
8
-
9
-
10
-
11
-
12
-
13
-
14
-
15
-
 16
16 -
 17
17 -
 18
18 -
 19
19 -
 20
20 -
 21
21 -
 22
22 -
 23
23 -
 24
24 -
 25
25 -
 26
26 -
27
-
28
-
29
-
30
-
31
-
32
-
33
-
34
-
35
-
36
-
37
-
38
-
39
-
40
-
41
-
42
-
43
-
44
-
45
-
46
-
47
-
48
-
49
-
50
-
51
-
52
 |
 |
