Linksys WAG54G User Guide - Page 18
Wired Connection to a Computer, ADSL Connection, IMPORTANT - repeater
 |
View all Linksys WAG54G manuals
Add to My Manuals
Save this manual to your list of manuals |
Page 18 highlights
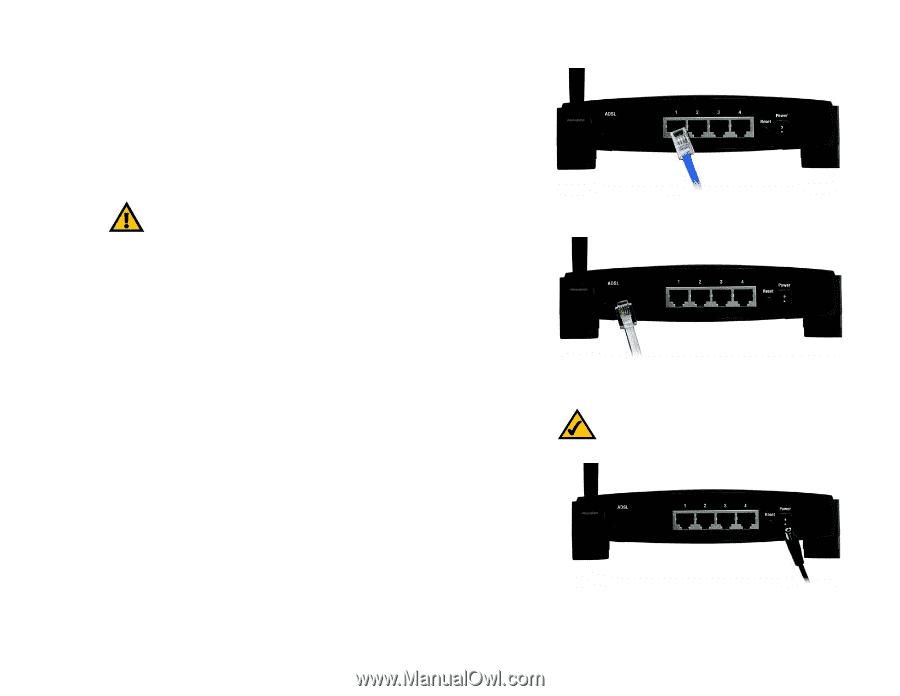
Wireless-G ADSL Gateway Wired Connection to a Computer 1. Before you begin, make sure that all of your network's hardware is powered off, including the Gateway and all computers. 2. Connect one end of an Ethernet network cable to one of the LAN ports (labeled 1-4) on the back of the Gateway (see Figure 4-1), and the other end to an Ethernet port on a computer. 3. Repeat this step to connect more computers, a switch, or other network devices to the Gateway. IMPORTANT: If using microfilters, make sure to only place the microfilters between the phone and the wall jack and not between the Gateway and the wall jack or your ADSL will not connect. 4. Connect a phone cable from the ADSL port on the Gateway's back panel (see Figure 4-2) to the wall jack of the ADSL line. A small device called a microfilter may be necessary between each phone and wall jack to prevent interference. Contact your ISP if you have any questions. 5. Connect the power adapter to the Gateway's Power port (see Figure 4-3), and then plug the power adapter into a power outlet. • The Power LED on the front panel will light up green as soon as the power adapter is connected properly. The Power LED will flash for a few seconds, then it will light up steady when the self-test is complete. If the LED flashes for one minute or longer, see "Appendix A: Troubleshooting." 6. Power on one of your computers that is connected to the Gateway. Wireless Connection to a Computer If you want to use a wireless connection to access the Gateway, follow these instructions: 1. Before you begin, make sure that all of your network's hardware is powered off, including the Gateway and all computers. Figure 4-1: LAN Connection Figure 4-2: ADSL Connection NOTE: You should always plug the Gateway's power adapter into a power strip with surge protection. Chapter 4: Connecting the Wireless-G Broadband Gateway Wired Connection to a Computer Figure 4-3: Power Connection 11
-
 1
1 -
2
-
3
-
4
-
5
-
6
-
7
-
8
-
9
-
10
-
11
-
12
-
 13
13 -
 14
14 -
 15
15 -
 16
16 -
 17
17 -
 18
18 -
 19
19 -
 20
20 -
 21
21 -
 22
22 -
 23
23 -
24
-
25
-
26
-
27
-
28
-
29
-
30
-
31
-
32
-
33
-
34
-
35
-
36
-
37
-
38
-
39
-
40
-
41
-
42
-
43
-
44
-
45
-
46
-
47
-
48
-
49
-
50
-
51
-
52
-
53
-
54
-
55
-
56
-
57
-
58
-
59
-
60
-
61
-
62
-
63
-
64
-
65
-
66
-
67
-
68
-
69
-
70
-
71
-
72
-
73
-
74
-
75
-
76
-
77
-
78
-
79
-
80
-
81
-
82
-
83
-
84
-
85
-
86
-
87
-
88
-
89
-
90
-
91
-
92
-
93
-
94
-
95
 |
 |