Pfaff performance 2054 Owner's Manual - Page 107
quilt, binder
 |
View all Pfaff performance 2054 manuals
Add to My Manuals
Save this manual to your list of manuals |
Page 107 highlights
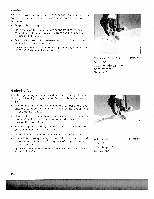
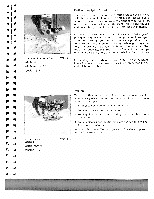
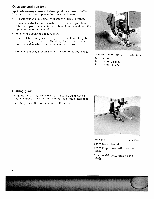
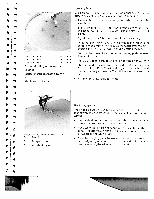
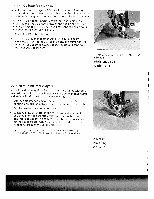
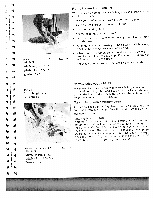
I. a Free Motion Quilt Foot Stitch: 1 Stitch length: 2.5 Tension: 3-5 1 j I I I I I 4 4 • Bias binder Stitch: optional Tension: 3-5 820242M96 Free motion quilt foot The free-motion quilt foot in combination with the straight stitcl well suited for free-motion quilting. The three layers of your qui are guided manually during free-motion quilting. The faster you the more consistent and uniform your stitches will become. Practice this technique first on a test piece. Free-motion quilting possible in both curved and straight lines. For free-motion, straig line quilting (center needle position), with a spacing of 1/4 inch (6 mm), use the four red markings on the corners of the foot as a guide. • Loosen the notched screw on the back of the presser foot shank. • Press the free motion quilt foot gently together with thumi and index finger. Guide the pin of the free-motion quilt foot into the hole of presser foot holder as far as it will go. The long fork of the I motion quilt foot must be positioned behind the needle clai • Tighten the notched screw. • Bring the free motion quilt foot into the darning position b selecting the free motion icon and lower the feed dog. Tip: Free-motion embroidery can also be completed using the free-motion foot. 820245-096 Bias binder Binding with bias tape is a very easy method of fabric edges finished with a smooth and neat appearance. For this you need unfolded bias tape about 1" (24 mm) wide. • Remove the presser foot and shank. Attach the bias binder. • Cut the beginning of the bias tape at a diagonal. • Feed the tape into the scroll of the binder and pull out to th back. • Adjust the binder and/or the needle position so that the nec pierces the fabric approximately 1/16" (1 - 1.5 mm) from the edge of the bias tape. • Stitch about 1" (2.5 cm) along the bias tape. Insert the edge of the fabric to be bound between the bias I edges into the slot of the binder. The bias tape will bind the raw edge automatically during sewing. Tip: You can obtain an additional decorative effect by using a zig zag or decorative stitch.
-
 1
1 -
2
-
3
-
4
-
5
-
6
-
7
-
8
-
9
-
10
-
11
-
12
-
13
-
14
-
15
-
16
-
17
-
18
-
19
-
20
-
21
-
22
-
23
-
24
-
25
-
26
-
27
-
28
-
29
-
30
-
31
-
32
-
33
-
34
-
35
-
36
-
37
-
38
-
39
-
40
-
41
-
42
-
43
-
44
-
45
-
46
-
47
-
48
-
49
-
50
-
51
-
52
-
53
-
54
-
55
-
56
-
57
-
58
-
59
-
60
-
61
-
62
-
63
-
64
-
65
-
66
-
67
-
68
-
69
-
70
-
71
-
72
-
73
-
74
-
75
-
76
-
77
-
78
-
79
-
80
-
81
-
82
-
83
-
84
-
85
-
86
-
87
-
88
-
89
-
90
-
91
-
92
-
93
-
94
-
95
-
96
-
97
-
98
-
99
-
100
-
101
-
 102
102 -
 103
103 -
 104
104 -
 105
105 -
 106
106 -
 107
107 -
 108
108 -
 109
109 -
 110
110 -
 111
111 -
 112
112 -
113
-
114
-
115
-
116
-
117
-
118
-
119
-
120
-
121
-
122
-
123
-
124
 |
 |
