Pfaff performance 2054 Owner's Manual - Page 85
Decorating
 |
View all Pfaff performance 2054 manuals
Add to My Manuals
Save this manual to your list of manuals |
Page 85 highlights
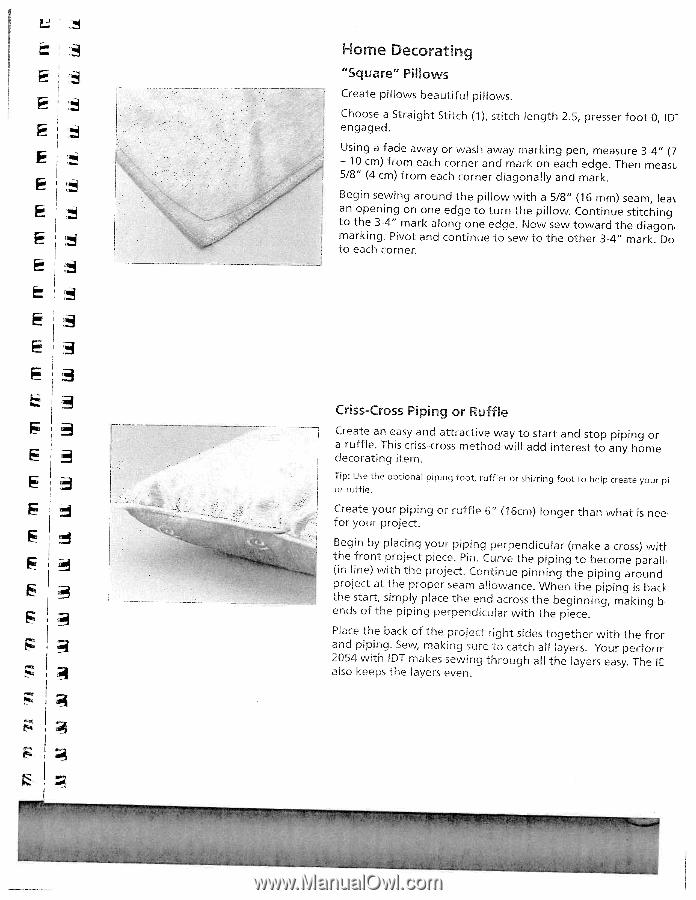
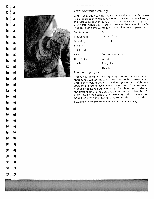
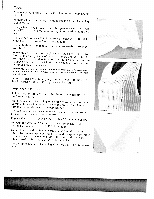
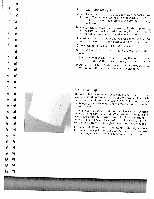
I I L - ,/' Home Decorating "Square" PiNows Create pillows beautiful pillows. Choose a Straight Stitch (1), stitch length 2.5, presser foot 0, lD engaged. Using a fade away or wash away marking pen, measure 3-4" (7 - 10 cm) from each corner and mark on each edge. Then meas 5/8" (4 cm) from each corner diagonally and mark. F Begin sewing around the pillow with a 5/8" (16 mm) seam, lea an opening on one edge to turn the pillow. Continue stitching to the 3-4" mark along one edge. Now sew toward the diagon marking. Pivot and continue to sew to the other 3-4" mark. Do to each corner. I F F FI F F F I I Crss-Cross Piping or Ruffle Create an easy and attractive way to start and stop piping or a ruffle. This criss-cross method will add interest to any home decorating item. Tip: Use the optional piping foot, ruffler or shirring foot to help create your pi or ruffle. Create your piping or ruffle 6" (16cm) longer than what is nee foryourproject. Begin by placing your piping perpendicular (make a cross) wit[ the front project piece. Pin. Curve the piping to become parall (in line) with the project. Continue pinning the piping around project at the proper seam aliowance. When the piping is bach the start, simply place the end across the beginning, making bI ends of the piping perpendicular with the piece. Place the back of the project right sides together with the fror and piping. Sew, making sure to catch all layers. Your perforrr 2054 with IDT makes sewing through all the layers easy. The IL also keeps the layers even.
-
 1
1 -
2
-
3
-
4
-
5
-
6
-
7
-
8
-
9
-
10
-
11
-
12
-
13
-
14
-
15
-
16
-
17
-
18
-
19
-
20
-
21
-
22
-
23
-
24
-
25
-
26
-
27
-
28
-
29
-
30
-
31
-
32
-
33
-
34
-
35
-
36
-
37
-
38
-
39
-
40
-
41
-
42
-
43
-
44
-
45
-
46
-
47
-
48
-
49
-
50
-
51
-
52
-
53
-
54
-
55
-
56
-
57
-
58
-
59
-
60
-
61
-
62
-
63
-
64
-
65
-
66
-
67
-
68
-
69
-
70
-
71
-
72
-
73
-
74
-
75
-
76
-
77
-
78
-
79
-
 80
80 -
 81
81 -
 82
82 -
 83
83 -
 84
84 -
 85
85 -
 86
86 -
 87
87 -
 88
88 -
 89
89 -
 90
90 -
91
-
92
-
93
-
94
-
95
-
96
-
97
-
98
-
99
-
100
-
101
-
102
-
103
-
104
-
105
-
106
-
107
-
108
-
109
-
110
-
111
-
112
-
113
-
114
-
115
-
116
-
117
-
118
-
119
-
120
-
121
-
122
-
123
-
124
 |
 |