Pfaff performance 2054 Owner's Manual - Page 93
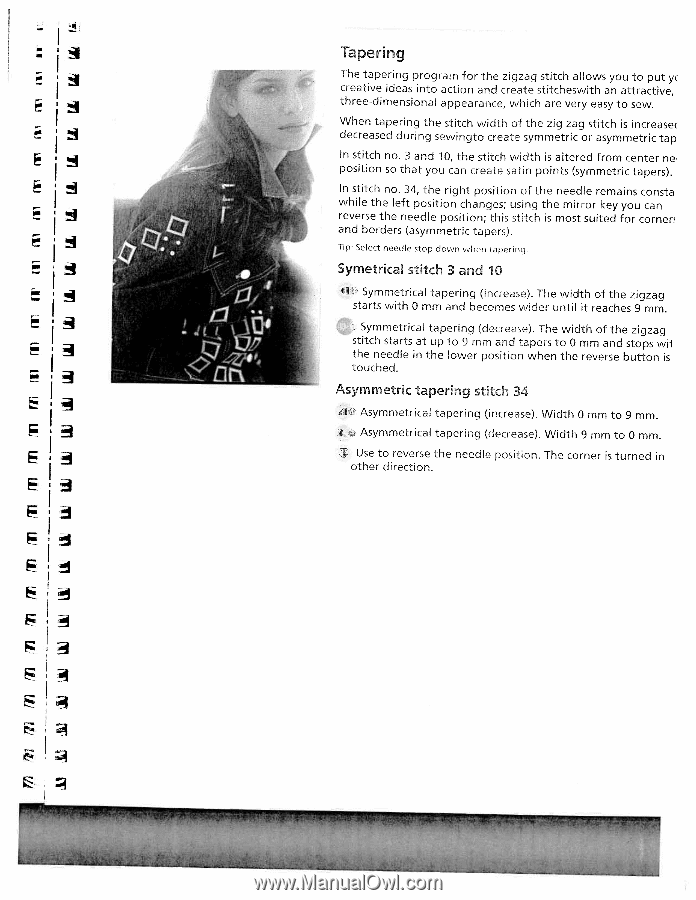
Tapering
 |
View all Pfaff performance 2054 manuals
Add to My Manuals
Save this manual to your list of manuals |
Page 93 highlights
- I I I i I I I • I- I I j I Tapering The tapering program for the zigzag stitch allows you to put yc creative ideas into action and create stitcheswith an attractive, three-dimensional appearance, which are very easy to sew. When tapering the stitch width of the zig zag stitch is increasec decreased during sewingto create symmetric or asymmetric tap In stitch no. 3 and 10, the stitch width is altered from center ne position so that you can create satin points (symmetric tapers). In stitch no. 34, the right position of the needle remains consta while the left position changes; using the mirror key you can reverse the needle position; this stitch is most suited for corner and borders (asymmetric tapers). Tip: Select needle stop down when tapering. Symetricaf stitch 3 and 10 Symmetrical tapering (increase). The width of the zigzag starts with 0 mm and becomes wider until it reaches 9 mm. Symmetrical tapering (decrease). The width of the zigzag stitch starts at up to 9 mm and tapers to 0 mm and stops wil the needle in the lower position when the reverse button is touched. Asymmetnc tapenng StItLfl z 4 U Asymmetrical tapering (increase). Width 0 mm to9 mm. 'i Asymmetrical tapering (decrease). Width 9 mm to 0 mm. Use to reverse the needle position. The corner is turned in other direction.
-
 1
1 -
2
-
3
-
4
-
5
-
6
-
7
-
8
-
9
-
10
-
11
-
12
-
13
-
14
-
15
-
16
-
17
-
18
-
19
-
20
-
21
-
22
-
23
-
24
-
25
-
26
-
27
-
28
-
29
-
30
-
31
-
32
-
33
-
34
-
35
-
36
-
37
-
38
-
39
-
40
-
41
-
42
-
43
-
44
-
45
-
46
-
47
-
48
-
49
-
50
-
51
-
52
-
53
-
54
-
55
-
56
-
57
-
58
-
59
-
60
-
61
-
62
-
63
-
64
-
65
-
66
-
67
-
68
-
69
-
70
-
71
-
72
-
73
-
74
-
75
-
76
-
77
-
78
-
79
-
80
-
81
-
82
-
83
-
84
-
85
-
86
-
87
-
 88
88 -
 89
89 -
 90
90 -
 91
91 -
 92
92 -
 93
93 -
 94
94 -
 95
95 -
 96
96 -
 97
97 -
 98
98 -
99
-
100
-
101
-
102
-
103
-
104
-
105
-
106
-
107
-
108
-
109
-
110
-
111
-
112
-
113
-
114
-
115
-
116
-
117
-
118
-
119
-
120
-
121
-
122
-
123
-
124
 |
 |